NetWare Configuration
43
3
B
Type into the
[
Tree:
]
box the name of the NDS tree in which the print
server is created, and type the context into the
[
Context:
]
box.
Clicking
[
Browse
]
, you can select a NDS tree and a NDS context among
those listed in the
[
Browse
]
dialog boxes.
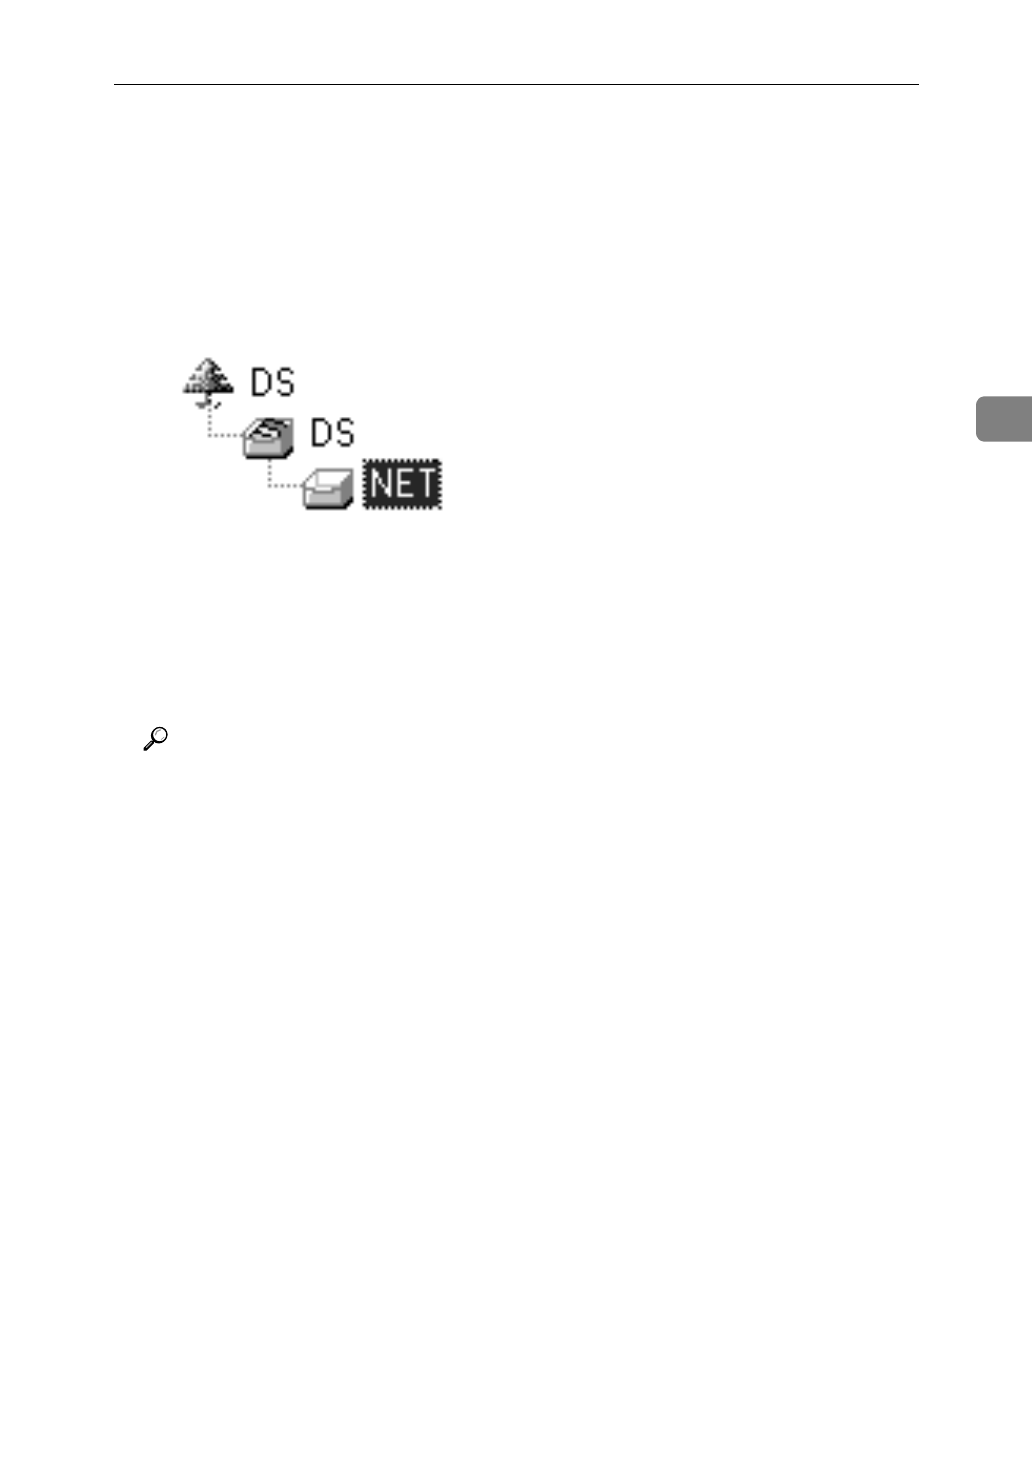
As a context, object names are typed from a lower object and divided by a
period. For example, if you want to create a print server into NET under
DS, type "NET.DS"
C
Click
[
OK
]
to close the property sheet.
D
After a confirmation dialog box appears, click
[
OK
]
.
J
On the
[
NIB
]
menu, click
[
Exit
]
to exit the NIB Setup Tool.
K
From Windows, run NWAdmin.
Reference
For more information on NWAdmin, see the documentation that comes
with the NetWare.
L
Create a print queue as follows.
A
Select the container object the print queue is located in among those in
the directory tree, and click
[
Create
]
on the
[
Object
]
menu.
B
In the
[
Class of new object
]
box, click “Print Queue” to highlight it, and click
[
OK
]
.
C
In the
[
Print Queue name
]
box, type the name of the print queue.
D
In the
[
Print Queue Volume
]
box, click the
[
Browse
]
button.
E
In the
[
Available objects
]
box, click the volume in which the print queue is
created to highlight it, and click
[
OK
]
.
F
After confirming the settings, click
[
Create
]
.
M
Create a printer as follows.
A
Select the container object the printer is located in, and click
[
Create
]
on
the
[
Object
]
menu.
B
In the
[
Class of new object
]
box, click “Printer” to highlight it, and click
[
OK
]
.
C
In the
[
Printer name
]
box, type the name of the printer.
D
Click
[
Define additional properties
]
to check a box, and click
[
Create
]
.


