NetWare Configuration
37
3
F
Confirm that the MAC address and IPX address are correct, and click
[
Fin-
ish
]
.
G
Type the print server name into the
[
Device Name
]
box, and click
[
Next >
]
.
The factory default is RDP_ followed by the 6 digit serial number. We recom-
mend that you change it to something that is easier to remember or something
based on the structure of your network.
H
In a dialog box for selecting a network environment, check a box for
[
Net-
Ware
]
and remove the check mark for the
[
TCP/IP
]
.
I
Click
[
Next >
]
.
A dialog box for configuring the NetWare environment appears.
J
Select
[
Bindery
]
when printing under the Bindery mode, or select
[
NDS
]
when printing under the NDS mode.
When you are using NetWare version 4.x, you should select
[
NDS
]
.
K
If you selected
[
Bindery
]
, type into the
[
File Server Name:
]
box the name of the
file server in which a print server is to be created.
Clicking
[
Browse
]
, you can select a file server among those listed in the
[
Browse
]
dialog box.
L
If you selected
[
NDS
]
, type into the
[
Tree:
]
box the name of the NDS tree in
which the print server is created, and type the context into the
[
Context:
]
box.
Clicking
[
Browse
]
, you can select a NDS tree and a NDS context among those
listed in the
[
Browse
]
dialog boxes.
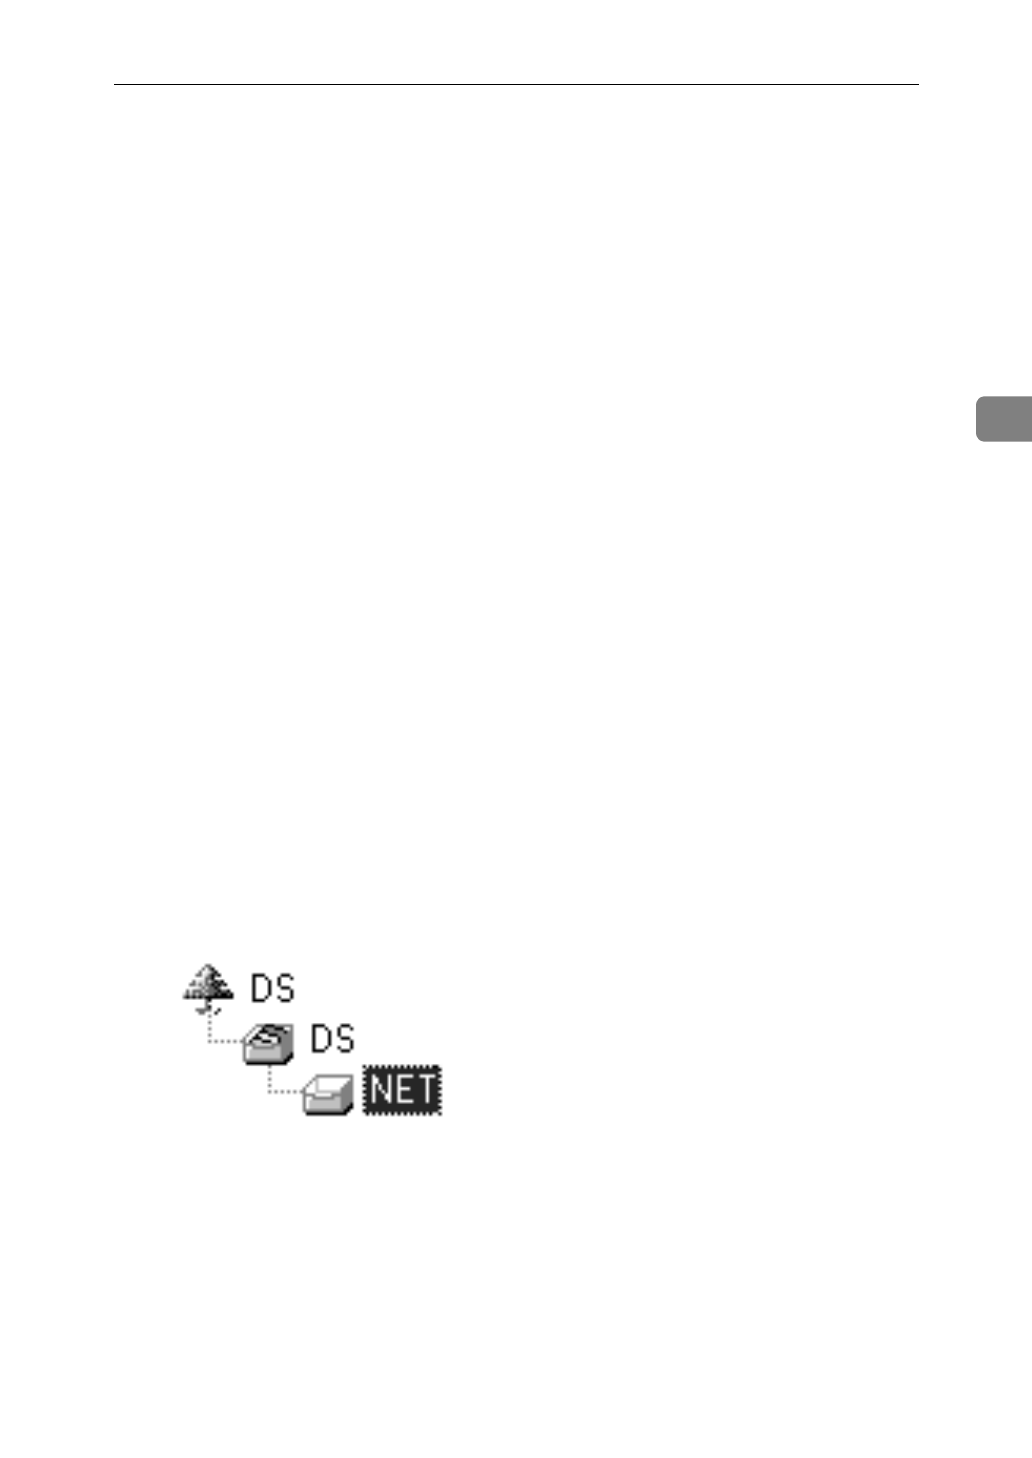
As a context, object names are typed from a lower object and divided by a pe-
riod. For example, if you want to create a print server into NET under DS,
type “NET.DS”.
M
Click
[
Next >
]
.
N
Type the name of the printer into the
[
Printer Name
]
box, and the name of the
print queue into the
[
Print Queue Name
]
box.
The factory default for Printer Name is “Print Server Name” followed by “_1”
and that for Print Queue Name is “Print Server Name” followed by “_Q” (
quotation marks are not included). You can change them if necessary.


