


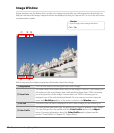
60 Chapter 8 — Interface | Working with Multiple Screens
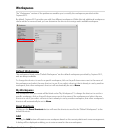
To access your custom workspaces, navigate to the Window menu and select the My Workspaces sub-
menu, then select the desired workspace to apply. Alternatively, click on the workspace selector, select the
My Workspaces sub-menu and select the desired workspace.
Working with Multiple Screens
Capture NX 2 has been improved to better support multiple screens. Palettes and windows can be freely
placed on any available screen. Furthermore, you can set workspaces independently on each connected
screen. Custom workspaces can also be created, capturing the state of multiple screens, enabling you to
quickly and easily switch between single screen and multiple screen configurations.
When working with multiple screens, Capture NX determines which screen is the primary screen and which
screen is the additional screen differently for the different operating systems.
For the Windows operating system, the primary screen is the screen where the application window is
placed. You can move the application window by clicking on the Restore button, moving the application
window to another screen, and then clicking on the Maximize button. The remaining screen will be the
additional screen.
For the Macintosh operating system, the primary screen is the screen that contains the Menu Bar and Dock.
The screen that does not have the Menu Bar and Dock will be the additional screen.
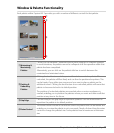
Additional screen Sub-Menu
Capture NX 2 continuously checks for the presence of additional screens. As soon as an additional screen is
found, a new sub-menu called the Additional Screen sub-menu is added to the Workspaces sub-menu
of the Window menu as well as to the Workspaces selector menu.
The Workspaces sub-menu will continue to control the workspace of the primary screen. The Additional
Screen sub-menu will control the workspace to be applied to the additional screen.
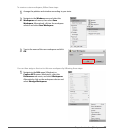
To use the default workspaces in a multiple screen configuration, follow these steps:
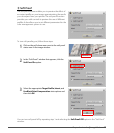
2
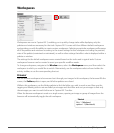
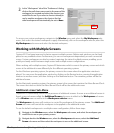
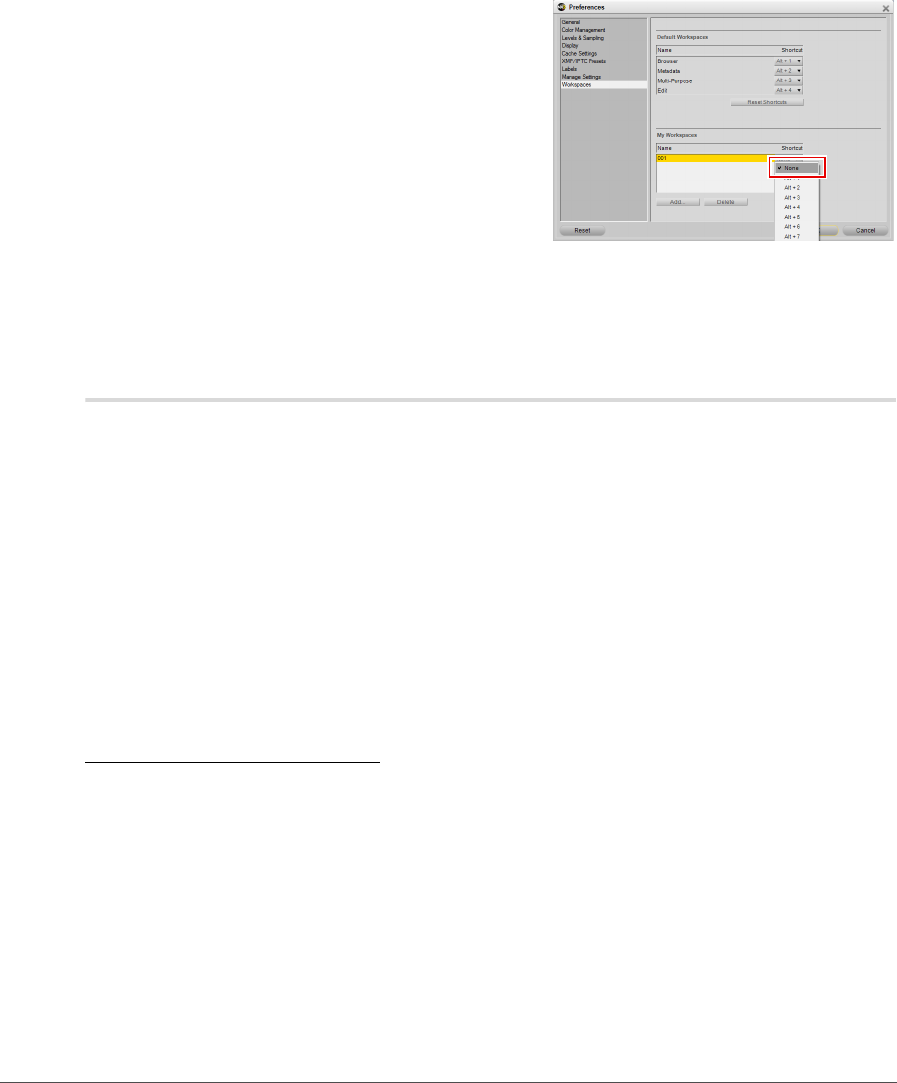
In the “Workspaces” tab of the “Preferences” dialog,
click on the pull-down menu next to the name of the
workspace you created and select the shortcut you
would like to use. If you select a shortcut already in
use by another workspace, the shortcut for that
other workspace will automatically be set to None.
1
Navigate to the Window menu, select the Workspaces sub-menu, and select the workspace you
would like to use on your primary screen.
2
Navigate back to the Window menu, select the Workspaces sub-menu, select the Additional
Screen sub-menu and then select the workspace to use on the additional screen.