102 Chapter 13 — The Toolbar | White Control Point
To add a white control point to your image, follow these steps:
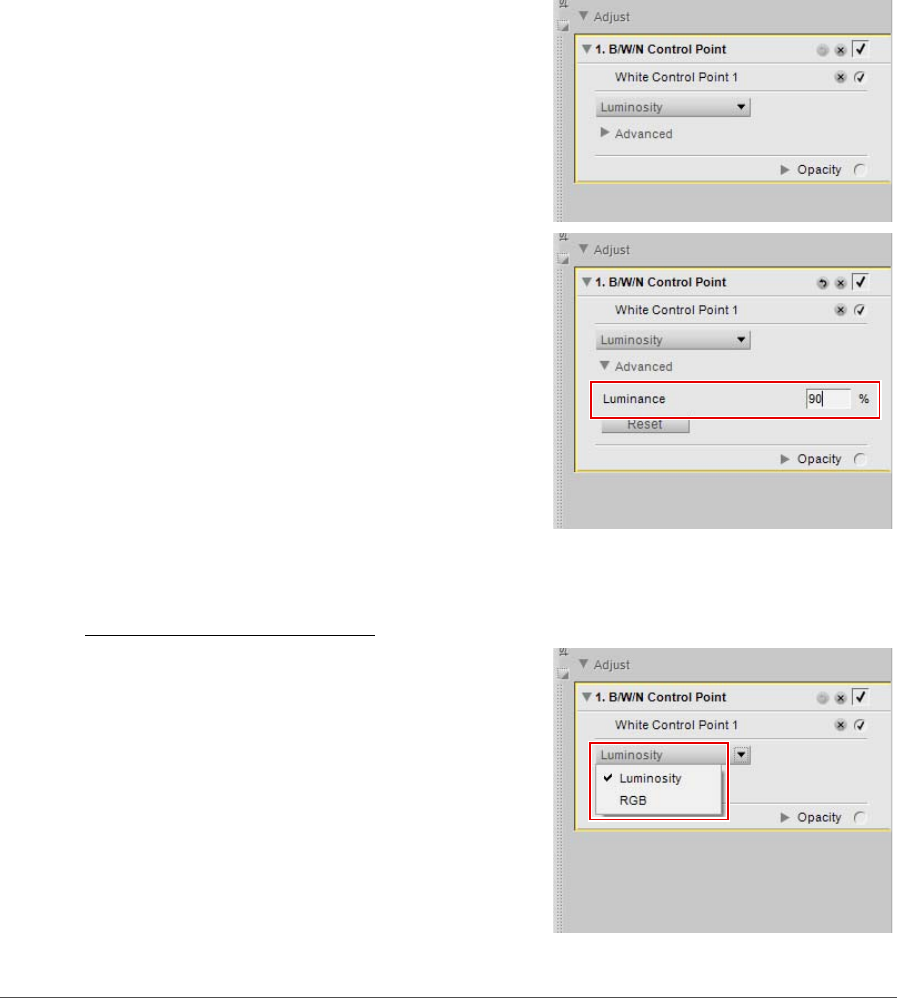
After a white control point is added to the image, the following options will be available in the B / W / N
Control Point step of the Edit List palette:
White Control Point Method
Use the white control point method pull-down menu to
switch between controlling only the luminosity of the white
control point or the individual red, green, and blue values.
Luminosity Method
The Luminosity method of the white control point
always changes the color that you have targeted by
setting the white control point to a neutral white. This is
often the most efficient mode to use, as most calibrated
printers work best when the image contains a neutral
white. In this mode, you are presented with only a
luminosity slider on the white control point and only a
Luminosity setting within the white control point sub-
step of the Edit List palette.
1
Click on the white control point icon in the toolbar. The cursor will change to a crosshair.
2
Identify the object you would like to be the lightest
object in the image and click on that object to place
a white control point. A B / W / N Control Point step
will be added to the Edit List palette, with a white
control point sub-step. You can reposition the white
control point by clicking and dragging it. Please
note, you may only add one white control point to
each B / W / N Control Point step.
3
Adjust the effect of the white control point either by
clicking and dragging the luminosity slider or by
entering a value directly into the text box in the
white control point sub-step of the B / W / N Control
Point step in the Edit List palette.


