110 Chapter 13 — The Toolbar | Selection Control Point
Selection Control Point
Selection control points utilize U Point technology to selectively apply the effect of an enhancement. You
can use a selection control point to selectively apply any enhancement found in either the Adjust or Filter
menus.
To use a selection control point, follow these steps:
1
Add an enhancement to the image from the Adjust or Filter menus. Use the enhancement’s
controls to achieve the desired result.
2
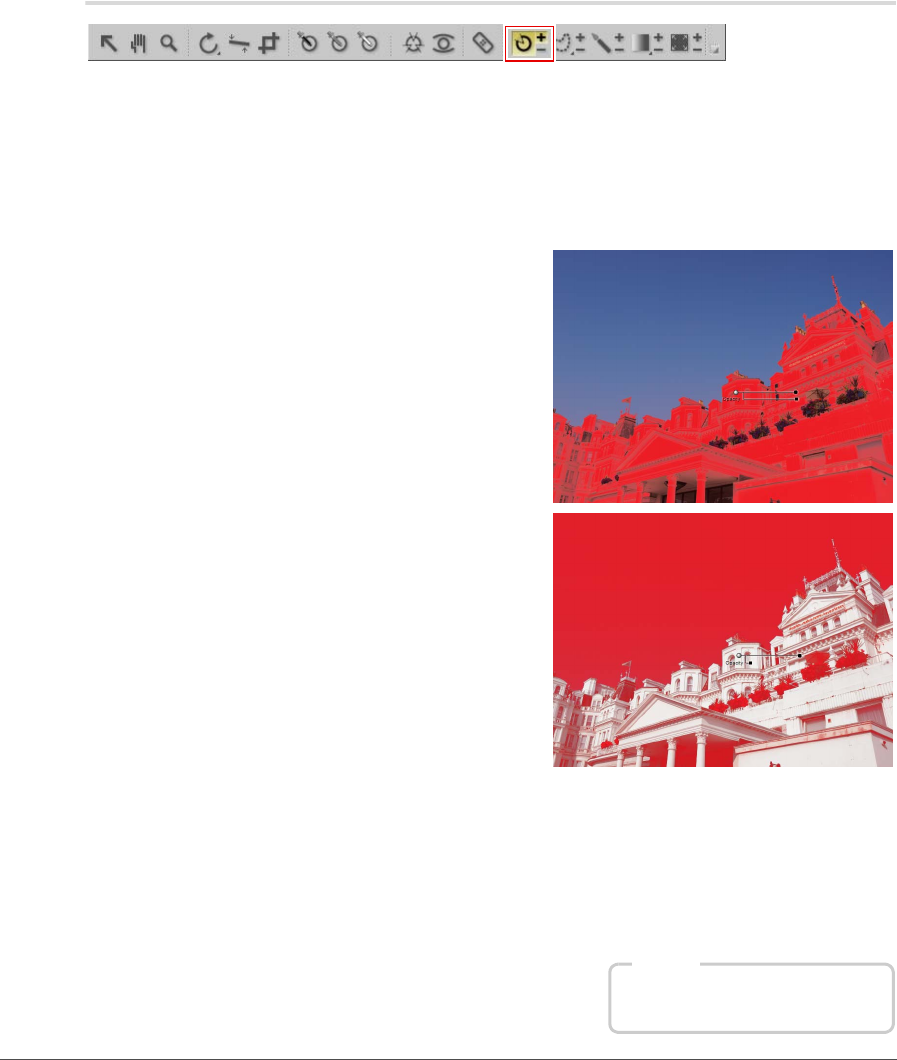
Click on the selection control point icon in the
toolbar.
a. If you click the (+) icon for the selection control
point, the Base Mask slider in the Selection
section of the Edit List palette will
automatically move to 0% after adding the first
selection control point, hiding the effect of the
current enhancement. Click on the image to
add a selection control point with the opacity
slider automatically set to 100%. This will result
in the current enhancement’s effect only
applied to the area selected by the control
point.
b. If you click the (–) icon for the selection control
point, click on the image to add a selection
control point with the opacity slider
automatically set to 0% to the image. The
enhancement will be applied to the entire
image, except for the area selected by the
control point.
3
Adjust the size and opacity sliders to achieve the desired result. The higher the size value, the more
objects similar to the object selected by the control point will be selected as well. The higher the
opacity slider, the more the current enhancement will be applied to the objects selected by the
control point.
4
Add additional selection control points, or use the selection brush tool to further modify where the
current enhancement is being applied to the image.
Shortcut
Ctrl + Shift + C (Windows)
command + shift + C (Macintosh)
