104 Chapter 13 — The Toolbar | Color Control Point
Each color control point that is placed on an object in your image identifies the characteristics of the color
as well as the level of detail of that object, enabling you to make adjustments to the color of that object.
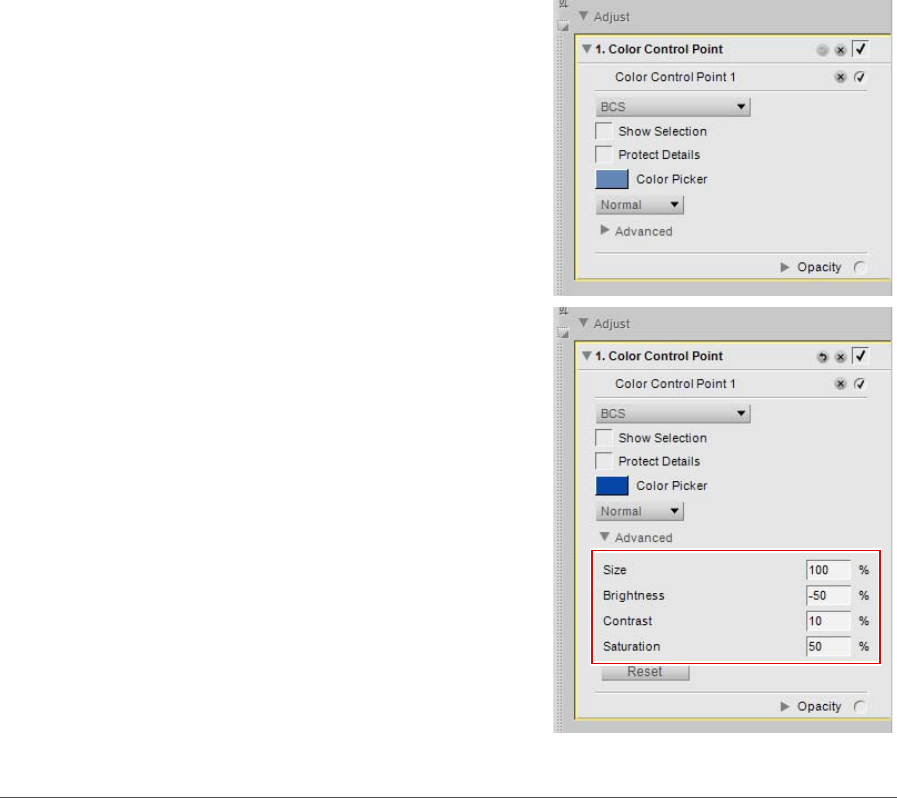
With the use of the size slider, you are able to increase the reach or scale of the current color control point so
that it affects similar colors of the objects which are farther away from the color control point. Each new
color control point works together with other color control points in the same step to affect more and more
specific objects. Using additional color control points ensures that the adjustments that you make are being
applied to the current object only. Placing a color control point on an object with default settings prevents
other color control points from affecting that object.
To add a color control point to enhance your image, follow these steps:
1
Click on the color control point icon in the toolbar. The cursor will change into a crosshair.
2
Click on an object within the active image window
that you want to enhance. A color control point will
be placed upon the image and a Color Control
Point step with a single color control point sub-step
will be added to the Edit List palette.
3
Adjust the size slider to determine the reach the
current color control point has on the image. The
greater the value for the size slider, the more objects
with similar colors and values as selected by the
color control point will be affected.
