


4
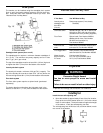
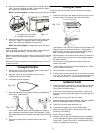
For a laundry tub drain or standpipe
Connecting the drain hose “hook” to the corrugated drain
hose
1. Open the yellow single-wire clamp and slide over the end of
the drain hose about 4 inches. (Pliers optional)
2. Wet the outside end of the drain hose with tap water. Do not
use another lubricant.
3. Twist and push the “hook” back and forth while pushing
down onto the drain hose. Continue until the “hook” is down
to the enlarged diameter of the drain hose.
4. Open the yellow single-wire clamp (placed on the drain hose
earlier) and slide over the base of the drain hose “hook” to
secure the sections together. (Pliers optional)
5. Put hooked end of drain hose into laundry tub or standpipe.
Rotate “hook” to eliminate kinks.
To prevent drain water from going back into the washer;
Do not straighten hooked end of the drain hose and force
excess drain hose into standpipe. Hose should be secure but
loose enough to provide a gap for air.
Do not lay excess hose on the bottom of the laundry tub.
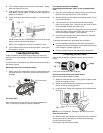
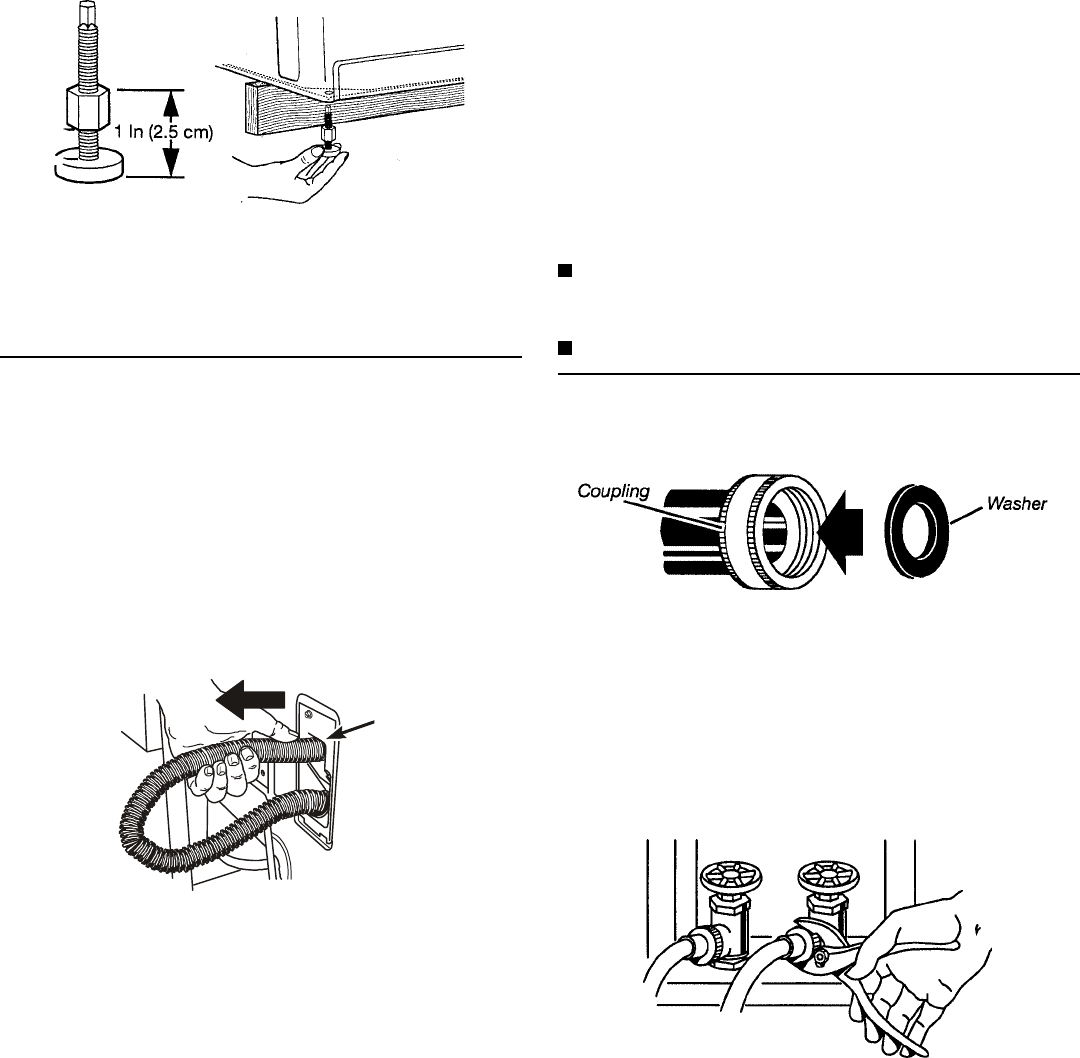
Connecting the Inlet Hose
Insert a new flat washer (supplied) into each end of the inlet
hoses.
Firmly seat the washers in the couplings.
Connect the inlet hoses to the water faucets
Make sure the washer basket is empty.
1. Attach the hose with the red coupling to the hot water faucet.
Screw on coupling by hand.
2. Attach the hose with the blue coupling to the cold water
faucet. Screw on coupling by hand.
3. Using the pliers, tighten the couplings with an additional two-
thirds turn.
NOTE: Do not overtighten. Damage to the valves can result.
Clear the water lines
Run water through both faucets and inlet hoses into a bucket or
laundry tub to get rid of particles in the water lines that might
clog the inlet valve screens.
Connect the inlet hoses to the washer.
Fig. 1-9
Fig. 1-10
2. Tilt the washer forward and remove the wood block. Gently
lower the washer to the floor.
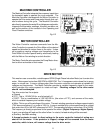
3. Prop up the front of the washer about 4 in. (10.2 cm) with a
wood block or similar object. The block needs to support the
weight of the washer.
4. Screw the lock nut onto each foot to within 1 in. (2.5 cm) of the
base.
Screw the feet into the correct holes at the front corner of the
washer until the nuts touch the washer.
NOTE: Do not tighten the nuts until the washer is level.
5. Tilt the washer back and remove the wood block. Gently lower
the washer to the floor.
Connecting the Drain Hose
Proper connection of the drain hose protects your floor from
damage due to water leakage. Carefully read and follow these in-
structions.
The drain hose is connected to your washer and is stored inside of
the washer cabinet.
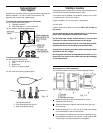
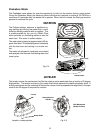
Removing drain hose from washer cabinet
1. Gently pull the corrugated drain hose out of the washer from
the top of the hose. Continue to pull the hose until the end
emerges.
Pull from the top
For a floor drain
Do not install the drain hose “hook” on to the corrugated drain
hose. Consult your plumber for proper installation.
Fig. 1-7
Fig. 1-8