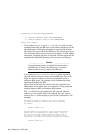
The RIS Utility Main Menu does not display option letters for menu
items that cannot be accessed. As you add environments, software, and
clients to the system, other menu options become available.
4. Enter
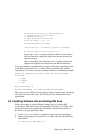
i to select Install software products. You see the following
prompt:
RIS Software Installation Menu:
1) Install software into a new area
2) Add software into an existing area
3) Return to previous menu
Enter your choice:
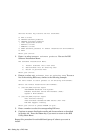
5. Enter 1 to select Install software into a new area. You see
the following prompt:
You have chosen to establish a new remote installation
environment.
Enter the device special file name or the path of the directory
where the software is located
(for example, /mnt/ALPHA/BASE):
6. Enter the full pathname or the device special file name for the
distribution media.
• If your distribution media is CD
−ROM mounted on /mnt, the
directory where the software is located is /mnt/ALPHA/BASE.
• Enter a device specific file name only for magnetic tape media.
You see the following prompt:
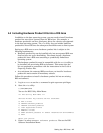
Select the type of operating system base product to create. If the software you
are offering supports add-on hardware that is needed to boot the client
system, select "boot-link" as the type of RIS area to create. Otherwise,
select "standard". If you select "boot-link", the software will be extracted
(or copied) to the RIS area because symbolically linked RIS areas do not
support this feature.
Choose one of the following options:
1) Standard boot method
2) Boot-Link method
Enter your choice:
7. Select one of the available options.
• Select Boot-Link method if you are adding a hardware product
kit to this RIS area.
• If you select Standard boot method, you see the following prompt:
Setting Up a RIS Area 4–3


