


88
WARNING: TO ENSURE THAT THE DRIVE IS NOT UNEXPECTEDLY STARTED, TURN
OFF and LOCKOUT and/or TAG POWER SOURCE BEFORE PROCEEDING.
FAILURE TO OBSERVE THESE PRECAUTIONS COULD RESULT IN
PERSONAL INJURY.
WARNING: Drive shaft assembly is heavy. IMPROPER HANDLING CAN CAUSE
PERSONAL INJURY.
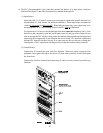
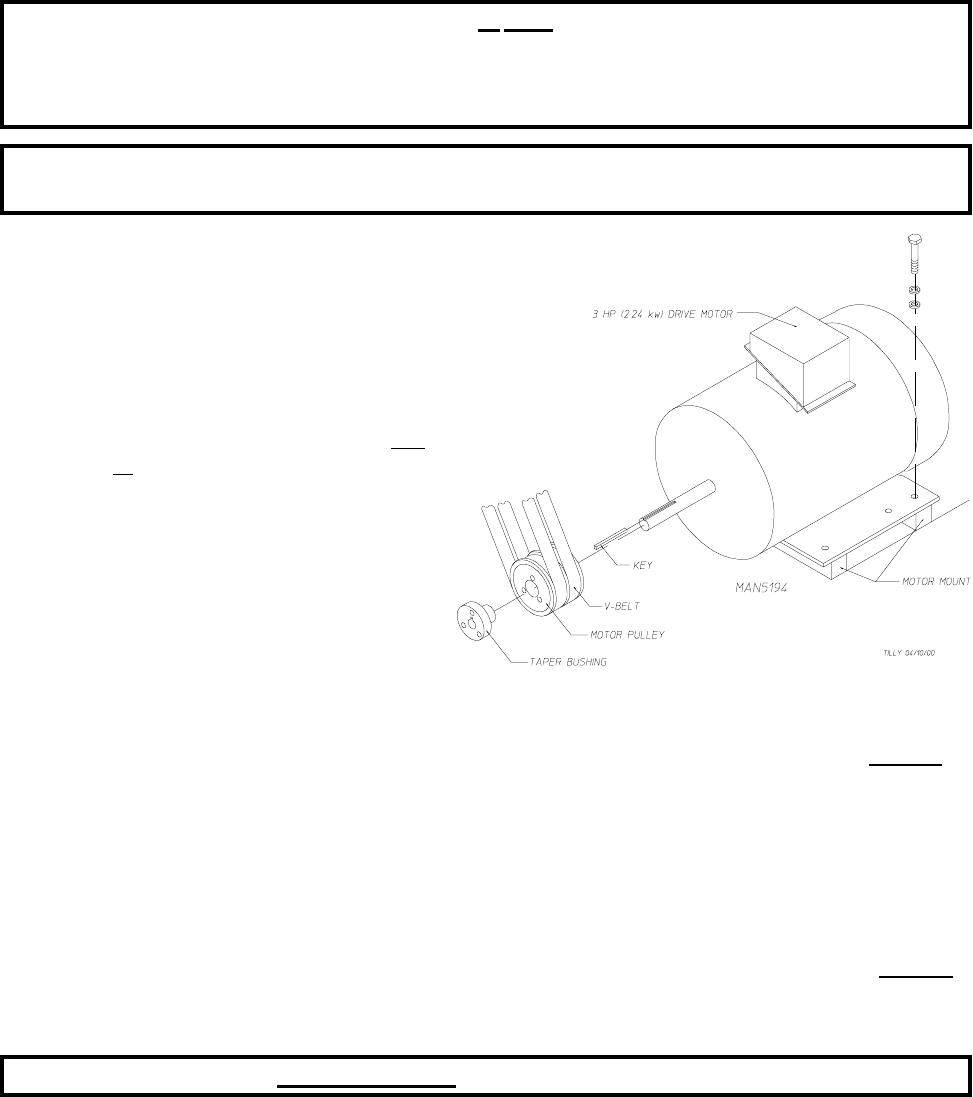
2. Drive Motor Component(s)
a. Drive Motor Replacement
1) Discontinue electrical power to the
dryer.
2) Mark and identify the wires that
will
be removed for proper reinstallation.
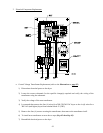
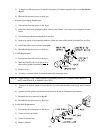
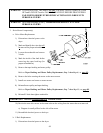
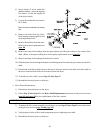
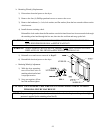
3) Loosen the turnbuckle and remove
V-belts.
4) Mark the inside of the shaft before
removing the taper bushing (for
proper reinstallation).
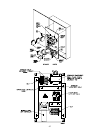
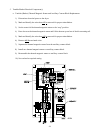
5) Remove the taper bushing and motor pulley.
Refer to Taper Bushing and Motor Pulley Replacement (Step 3 thru Step 6) on page 89.
6) Remove the bolts securing the motor to the motor mount.
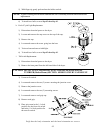
7) Install new motor and secure to motor mount.
8) Reinstall motor pulley and taper bushing.
Refer to Taper Bushing and Motor Pulley Replacement (Step 7 thru Step 11) on page 89.
9) Reinstall V-belts then tighten turnbuckle.
IMPORTANT: DO NOT OVERTIGHTEN TURNBUCKLE.
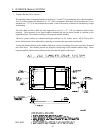
10) Rewire the new drive motor in the same order as the wiring from the motor that was removed.
a) Diagram is usually affixed to the side of the motor.
11) Reestablish electrical power to the dryer.
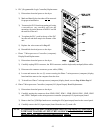
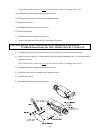
b. V-Belt Replacement
1) Discontinue electrical power to the dryer.