28 Entering Data
MX7 Reference Guide E-EQ-MX7RG-B
Entering Data
You can enter data into the MX7 through several different methods. The Scanner aperture
provides barcode data entry, the I/O port is used to input/output data, and the keypad provides
manual entry.
Mobile devices with a touchscreen use a stylus to input data, the I/O port and/or the keypad. An
input panel (virtual keyboard) is available in applications that expect keyed input.
Using the Keypad
The keypad is used to manually input data that is not collected otherwise. Almost any function
that a full sized computer keyboard can provide is duplicated on the MX7 keypads but it may take
a few more keystrokes to accomplish a keyed task. Please refer to “Appendix A – Key Maps” for
instruction on the specific keypresses to access all keypad functions.
Almost every key has two or three different functions. The primary alpha or numeric character is
printed on the key.
The Orange or Blue keys are pressed when you want to use a “sticky” key function. For example,
when you press a Blue or Orange key (the sticky key), then press the key that has the desired
second-function key, the second-function key is the “active” key. The specific sticky character is
printed above the corresponding key in either Orange or Blue.
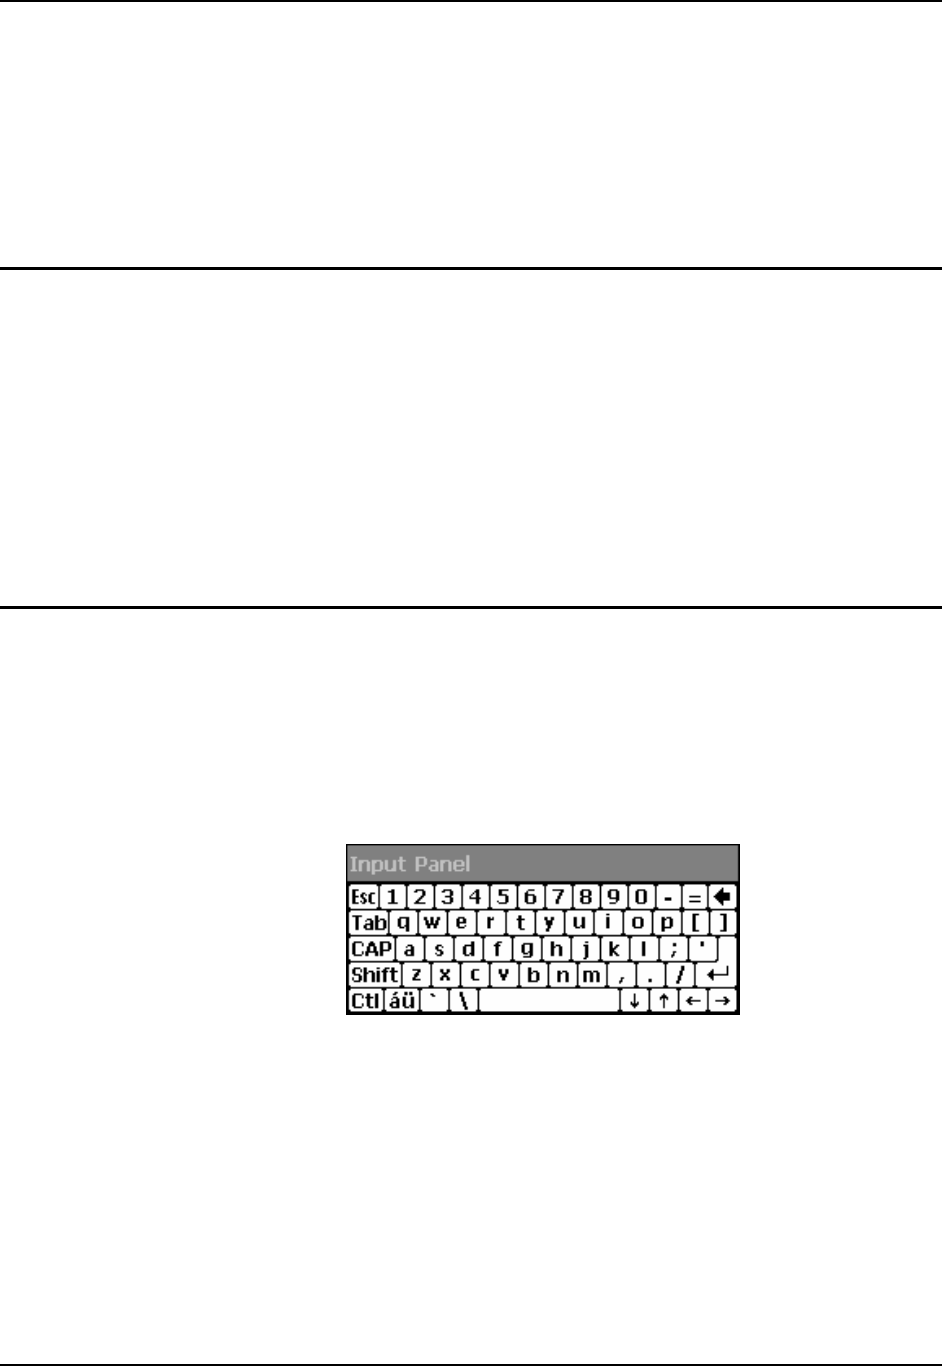
Using the Input Panel or Virtual Keyboard
The virtual keyboard is always available when needed e.g. text field input. Tap the keyboard icon
at the bottom of the screen to put the virtual keyboard on the display. Using the stylus:
• Tap the Shift key to type one capital letter.
• Tap the CAPS key to type all capital letters.
• Tap the au key to access symbols.
Figure 1-23 Input Panel / Virtual Keyboard
Some applications do not automatically display the Input Panel. In this case, do the following to
use the Input Panel:
1. Tap the Input Panel/Virtual Keyboard icon in the taskbar.
2. Select “Keyboard” from the menu.
3. Tap the data entry area on the display when you want to enter data using the Input Panel.


