Chapter 15: Creating a Custom iTool Widget Interface 373
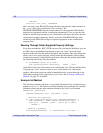
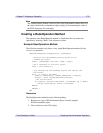
iTool Developer’s Guide Example: a Custom iTool Interface
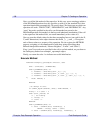
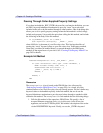
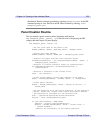
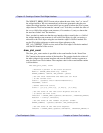
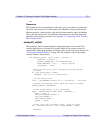
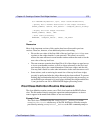
; interface. We create the widget layout in the usual way,
; incorporating iTool compound widgets and "traditional"
; widgets in the desired locations.
; Create a base to hold the controls and iTool draw window.
wBaseUI = WIDGET_BASE(wBase, /ROW)
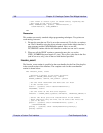
; Put controls in the left-hand base.
wBaseLeft = WIDGET_BASE(wBaseUI, /COLUMN)
wButton1 = WIDGET_BUTTON(wBaseLeft, $
VALUE='Insert New Plot', $
EVENT_PRO='draw_plot_event')
padBase = WIDGET_BASE(wBaseLeft, YSIZE=5)
wSlider = WIDGET_Slider(wBaseLeft, VALUE='10', $
TITLE='Number of points', MINIMUM=5, MAXIMUM=50)
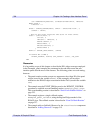
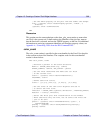
padBase = WIDGET_BASE(wBaseLeft, YSIZE=5)
wLineSize = WIDGET_DROPLIST(wBaseLeft, $
VALUE=[' 1 ',' 2 ',' 3 ',' 4 '], $
TITLE='Line Size: ', EVENT_PRO='linesize_event')
padBase = WIDGET_BASE(wBaseLeft, YSIZE=5)
wLineColor = WIDGET_DROPLIST(wBaseLeft, $
VALUE=['Black', 'Red','Green', 'Blue'], $
TITLE='Line Color: ', EVENT_PRO='color_event')
padBase = WIDGET_BASE(wBaseLeft, YSIZE=5)
wButton2 = WIDGET_BUTTON(wBaseLeft, $
VALUE='Filter this Plot', $
EVENT_PRO='filter_event')
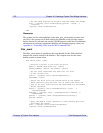
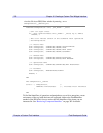
; Put the iTool draw window on the right.
wBaseRight = WIDGET_BASE(wBaseUI, /COLUMN, /BASE_ALIGN_RIGHT)
; Set the initial dimensions of the draw window, in pixels.
dimensions = [350, 350]
; Create the iTool drawable area.
wDraw = CW_ITWINDOW(wBaseRight, oUI, $
DIMENSIONS = dimensions, $
VIRTUAL_DIMENSIONS = virtualDimensions)
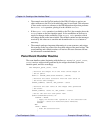
; Get the geometry of the top-level base widget.
baseGeom = WIDGET_INFO(wBase, /GEOMETRY)
; Create the status bar.
wStatus = CW_ITSTATUSBAR(wBase, oUI, $
XSIZE = baseGeom.xsize-baseGeom.xpad)
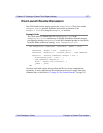
; If the user did not specify a location, position the
; iTool on the screen.
IF (N_ELEMENTS(location) EQ 0) THEN BEGIN