Chapter 15: Creating a Custom iTool Widget Interface 347
iTool Developer’s Guide Adding a Toolbar
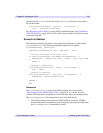
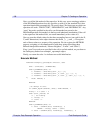
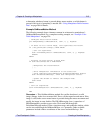
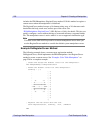
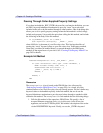
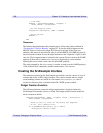
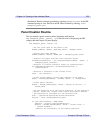
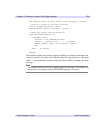
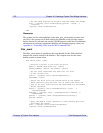
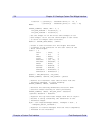
in the Operations/File container: New, Open, Save, and Print. Proxies
are described in “Registering Components” on page 38.
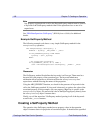
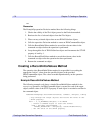
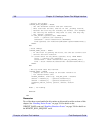
• The EXCLUSIVE keyword is passed through the CW_ITTOOLBAR function
to the underlying widget base via the keyword inheritance mechanism. See the
description under WIDGET_BASE for details.
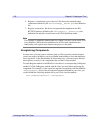
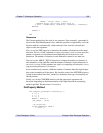
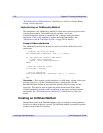
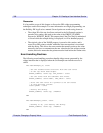
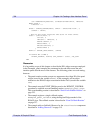
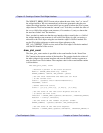
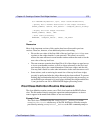
Modifying Toolbar Contents
Each iTool toolbar contains an entry for each item that is registered in the container.
This has two ramifications:
1. If you register (or proxy) a new operation or manipulator in one of the standard
toolbar containers, it will appear on the toolbar for your iTool, and be
sensitized and desensitized according to the same rules as the other items.
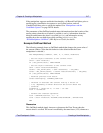
2. If you unregister an operation or manipulator from one of the standard toolbar
containers, it will be removed from the toolbar for your iTool.
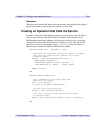
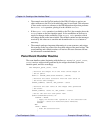
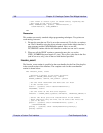
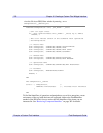
Operations and manipulators are generally registered and unregistered in the Init
method of an iTool creation routine. See Chapter 7, “Creating an Operation” or
Chapter 8, “Creating a Manipulator” for details. For an example that shows how to
unregister standard toolbar items, see “Example: a Custom iTool Interface” on
page 360.
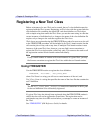
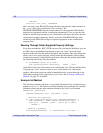
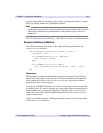
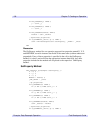
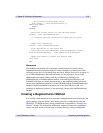
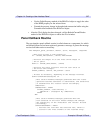
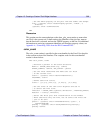
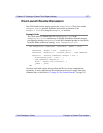
Resizing Toolbars
Toolbars consist of bitmap buttons that cannot be resized, so no special resizing code
is required. If you are concerned that all of your toolbars appear even if the user
resizes the top level base widget to a width too narrow to display them all, you can
either set a minimum width for the top level base or write resizing code that arranges
the toolbars into multiple rows if the top level base is not wide enough.