Specifying the frame type using the printer Control Panel
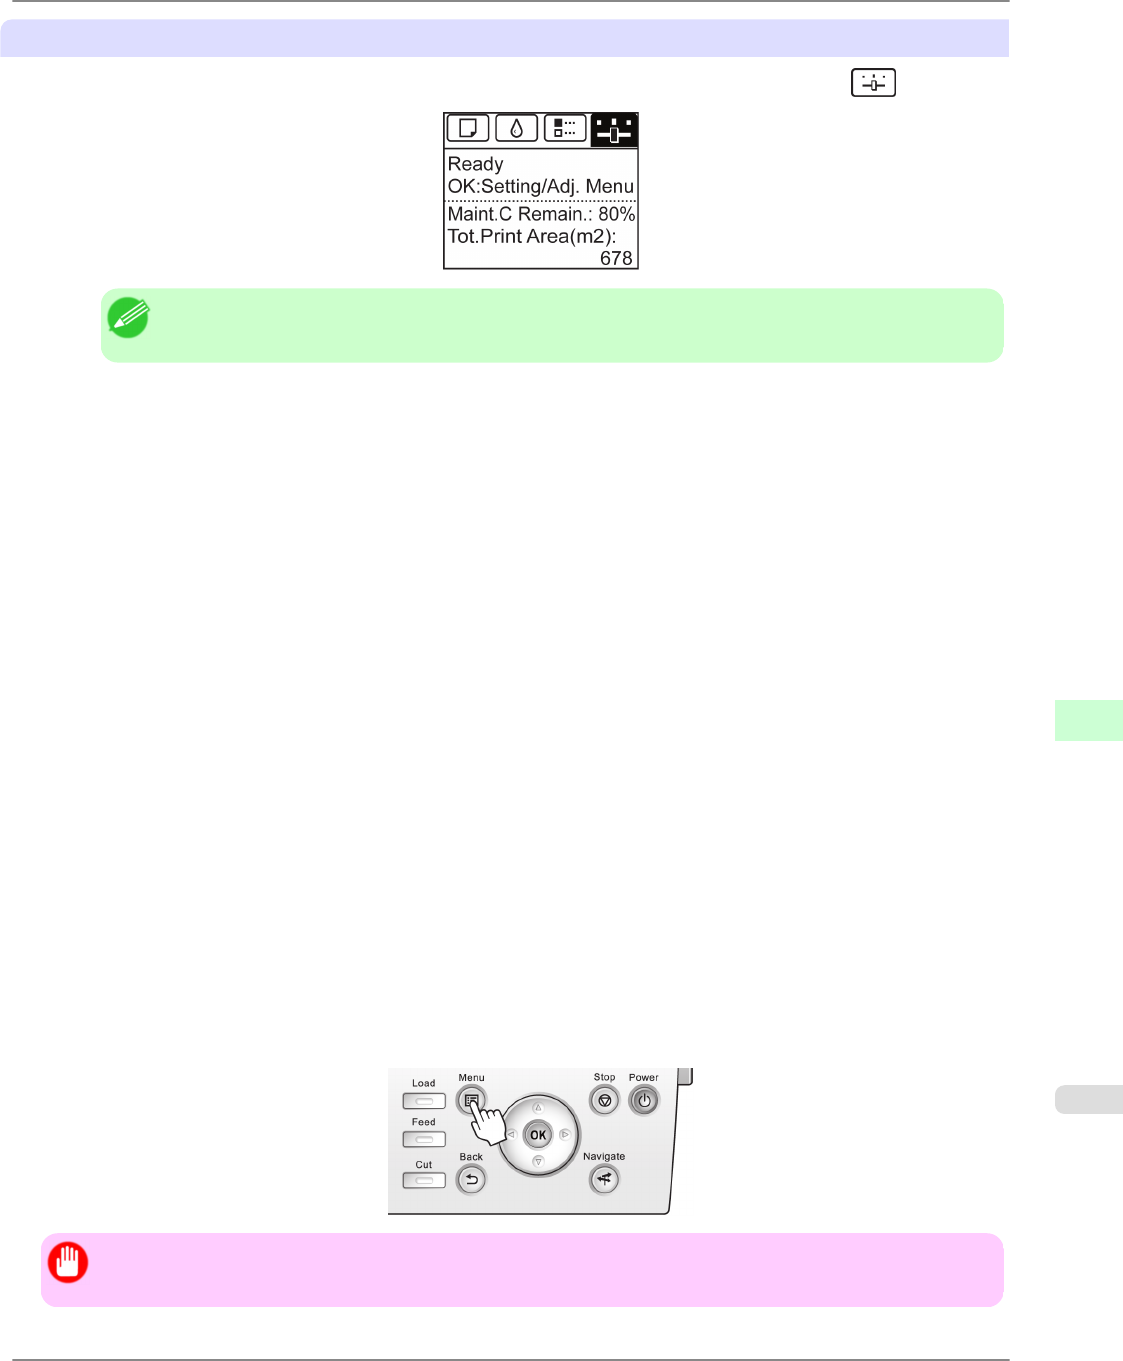
1. On the Tab Selection screen of the Control Panel, press ◀ or ▶ to select the Settings/Adj. tab ( ).
Note
• If the Tab Selection screen is not displayed, press the Menu button.
2. Press the OK button.
The Set./Adj. Menu is displayed.
3. Press ▲ or ▼ to select Interface Setup, and then press the OK button.
4. Press ▲ or ▼ to select NetWare, and then press the OK button.
5. Press ▲ or ▼ to select NetWare, and then press the OK button.
6. Press ▲ or ▼ to select On, and then press the OK button.
The display reverts to the NetWare menu.
7. Press ▲ or ▼ to select Frame Type, and then press the OK button.
8. Press ▲ or ▼ to select the frame type to use, and then press the OK button.
The display reverts to the NetWare menu.
9. Press ▲ or ▼ to select Print Service, and then press the OK button.
10. Press ▲ or ▼ to select the desired print service, and then press the OK button.
The display reverts to the NetWare menu.
11. Press the Menu button.
If you have changed any settings, a confirmation message is displayed. In this case, press the OK button.
Important
• Be sure to complete step 11. This will activate the values you have entered.
Network Setting
>
Network Setting (Windows)
>
iPF6300 Specifying the Printer's Frame Type
9
885


