2. Press the OK button.
The Set./Adj. Menu is displayed.
3. Press ▲ or ▼ to select Interface Setup, and then press the OK button.
4. Press ▲ or ▼ to select TCP/IP, and then press the OK button.
5. Press ▲ or ▼ to select IPv4, and then press the OK button.
6. Press ▲ or ▼ to select IPv4 Settings, and then press the OK button.
7. Press ▲ or ▼ to select IP Address, and then press the OK button.
8. After you press ◀ or ▶ to select the input field, numerical input is possible.
9. Press the ▲ or ▼ button to enter the value.
Note
• Pressing the ▲ button increases the number by 1. The maximum value is 9, after which 0 is dis-
played.
• Pressing the ▼ button decreases the number by 1. The minimum value is 0, after which 9 is dis-
played.
• Hold down ▲ or ▼ to increase or decrease the value continuously.
• Make sure the IP address you enter for the printer is not the same as any computer IP address in your
network.
10. Repeat steps 8 and 9 to complete the settings, and then press the OK button.
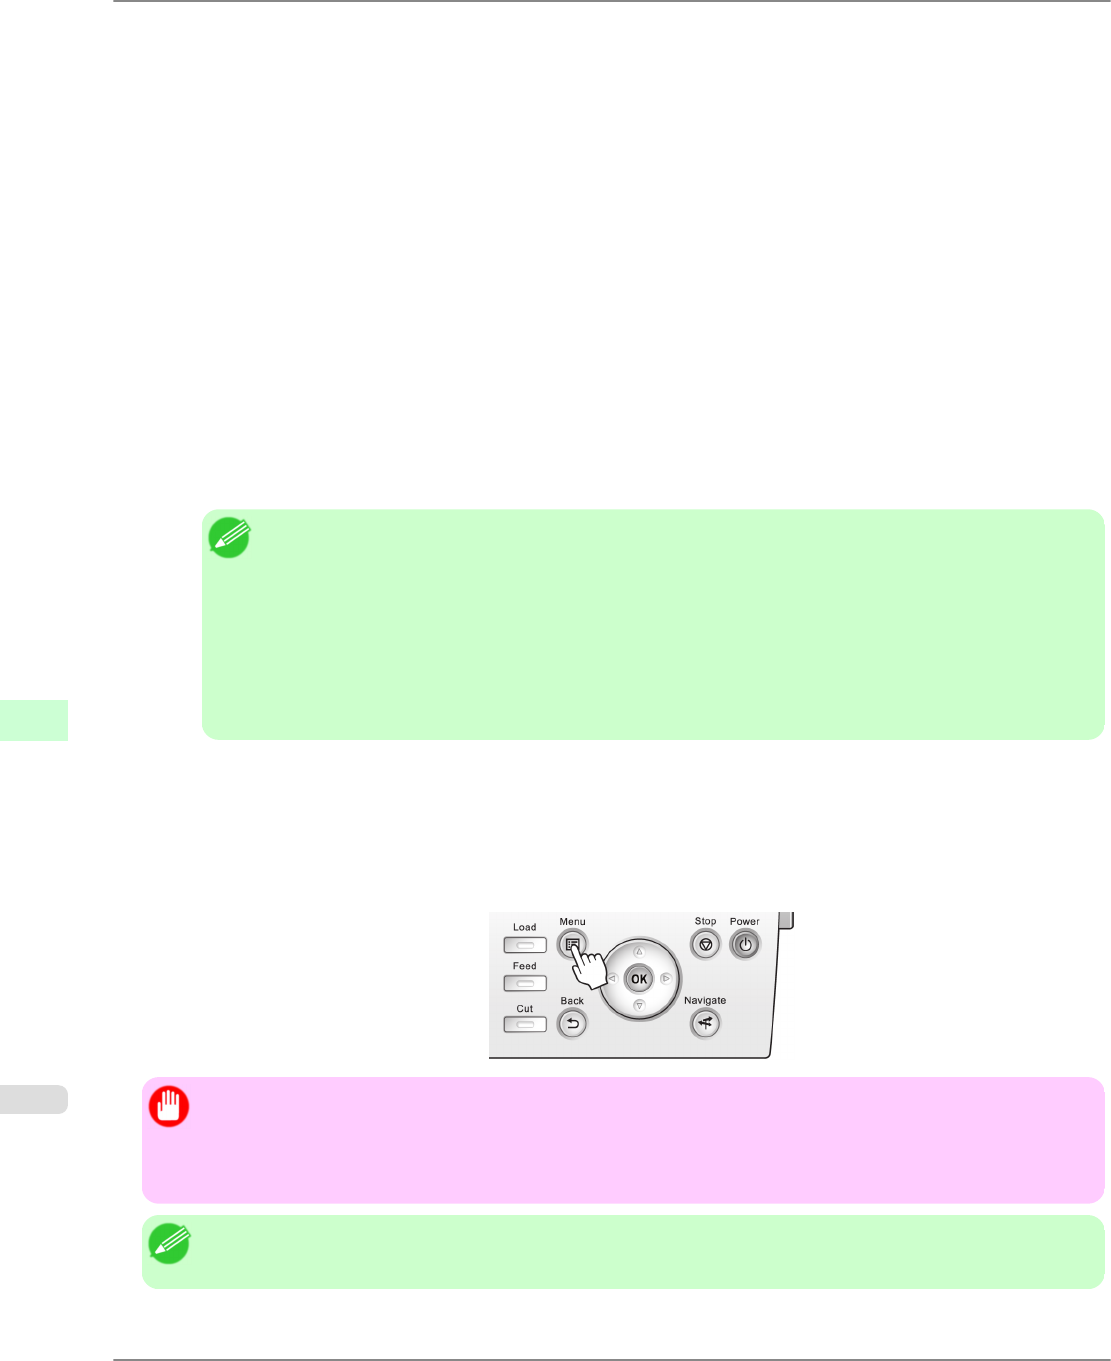
11. Press the Menu button.
If you have changed the settings, a confirmation message is displayed. Press ▲ or ▼ to select Yes, and then press
the OK button.
Important
• Be sure to complete step 11. This will activate the values you have entered.
• You can also specify the subnet mask and default gateway on the Control Panel.
• The DNS can also be configured from the printer Control Panel.
Note
• If an error message is displayed, check the settings and correct any invalid values.
Network Setting
>
Network Setting
>
Configuring the IP Address Using the Printer Control Panel iPF6300
9
870


