


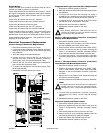

36 American Dryer Corp. 450260-1
!
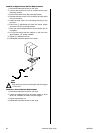
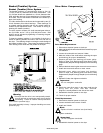
Taper Lock Bushing and Drive Motor Pulley
Replacement
1. Discontinue electrical power to the dryer.
2. Loosen turnbuckle and remove V-belts.
3. Mark inside of the drive motor shaft.
4. Remove the bolts securing the taper lock bushing.
5. Insert bolts into the threaded holes on the motor pulley
and tighten evenly for pulley removal.
6. Loosen the setscrews on the taper lock bushing and
remove the bushing.
7. Measure the mark on the drive motor shaft to the end of
the shaft.
8. Install the new drive motor pulley.
9. Align the new taper lock bushing with the mark on the
shaft and install by tightening the setscrews.
10. Insert bolts into the holes on the taper lock bushing and
thread in to the motor pulley and tighten evenly.
11. Check that the pulley is in proper alignment.
Reinstall V-belts and tighten turnbuckle.
Impor tant
Do not overtighten turnbuckle.
12. Reestablish electrical power to the dryer.
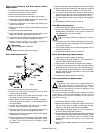
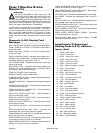
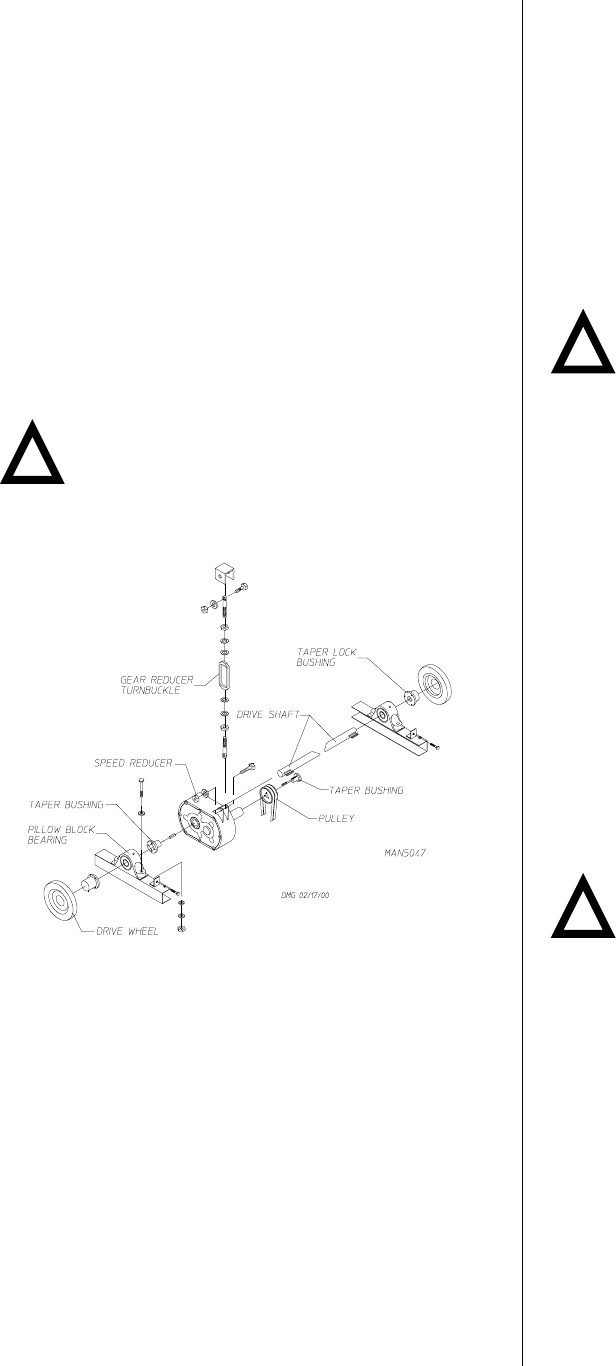
Drive Shaft Replacement
1. Discontinue electrical power to the dryer.
2. Remove the side panel and guard from the dryer
covering the drive wheels.
3. Mark the position of the pillow block bearing on the
mounting pad and loosen the setscrews.
4. Insert blocks of wood under the basket (tumbler) -
access through the lint drawer - to take the weight off of
the drive wheels.
5. Loosen the turnbuckle and remove the V-belts.
Remove bottom turnbuckle mounting bolt.
6. Remove the bolts from the pillow block bearing
mounting pads as well as the adjustment bolts.
7. Remove drive motor from the dryer. (Refer to Drive Motor
Replacement on page 35.)
8. Remove the taper lock bushings from the gear reducer
and side gear reducer to the center of the shaft. (Refer
to Taper Lock Bushing and Drive Motor Pulley
Replacement.)
!
!
9. Remove the taper lock bushings from the drive wheels.
10. Slide the pillow block bearings and taper lock bushing
inward towards the gear reducer on the drive shaft.
11. Lift the end of the drive shaft closest to the rear of the
dryer and pivot the other end of the shaft on the drive
wheel until the shaft can be removed from the dryer.
12. To install new drive shaft, reverse Step #11 through Step
#2.
13. Reestablish electrical power to the dryer.
Drive Wheel Replacement
1. Discontinue electrical power to the dryer.
2. Follow Step #2 through Step #11 in the Drive Shaft
Replacement instructions in the previous section for
the replacement of the drive wheels.
Impor tant
Both drive wheels should be replaced on the drive
shaft.
3. To replace the drive wheel assembly into the dryer,
reverse Step #11 through Step #2 in the instructions in
the previous section.
4. Verify proper position of drive shaft components prior to
tightening onto shaft.
5. Reestablish electrical power to the dryer.
Pillow Block Bearing(s) Replacement
1. Discontinue electrical power to the dryer.
2. Follow Step #2 through Step #11 in the instructions in
the Drive Shaft Replacement section.
3. Remove both drive wheels and taper lock bushings.
4. Carefully file the score marks on the drive shaft from the
setscrews before removing the pillow block bearing(s).
5. To install new pillow block bearing(s), reverse Step #11
through Step #2 in the instructions in the Drive Shaft
Replacement section.
6. Reestablish electrical power to the dryer.
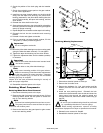
Gear (speed) Reducer Replacement
Caution
Replacement gear reducers are shipped without oil.
Add proper amount (1.48 quarts [1.4 liters]) of
recommended lubricant before operating. Failure
to observe these precautions will result in damage to the
dryer and will void the warranty.
Too much oil will cause overheating and too little oil will result
in gear failure. Check oil level regularly. Failure to observe
these precautions could result in damage to the dryer and
will void the warranty.
1. Discontinue electrical power to the dryer.
2. Measure the distance of the gear (speed) reducer from
the rear of the dryer to assist in positioning the gear
reducer on the drive shaft during reinstallation.
3. Follow Step #2 through Step #11 in the instructions in
the Drive Shaft Replacement section.
4. Remove the taper lock bushing and pillow block bearing
from the drive shaft closest to the rear of the dryer. (Refer
to the Taper Lock Bushing and Drive Motor Pulley
Replacement section for removal of the taper lock
bushing.)
5. Slide the gear (speed) reducer to the center of the drive
shaft.