


34 American Dryer Corp. 450260-1
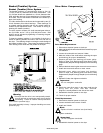
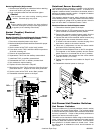
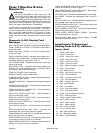
End of Cycle Light Bulb Replacement
1. Discontinue electrical power to the dryer.
2. Twist lock ring counter clockwise (CCW) to remove the
cap.
3. Remove the cap.
4. Twist and remove bulb/light.
5. To install new bulb, reverse Step #5 through Step #1.
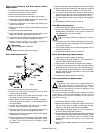
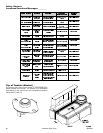
Switch Replacement
1. Discontinue electrical power to the dryer.
2. Mark and identify the wires that will be removed for proper
reinstallation.
3. Remove wires.
4. To remove a contact block, loosen and remove the
mounting screw.
Note
Contact block #1 and contact block #2 is normally
closed (N.C.) while contact block #3 and contact
block #4 is normally open (N.O.).
5. To remove or replace operator, use a small screwdriver
to fit in the slot on top of the base body. Then pry the tab
away from the center of the switch. This will unlatch the
base from the front of the switch.
6. Replace new part by snapping the base and the button
together.
7. Reinstall the wires removed in Step #3.
8. Reestablish electrical power to the dryer.
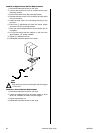
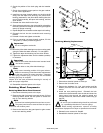
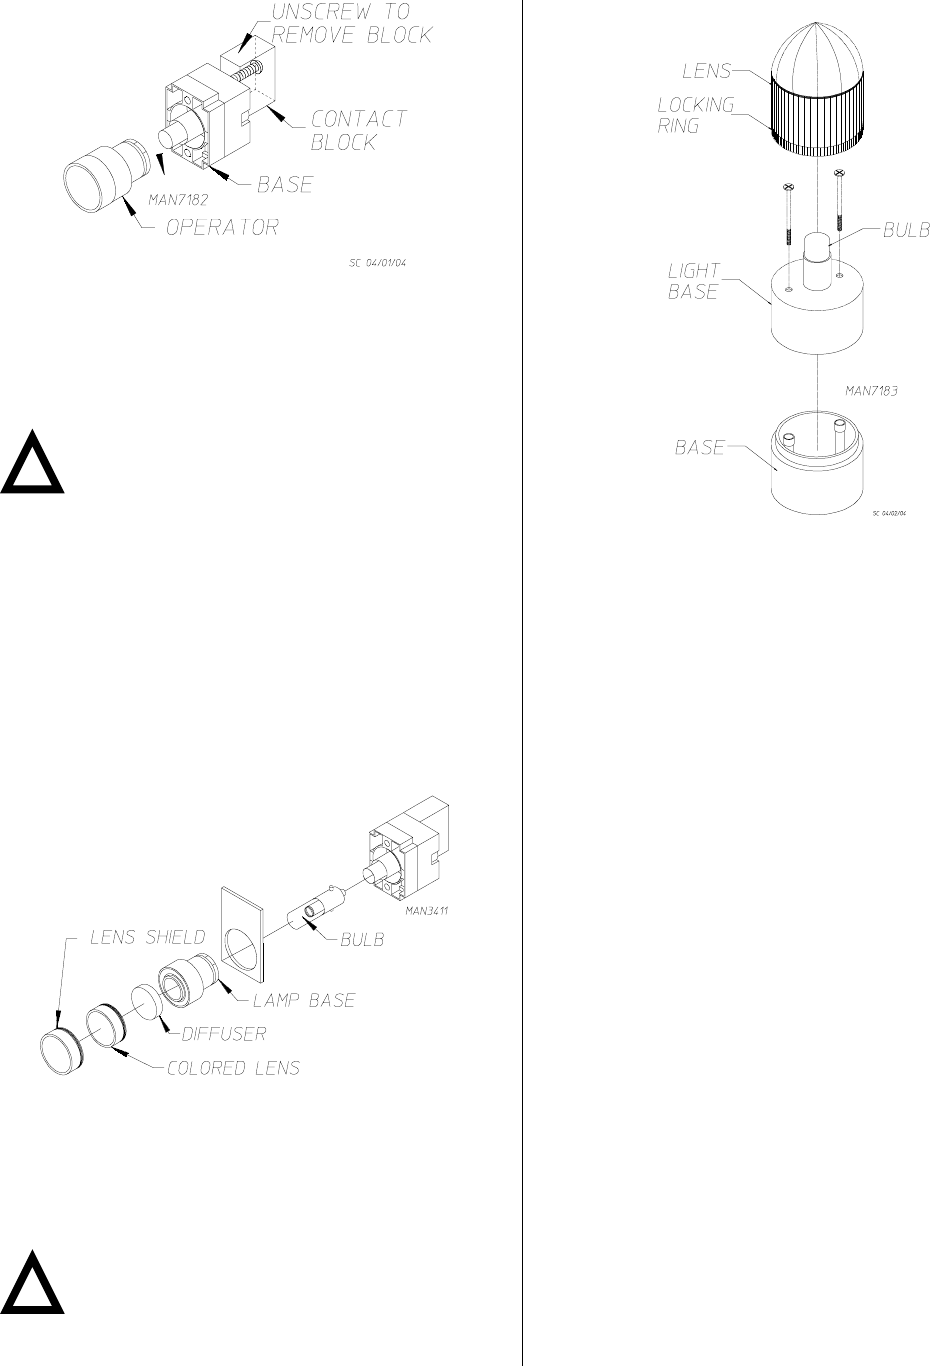
Switch Bulb Replacement
1. Discontinue electrical power to the dryer.
2. Unscrew clear lens shield.
3. Unscrew colored lens.
4. Remove diffuser.
5. With fingertip, gently push and turn the bulb to unlock.
Note
A piece of tubing with an inside diameter the size of
the bulb may assist in bulb removal and
replacement.
6. To install new bulb, reverse Step #5 through Step #1.
!
!