


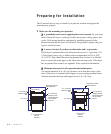
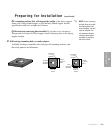
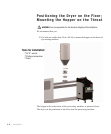
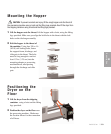
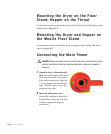
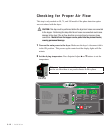
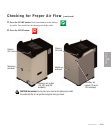
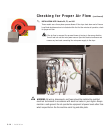
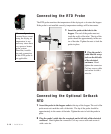

Checking for Proper Air Flow
This step is only needed on 50, 75, and 100 models if the phase detection option
was not ordered with the dryer.
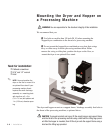
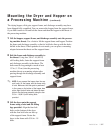
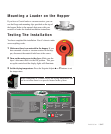
CAUTION: This step must be performed before the dryer’s air hoses are connected
to the hopper. Performing this step after the air hoses are connected could cause
damage to the dryer if the air flow direction is incorrect due to improper phase
connection. Material from the hopper can be pulled into the process heater,
causing permanent damage.
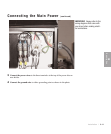
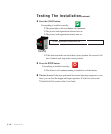
1 Turn on the main power to the dryer. Make sure the dryer’s disconnect dial is
in the ON position. This powers up the control and the display lights will illu-
minate.
2 Set the drying temperature. Press Setpoint Adjust ▲ or ▼ buttons to set the
temperature.
3-12 l Installation
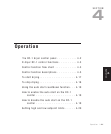
Set Point Actual
1 Process Temp.
2 Regen. Temp.
3 Return Air Temp.
4 Auto Start
5 Load Time (MDC)
6 Activate Setback Temp.
7 Setback Temp.(Process)
8 Setback Load Rate
9 PM1 Dewpoint
Shutdown Alarms
A1 Process High Temp.
A2 Process Loop Break
A3 Process Heater High Temp.
A4 Regen. Heater High Temp.
A5 Carousel Index Too Long
A6 Carousel Index Failure
A7 Return Air High Temp.
Passive Alarms
P1 Process Temp. Deviation
P3 Regen. Temp. Deviation
P5 Return Air High Temp.
Auto Start
Desiccant Indexing
Set-Back Temp.
Process Blower
Process Pressure
Process Heater
Regen. Blower
Regen. Pressure
Regen. Heater
Central
When configured as a central dryer, the drying temperature can
not be set since there is no process heater in the system.