49
4. Adjusting the Printer
Adjusting the Image Density
You can adjust the image density
when the print side of the page is
shaded or print image is too light.
Important
❒ Extreme settings may create print-
outs that appear dirty.
❒ Image density settings should be
made from the application or the
printer driver whenever possible.
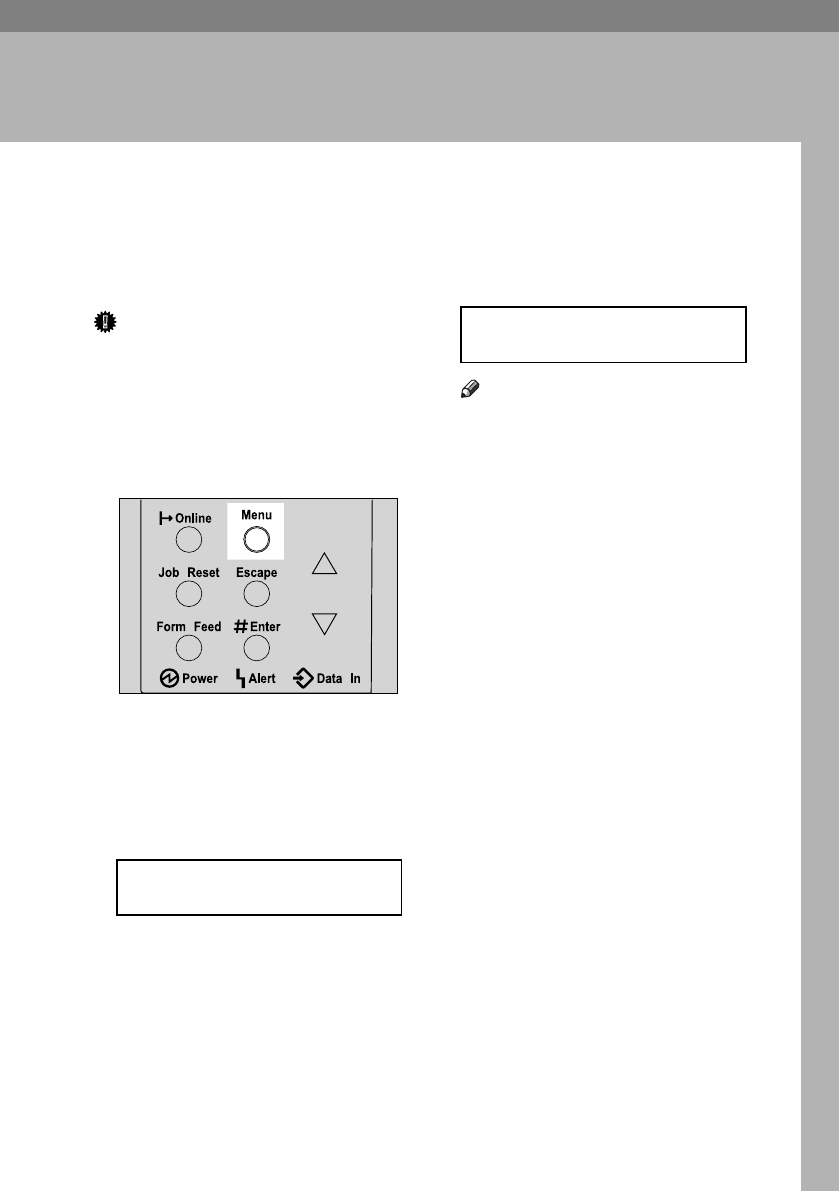
A Press the {Menu} key.
The [Menu] screen appears on the
display.
B Press the {U} or {T} key to dis-
play [Maintenance], and then press
the {# Enter} key .
The maintenance menu appears.
C Check [Image Density] is displayed,
and then press the {# Enter} key.
D Press the {U} or {T} key to set the
image density value.
Note
❒ To maintain a darker image un-
der high volume printing condi-
tions, we highly recommended
that you select 3 from the con-
trol panel.
❒ You can adjust the image densi-
ty in seven steps from -3 to +3.
Increasing the value makes the
printouts darker and decreasing
the value makes the printouts
lighter.
E Press the {# Enter} key .
Return to the maintenance menu.
F Press the {Online} key.
The initial screen appears.
Menu:
Maintenance
AGN503S
Image Density:
(-3 +3) 0
KirP4GB_Mainte-F6_FM_forPaper.book Page 49 Thursday, May 12, 2005 11:48 AM


