


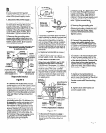
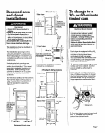

4. insert a narrow, flat-blade
screwdriver under the timing cam
near the clock shaft. Gently lift
cam straight up and off shaft
making sure that the ‘V-shaped
notch clears the ratchet tooth.
5. Place new cam (hub side down)
over clock shaft. tine up flat side
of shaft with flat side of cam hole.
Check that drive lug is in place.
6. Turn cam until Y/‘-shaped notch
lines up with ratchet tooth.
7. Press cam down in place on
motor shaft. Make sure that ‘V’-
shaped notch clears the ratchet
tooth.
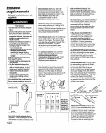
8.
Reattach the timer bracket
assembly; then tighten the screws.
9.
Repeat steps for other timer.
10.
Close and lock the control
panel.
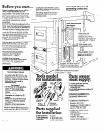
Now start.. .
With dryers in laurldry area.
I
Il.
Check that each leg is
approximately 1 inch frc )rn base.
‘2.
Wipe the Interior of the drums
thoroughly with a damt ) cloth.
:3
.
Install coin vaults and Ic cks (not
supplled) into meter cc se openings.
14
= .
Install control panel lot < and key
(not supplied).
!
L
I
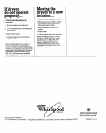
Electrical Shock I iazard
I
-a-- ~~
‘Control
p&e1 m&t b4 I closed
and locked at all time s.
1
Failure to do so could result in
serious injury or death .
. .-- ,.
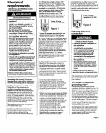
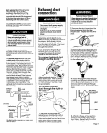
If you wish to change tt e 45minute
dryer timing cams to eit >er 3@ or 60-
minute timlng cams, set I ‘To change
to a 3C- or 6Uminute tin ling cam,’
Page 9. Complete all 01 the steps
given In that section be’ore going to
Step 6.
Electrical Shock I iazard
Dlsconnect electrka I power at
the service panel (fu ;e box or
clrcult box).
Fallure lo do so coulc I result In
serious Injury or deat 1.
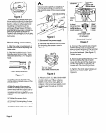
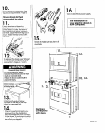
6.
Open control panel and rest It on
the bottom edge of the opening.
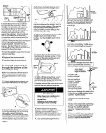
Attach slide extension (with flange
pointing down) to one of the coin-
slide mechanisms. Insert the coln-
slide mechanism through the
opening to left of the control panel.
Secure coin slide mechanism
from itide the control panel
using the 3/l 6’ bolt and wast
included with the slide
mechanism. Install coin box.
8.
Repeat Steps 6;and 7 for the other
coin slide mechanism. Close control
pan
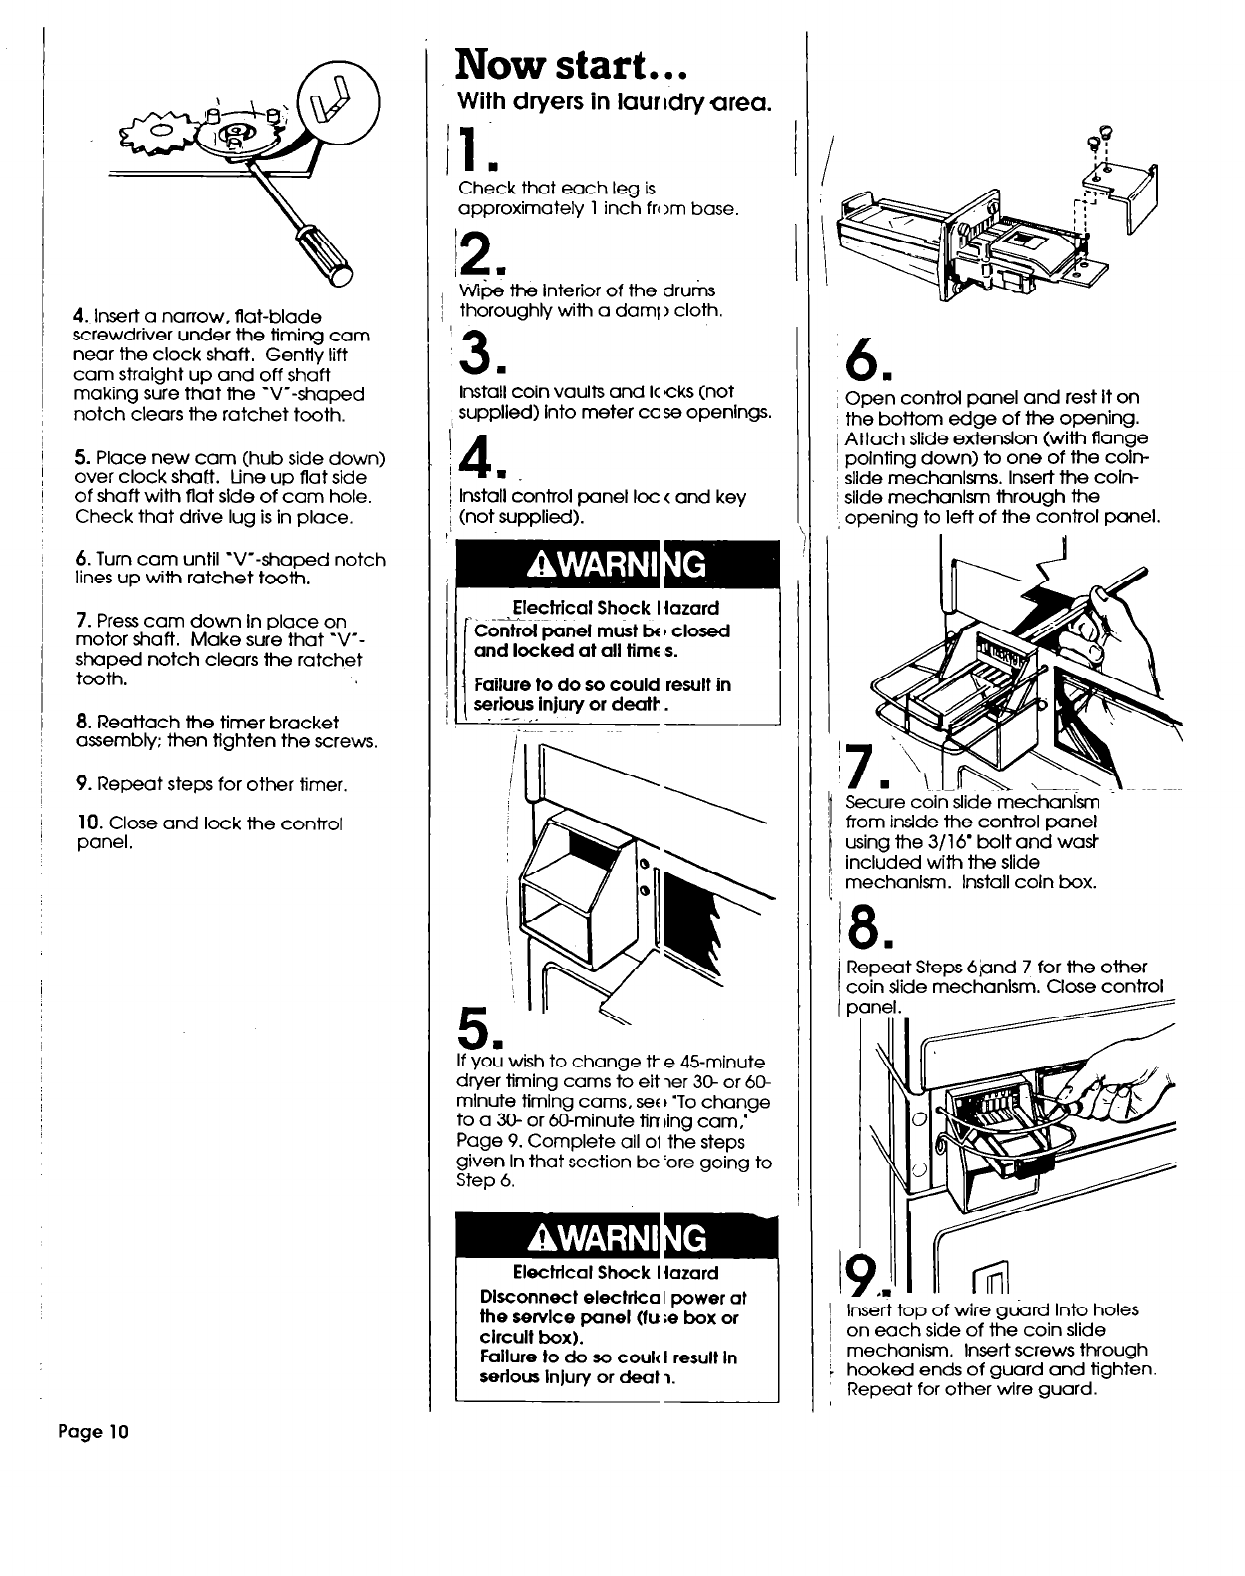
911
r.
Insert top of wire guard Into holes
on each side of the coin slide
mechanism. Insert screws through
hooked ends of guard and tighten.
Repeat for other wtre guard.
Page 10