


33
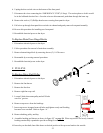
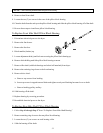
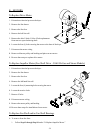
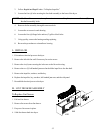
V-Belt Tension Adjustment (Drive Shaft to Speed Reducing Shaft)
1. Discontinue electrical power to the dryer.
2. Remove the lint drawer.
3. Remove the lint door.
4. Loosen two (2) bolts securing rear pillow block bearing on the drive shaft.
5. Loosen adjustment bolt that is securing the rear pillow block bearing of the drive shaft.
6. Loosen two (2) bolts securing rear speed reducing shaft bearing.
7. Loosen adjustment bolt supplying pressure to the rear bearing on the speed reducing shaft.
8. Remove old V-belts.
9. Reverse these steps to install new V-belts.
NOTE: After tensioning the V-belts, check to make sure both the drive shaft and speed reducing are
parallel or level to the base of the dryer.
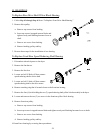
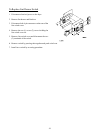
V-Belt Tension Adjustment (Motor To Speed Reducing Shaft)
1. Discontinue electrical power to the dryer.
2. Remove the lint drawer.
3. Remove the lint door.
4. Loosen two (2) bolts securing front bearing on speed reducing shaft.
5. Loosen tension bolt that is under the front bearing of the speed reducing shaft.
6. Remove the V-belts.
7. Replace V-belts by reversing the above procedures.
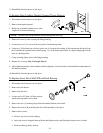
To Replace V-Belts From The Blower Motor To The Fan
1. Loosen the four (4) bolts securing the motor to the base of the dryer.
2. Loosen the tension bolts.
3. Remove old V-belts.
4. Reverse these steps to replace V-belts.
NOTE: Always replace V-belts in pairs.