5
INSTALLATION (MD 3720 CEE )
Inlet Hoses
The inlet hoses must be fitted with the special rubber washers. These rubber washers ensure a
water tight seal between the hoses and the water inlet valves to prevent water leaks. Water
should flow freely into the machine, be sure that the inlet hoses are not bent or kinked.
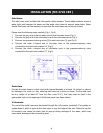
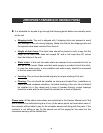
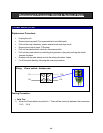
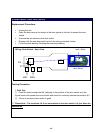
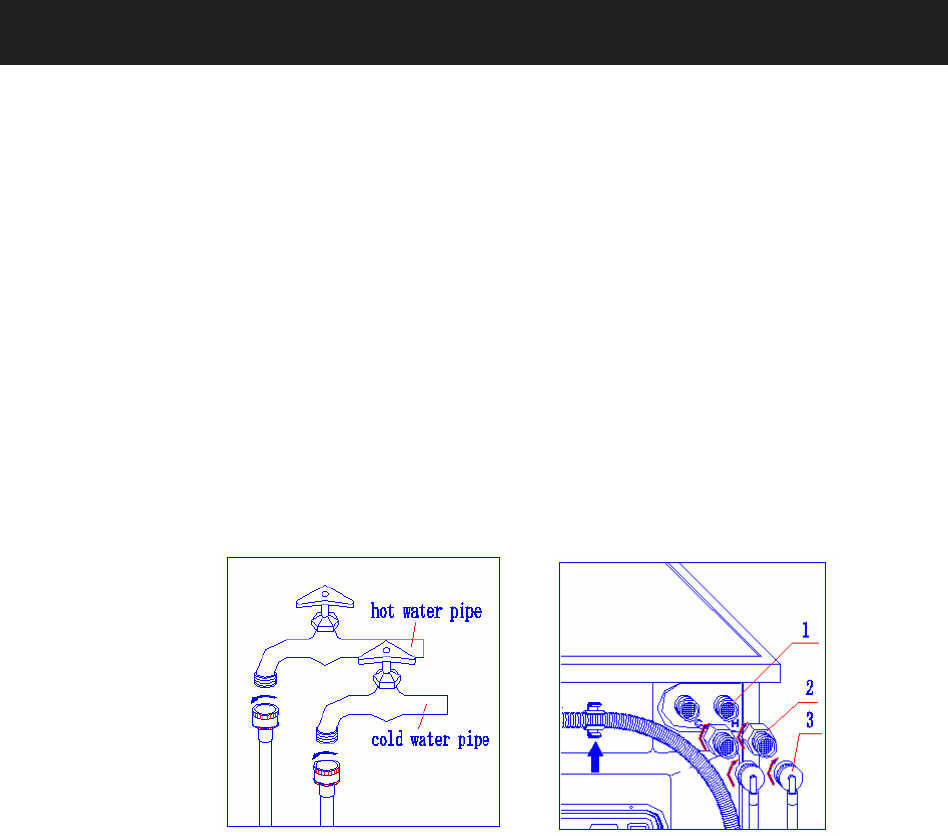
Please read the following steps carefully (Fig.1, Fig.2)
1. Connect the gray end of the hot-water hose to the hot-water faucet (Fig.1).
2. Connect the gray end of the cold-water hose to the cold-water faucet (Fig.1).
3. Connect two pressure-reducing valves [2] to each inlet valve [1] (see Fig.2).
4. Connect the white L-shaped end of hot-water hose to the pressure-reducing valve
connected to the inlet valve marked “H” (Fig.2).
5. Connect the white L-shaped end of cold-water hose to the pressure-reducing valve
connected to the inlet valve marked “C” (Fig.2).
Fig 1 Fig 2
Drain Hose
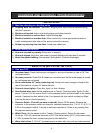
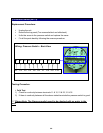
Connect the drain hose to a drain duct (with internal diameter of at least 1.6 inches) or place it
for drainage in to a sink or a tub, ensuring that there are no kinks or bends. The free end must
be at a height of at least 20” from the floor (max 31.5”), the hose must be fixed in the
appropriate hook on the upper part of the back panel (see figure below)
U-Connector
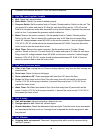
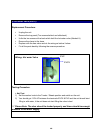
The end of the outlet hose must be passed through the U-Connector (included). This creates an
upside-down U which is put into the drain pipe or over the edge of the sink. Failure to use the
U-Connector may cause the drain hose to pop-up during drainage of the water, which may
cause water damage to the surrounding area.


