


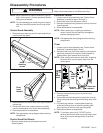


To avoid risk of electrical shock, personal injury, or
death, disconnect power to unit before servicing.
Disassembly Procedures
25 RS3100007 Rev. 0
WARNING
!
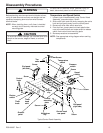
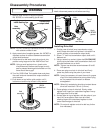
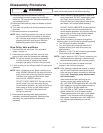
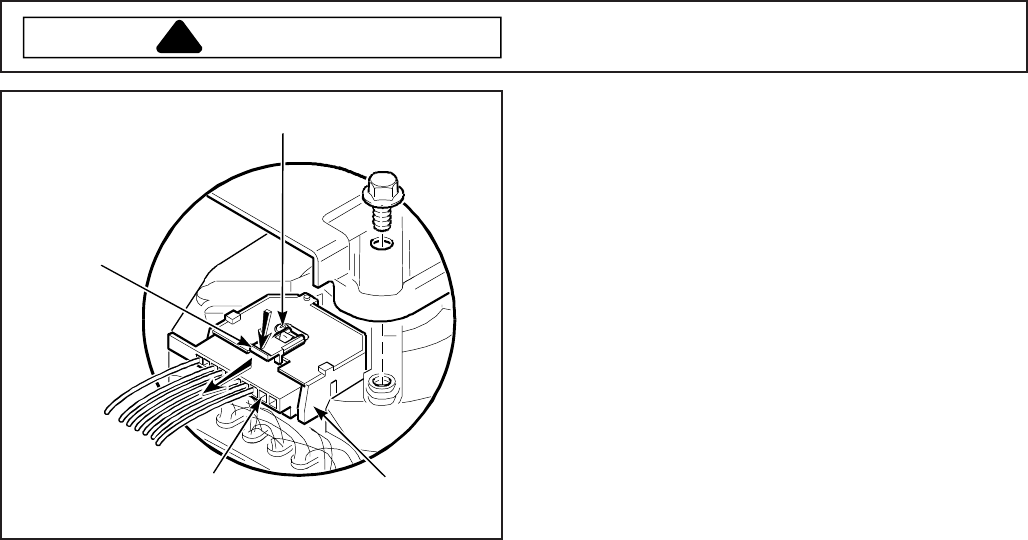
Locking
tab
Switch attaching
screws
Connection
block
Motor
switch
4. Remove screw securing motor switch to motor and
remove switch.
5. Disconnect internal motor leads from motor switch
terminals.
NOTE: See appropriate wiring diagram when rewiring
components.
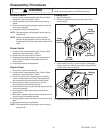
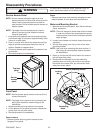
Cabinet Top
1. Remove control hood assembly, see “Control Hood
Assembly” procedure.
2. Remove front panel, see “Front Panel” procedure.
3. Remove screws securing cabinet top.
4. Tape loading door closed.
5. Lift front of cabinet top slightly and pull forward to
disengage from rear hold-down brackets.
6. Pull cabinet top forward far enough to permit
disconnecting ground wires from top left rear corner
gusset of washer cabinet.
7. Disconnect wire terminals from door switch.
NOTE: See appropriate wiring diagram when rewiring
components.
8. Lift cabinet top off washer and set along side the
washer cabinet on a protective padding.
NOTE: DO NOT lay cabinet top flat because it will
damage the door switch lever.
9. Reverse procedure to reassemble.
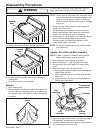
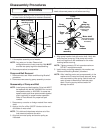
Door Switch
1. Remove front panel, see “Front Panel” procedure.
2. Remove screws securing cabinet top.
3. Tape loading door closed and lift cabinet top to a
vertical position by hinging it on the rear hinges.
NOTE: Cabinet top is self supporting, a small chain
may be used for additional support.
4. Disconnect wires from door switch.
5. Remove screw securing door switch assembly to
underside of cabinet top.
NOTE: See appropriate wiring diagram when rewiring
components.
6. Remove screws securing switch to switch holder.
7. Remove switch from switch holder.
8. Reverse procedure to reassemble.
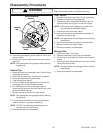
Mixing Valve
1. Disconnect water inlet hoses.
2. Remove screw securing mixing valve bracket.
3. Pull mixing valve bracket and valve out the back of
washer.
4. Disconnect quick disconnect terminals from mixing
valve solenoid terminals.
NOTE: See appropriate wiring diagram when rewiring
components.
5. Reverse procedure to reassemble.