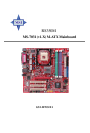
5-3
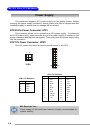
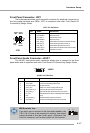
Introduction to ATi IXP300 SATA RAID
BIOS Configuration
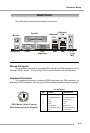
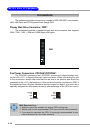
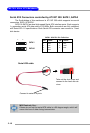
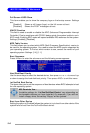
The ATi RAID should be integrated with the system BIOS on all motherboards
with a supported ATi chipset. Power on the computer, and press <Del> key to enter
the BIOS Setup. You need to configure the related settings in BIOS (refer to the SATA
Device Configuration in Integrated Peripherals in Chapter 3 at p.3-14 for details)
first. Then press <Ctrl>+ <S> or the <F4> key to enter the RAID utility, which should
appear early in system boot-up, during the POST (Power-On Self Test).
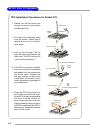
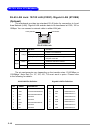
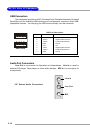
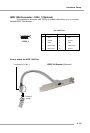
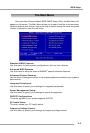
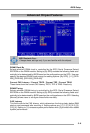
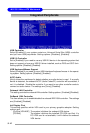
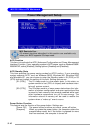
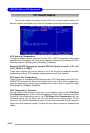
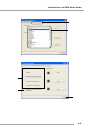
Using the RAID Configuration Utility
1. Creating, Deleting and Rebuilding RAID Sets:
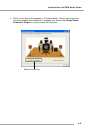
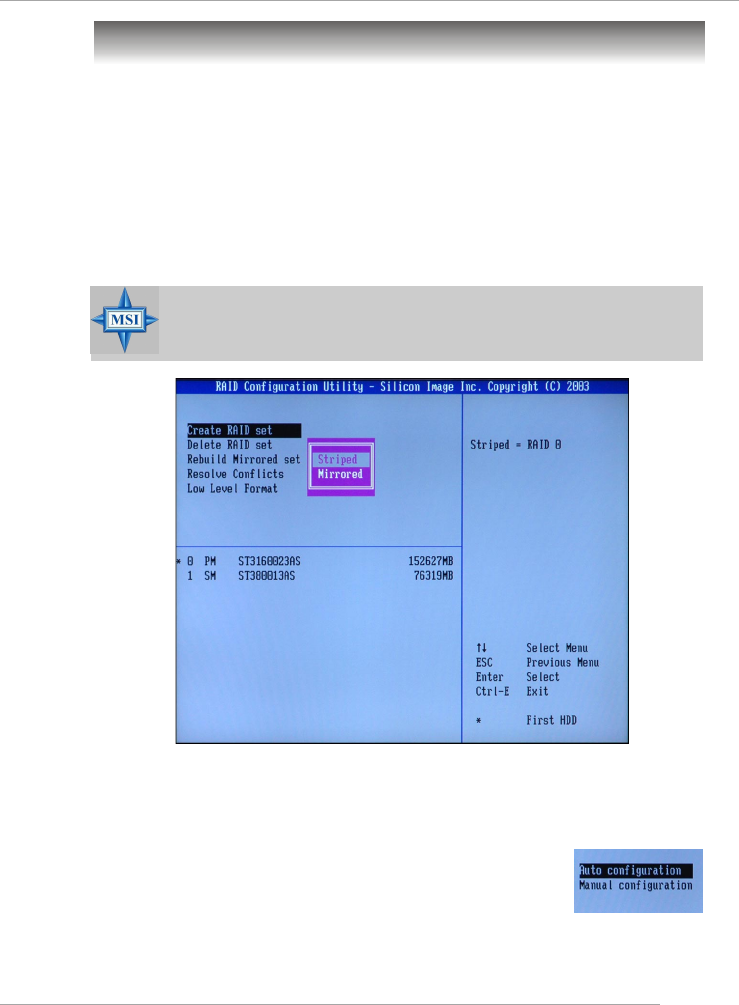
The RAID Utility menu screen will be displayed, shown as following.
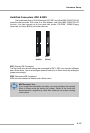
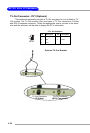
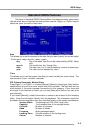
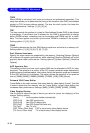
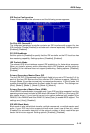
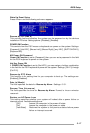
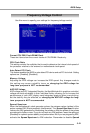
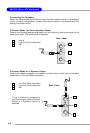
(1) Create RAID Sets
1. The RAID Configuration Utility supports RAID 0 & RAID 1. First select Create
RAID Set, and then choose a RAID 0 Striped, or a RAID 1 Mirrored set.
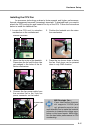
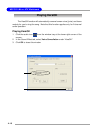
2. Select if you want the utility to automatically configure or if you want to
manually configure the RAID set. Choosing Manual con-
figuration to change the chunk size for the Striped set,
or assign the desired drive for the Source and the Target
respectively for the Mirrored set.
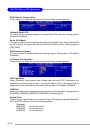
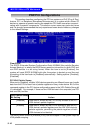
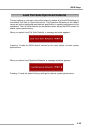
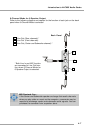
3. The message “Are You Sure?” will display before com-
pleting the configuration. Choose “N” to abort the new RAID set creation, or
“Y” to proceed with the RAID set creation.
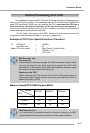
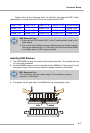
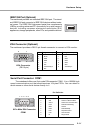
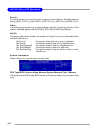
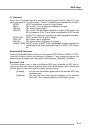
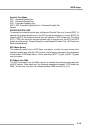
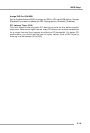
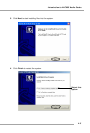
MSI Reminds You...
The “Driver Model” and “Size” in the following example might be different
from your system.