


© Copyright, Alliance Laundry Systems LLC – DO NOT COPY or TRANSMIT
Installation
38970
12
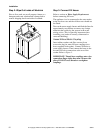
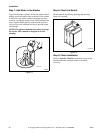
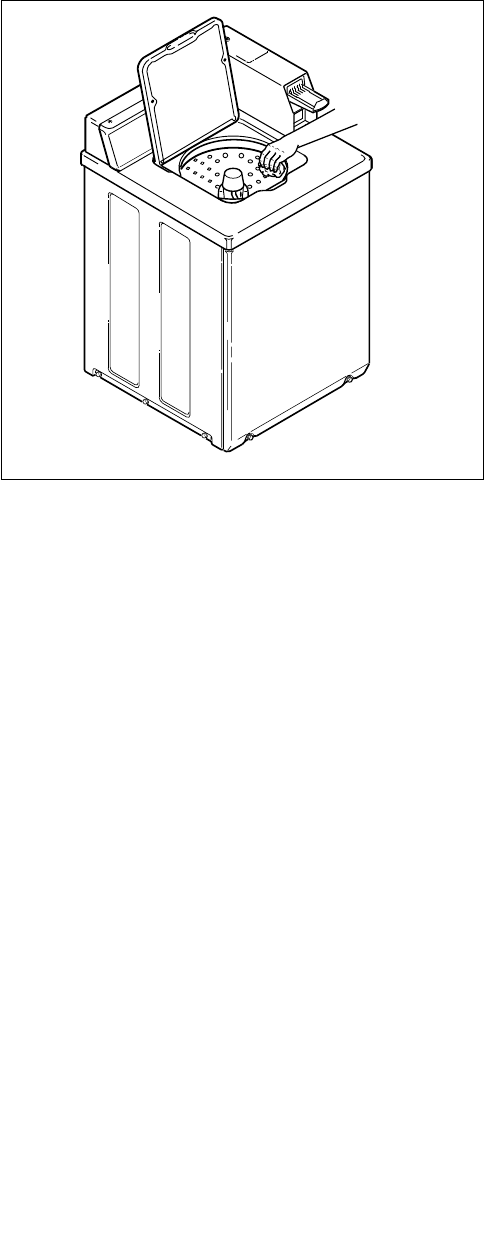
Step 2: Wipe Out Inside of Washtub
Prior to first wash, use an all purpose cleaner or a
detergent and water solution and a damp cloth to
remove shipping dust from inside of washtub.
Figure 4
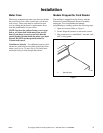
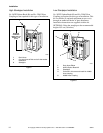
Step 3: Connect Fill Hoses
Refer to section on Water Supply Requirements
before connecting fill hoses.
The appliance is to be connected to the water mains
using new hose-sets and the old hose-sets should not
be reused.
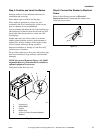
Turn on the water supply faucets and flush the lines for
approximately two minutes to remove any foreign
materials that could clog the screens in the water
mixing valve. (This is especially important when
installing your washer in a newly constructed or
renovated building.)
Hoses Without Metric Coupling
Insert rubber washers and filter screens (from
accessories bag) in water fill hose couplings (two
hoses supplied with washer). Connect fill hoses to
water supply faucets. Then connect the hoses to the
hot and cold valve connections at the rear of the
washer. Refer to Figure 5.
IMPORTANT: Thread hose couplings onto valve
connections finger tight, then turn 1/4 turn with
pliers. DO NOT cross thread or overtighten
couplings.
W396I
W396I