


printed in U.S.A. 1
IMPORTANT TO OWNER
Retain these instructions for future reference.
This new Maytag appliance is designed to serve
you dependably for many years. However, it
cannot do so unless provided with sufficient
electrical power, suitable exhausting and if a gas
model, adequate gas supply. We urge you to
read this carefully to make sure all requirements
are met.
Operating instructions, safety precautions and
your warranty are in the accessory package with
each appliance. Read the operating instructions
carefully.
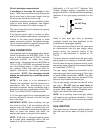
NOTE: A wiring diagram for the dryer is located
on the inside of the dryer access panel. A wiring
diagram for the washer is located on the inside
of the washer cabinet.
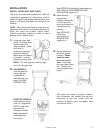
UNCRATING
To remove carton, cut around bottom of carton
on or below dotted line. Cut down each corner
of carton (vertically) and “peel” carton away from
stacked washer/dryer. Fold carton material for
removal. Check the unit for shipping damage.
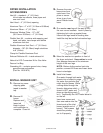
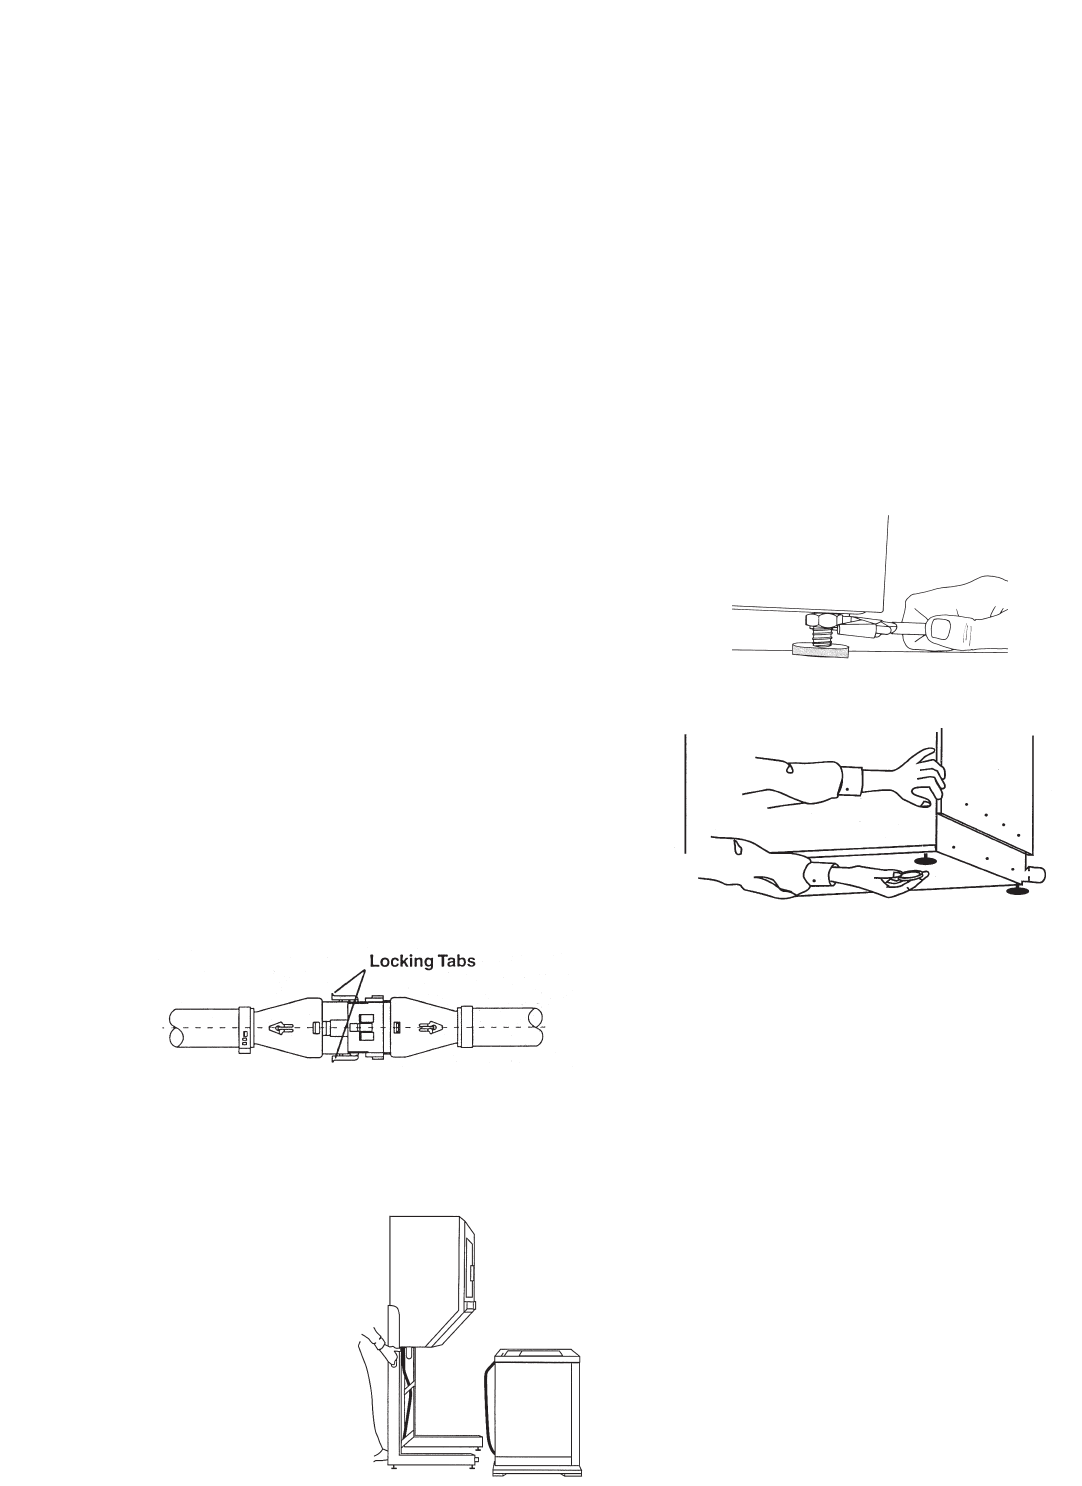
Remove the tape between the washer cabinet
and the dryer stand. Disconnect the control wire
harness which leads from the dryer to the
washer. You will need to depress the locking
tabs to separate the connector.
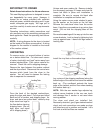
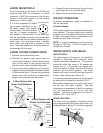
From the back of the stacked washer/dryer,
grasp the dryer and stand. Pull dryer and stand
back and off of washer and shipping base. As
dryer and stand are pulled back, carefully drop
dryer stand rear legs to
the floor before clearing
shipping base. (Do not
drop dryer and stand
off of shipping base!)
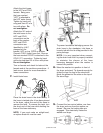
Untape and open washer lid. Remove installa-
tion accessory package, fill hoses and close lid.
Leave tub block in place until installation is
complete. Be sure to remove tub block after
installation is complete and before use!
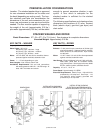
Using the carton corner posts stacked in pairs,
lay the washer on the posts on the left side.
Remove the crate base wires from the carton
base. Use pliers or screwdriver to pry wires from
wood. (Do not kick the shipping base off the
washer.)
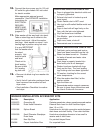
Run washer rear legs all the way up into the rear
corner brackets. Lock in place by tightening lock
nuts up against base. Leave front legs loose for
leveling later.
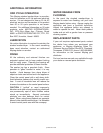
Install the vinyl feet on the washer legs.
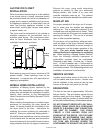
Lay a piece of the shipping cardboard along the
bottom edge of the cabinet and stand the washer
back up. (The cardboard protects the lower
edge at the cabinet and the floor when standing
the washer back up.)
NOTE: With the rear washer legs adjusted up,
cabinet corner brackets in the rear can touch
and damage floor if caution is not used when
moving washer.
The dryer and stand are installed first.
Necessary electrical, gas (if gas stacked washer/
dryer) and vent connections are made as dryer
and stand are put in position and leveled. Let’s
first look at what facilities are needed.