


printed in U.S.A. 11
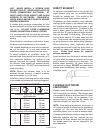
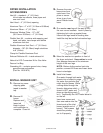
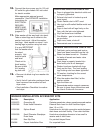
Attach the inlet hoses
to the HOT and COLD
faucets. Being sure
the hose marked
“HOT” is attached to
the HOT water faucet.
Tighten by hand until
snug and then 2/3 of a
turn with pliers. Do
not overtighten.
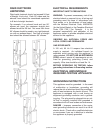
Attach the 90° ends of
the inlet hoses to the
HOT and COLD
connections on the
back of the washer.
HOT and COLD
connections are
identified by H & C
stamped on the
bracket, HOT on top, COLD on bottom.
Connect COLD (lower) hose first. Be sure
the hose marked “COLD” is attached to the
COLD (“C”) connection. Tighten by hand
until snug and then 2/3 of a turn with pliers.
Do not overtighten.
Turn on faucets and check for leaks at the
faucets and at the machine connections. If
leak occurs, check for cross-threaded or
loose connections.
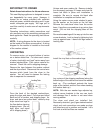
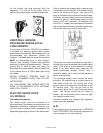
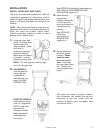
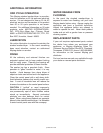
7. Install drain hose.
HOSE
RETAINER
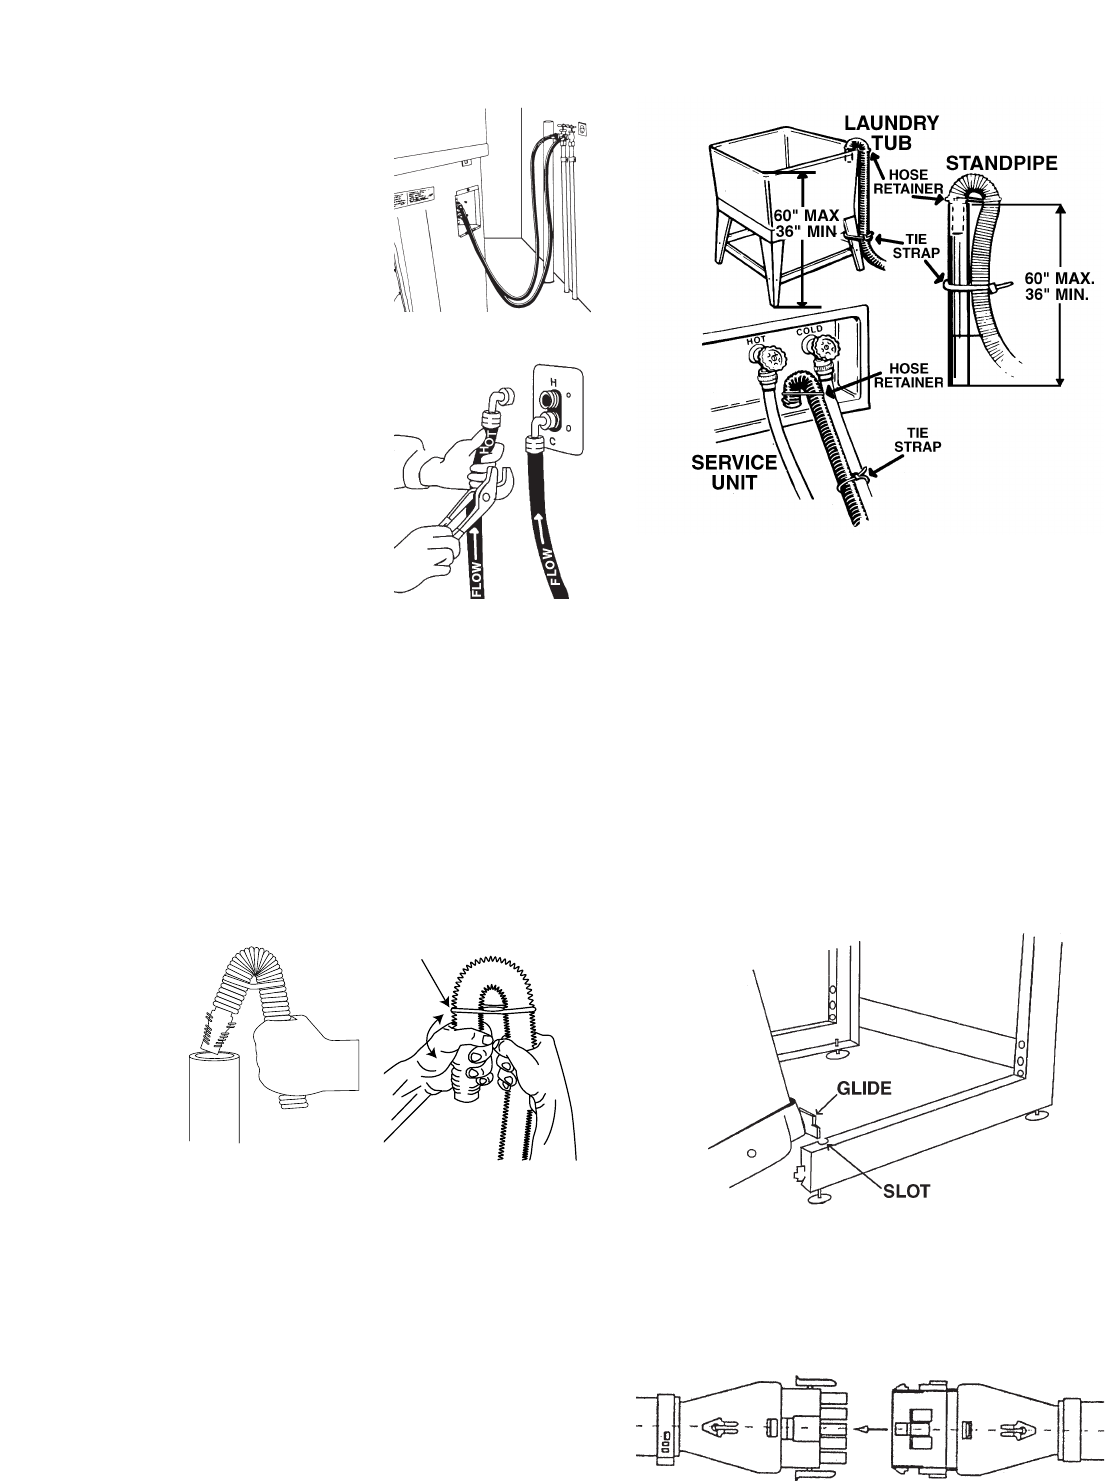
Place the drain hose in the drain facility. If
the hose is twisted after it has been placed
in the drain, adjust the end of the hose to
remove the twist. To remove the twist, turn
the short end of the hose while holding the
base of the hose stationary.
NOTE: If you must make an airtight seal,
an siphon break kit must be used.
To prevent accidental dislodging secure the
drain hose to the standpipe, inlet hose or
laundry tub with the tie strap provided in the
parts package.
NOTE: It is very important when connect-
ing the drain hose that it is properly installed
to minimize the chance of the hose
becoming damaged when the washer is
moved into position.
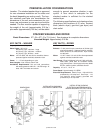
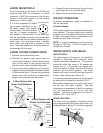
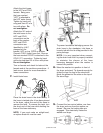
8. Move the washer into position in front of
the dryer and stand. Tip forward enough for
glides to clear the legs of the stand and
guide the glides into the slots on the top of
the stand legs.
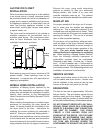
9. Connect the two control cables, one from
the dryer and one from the washer, as
shown. Be sure the locking tabs are
engaged. This electrically mates the
washer and dryer.