


11
B. UNPACKING and SETTING UP
Remove protective shipping material (i.e., plastic wrap and optional shipping box) from dryer.
IMPORTANT: Dryer must be transported and handled in an upright position at all times.
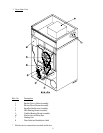
The dryer can be moved to its final location while still attached to the skid or with the skid removed. To unskid
the dryer, locate and remove the four (4) lag bolts securing the base of the dryer to the wooden skid. Two (2)
are located at the rear base (remove the back panel for access), and two (2) are located in the bottom of the
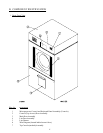
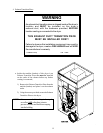
lint chamber. To remove the two (2) lag bolts located in the lint chamber area, remove the lint drawer and the
two (2) Phillips head screws securing lint door in place.
NOTE: Lint door
cannot be removed totally from dryer due to a safety chain. The chain is secured to
the dryer and door with special tamper proof screws. The safety chain must not be removed
or cut from the lint door. Once these lag bolts are off, remove the eight (8) nuts and bolts
holding the skid together and take the skid apart. The dryer can now be removed from the
skid and set into place.
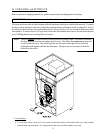
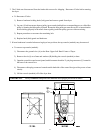
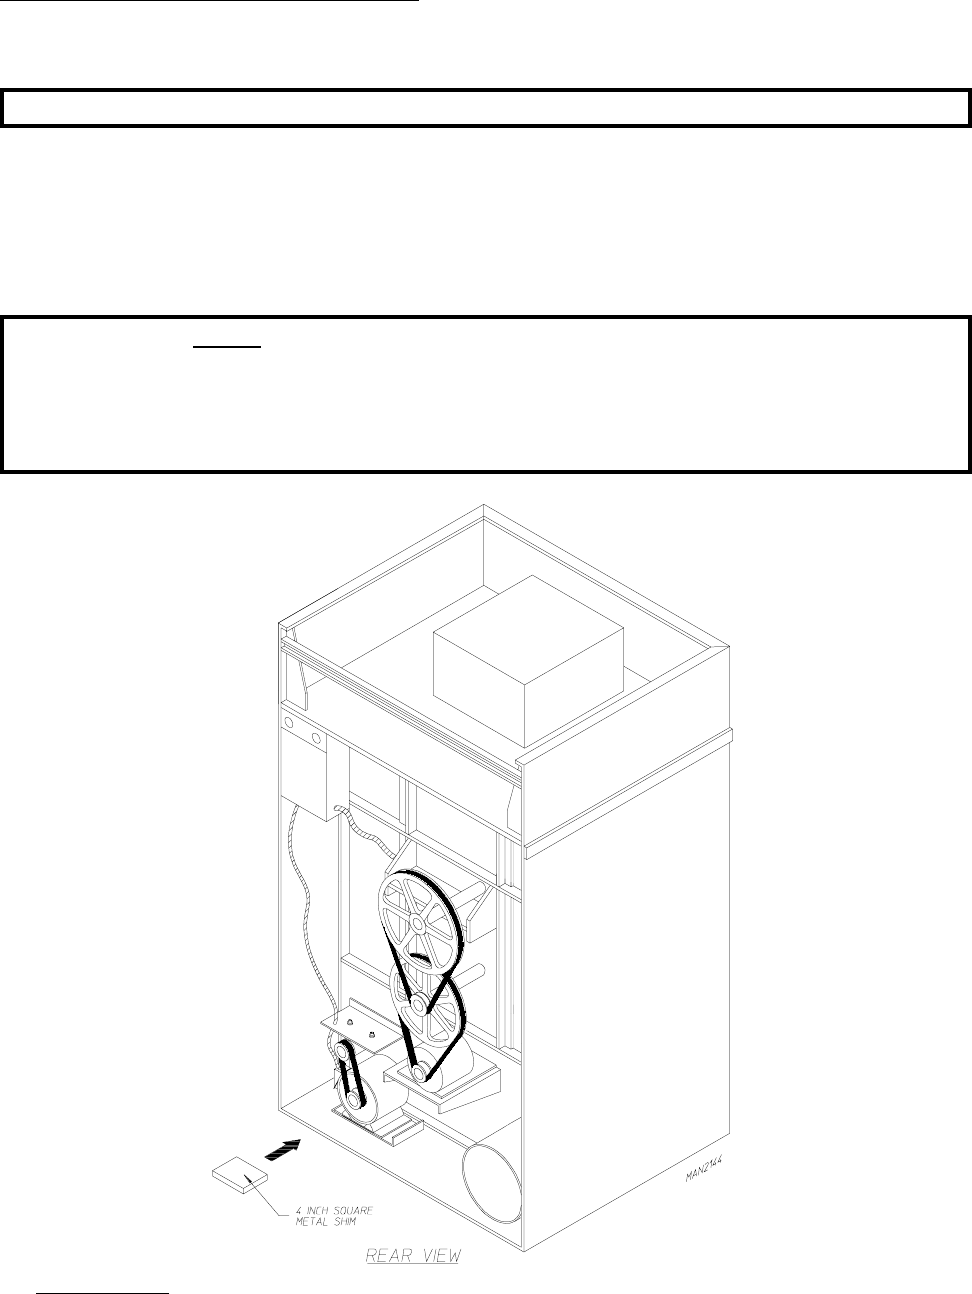
1. Leveling Dryer
a. To level dryer, place 4-inch (10.16 cm) square metal shims (refer to illustration above) or other suitable
material under the base pads. It is suggested that the dryer be tilted slightly to the rear.