Copying
72
2
Reference
Related default settings:
p.120 “Stamp Position 1 - 4”
p.120 “Stamp Format 1 - 4”
p.120 “Stamp Colour: 1 - 4”
A
AA
A
Press [Edit / Colour Creation].
B
BB
B
Press [Stamp].
C
CC
C
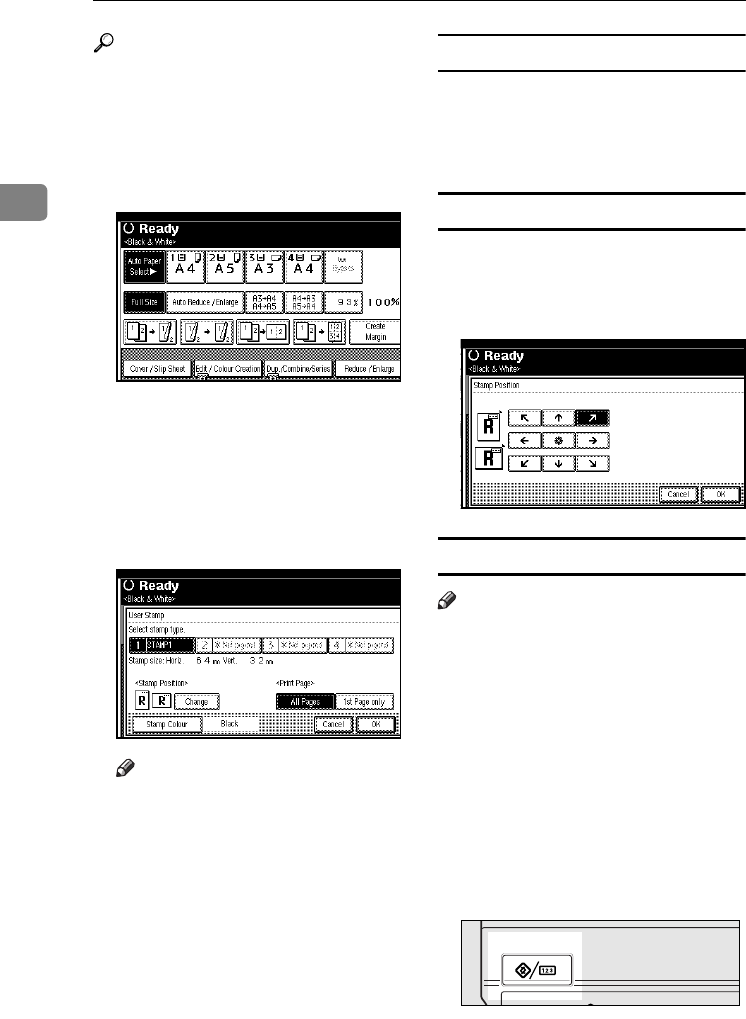
Press [User Stamp].
D
DD
D
Select the stamp number.
E
EE
E
Press [All Pages] or [1st Page Only] to
select the print page.
Note
❒ You can change the stamp col-
our and position. See p.72
“Changing the stamp col-
our”.See p.72 “To change the
stamp position”.
F
FF
F
After all settings are complete,
press [OK].
G
GG
G
Press [OK] twice.
H
HH
H
Place the originals, and then press
the {
{{
{Start}
}}
} key.
Changing the stamp colour
A
AA
A
Press [Stamp Colour].
B
BB
B
Select the stamp colour, then press
[OK].
To change the stamp position
A
AA
A
Press [Change].
B
BB
B
Select the position, and then press
[OK].
To program the user stamp
Note
❒ The range of stamp images for
readability is 10–297 mm high
(0.4"–11.7") and 10–432 mm wide
(0.4"–17.0"). However, if the value
exceeds the maximum area (5,000
mm
2
, 7.75 inch
2
), it is automatically
adjusted to range.
❒ Up to four frequently used images
can be stored in memory.
A
AA
A
Make sure the machine's copier
function is selected.
B
BB
B
Press the {
{{
{User Tools/Counter}
}}
} key.
ZFLS110E
JupiterC2_GB_Copy_F_FM.book Page 72 Friday, January 20, 2006 7:37 PM


