


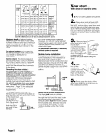
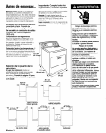
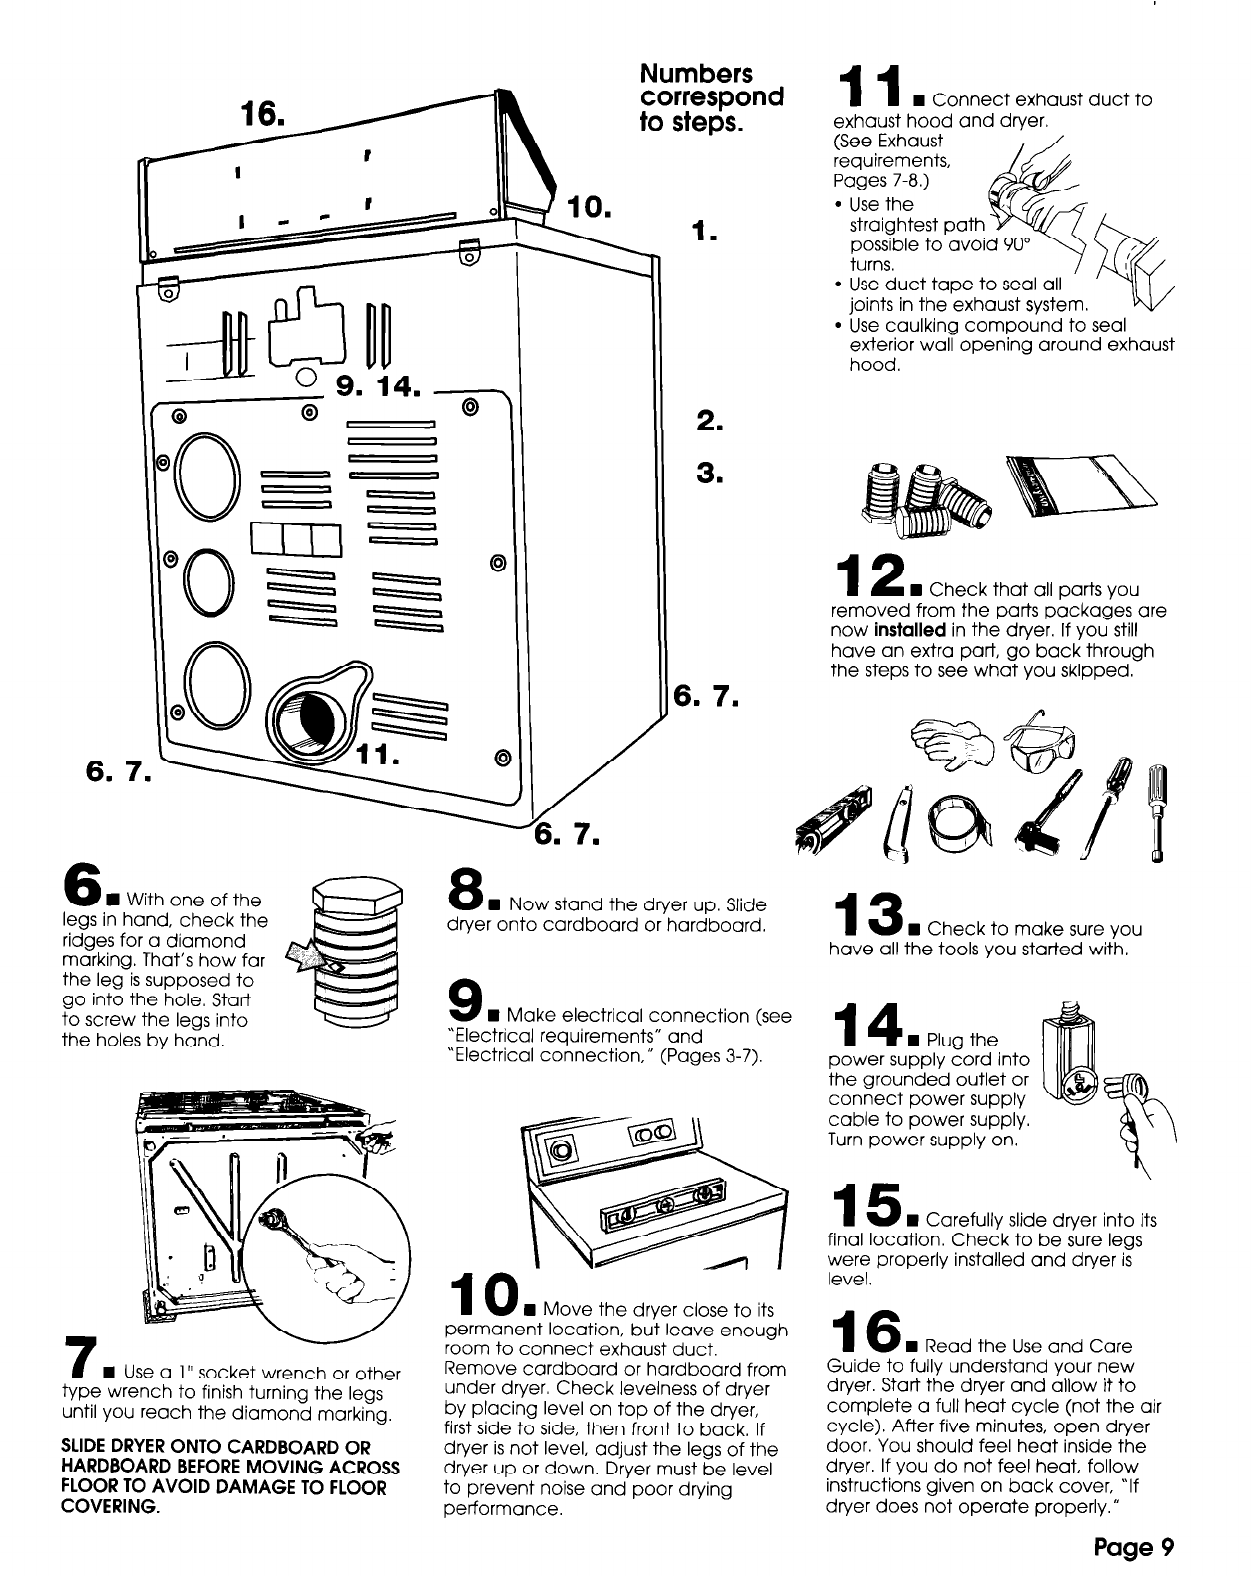
Numbers
correspond
to steps.
6. 7.
6
n
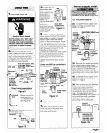
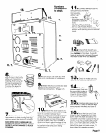
With one of the
legs in hand, check the
ridges for a diamond
marking. That’s how far
the leg is supposed to
go into the hole. Start
to screw the legs into
the holes by hand.
7
n
Use a 1” socket wrench or other
type wrench to finish turning the legs
until you reach the diamond marking.
SLIDE DRYER ONTO CARDBOARD OR
HARDBOARD BEFORE MOVING ACROSS
FLOOR TO AVOID DAMAGE TO FLOOR
COVERING.
I.
2.
3.
6. 7.
8
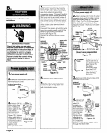
n
Now stand the dryer up. Slide
dryer onto cardboard or hardboard.
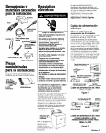
9
n
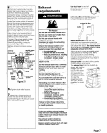
Make electrical connection (see
“Electrical requirements” and
“Electrical connection,” (Pages 3-7).
10
H Move the dryer close to its
permanent location, but leave enough
room to connect exhaust duct.
Remove cardboard or hardboard from
under dryer. Check levelness of dryer
by placing level on top of the dryer,
first side to side, then front to back. If
dryer is not level, adjust the legs of the
dryer up or down. Dryer must be level
to prevent noise and poor drying
performance.
II
n
Connect exhaust duct to
exhaust hood and dryer.
(See Exhaust
requirements,
Pages 7-8.)
l
Use the
l
Use duct tape to seal all
joints in the exhaust system.
%
I
straightest path
possible to avoi
turns.
I
l
Use caulking compound to seal
exterior wall opening around exhaust
hood.
12
n
Check that all parts you
removed from the parts packages are
now installed in the dryer. If you still
have an extra part, go back through
the steps to see what you skipped.
13
n
Check to make sure you
have all the tools you started with.
14
n
Plug the
power supply cord into
the grounded outlet or
connect power supplv
cable to power supply.
Turn power supply on.
\
15
n
Carefullv slide drver into its
final location. Check to be sure legs
were properly installed and dryer is
level.
16
n
Read the Use and Care
Guide to fully understand your new
dryer. Start the dryer and allow it to
complete a full heat cycle (not the air
cycle). After five minutes, open dryer
door. You should feel heat inside the
dryer. If you do not feel heat, follow
instructions given on back cover, “If
dryer does not operate properly. *
Page 9