


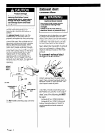
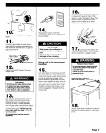

Remove the red caps from the gas
pipes.
11.
Connect gas supply to each dryer.
Use pipe-joint compound resistant to
the action of Natural and L.P. gas for
gas connections.
12.
Open the shutoff valves in the gas
supply lines.
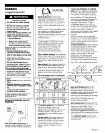
Fire Hazard
Do Not use an open flame to test
for leaks from gas connections.
Checking for leaks with a flame
may result in a fire or explosion.
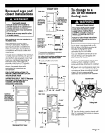
13.
Use a brush and liquid detergent to
test all gas connections for leaks.
Bubbles around connections will
indicate a leak. If a leak appears,
shut off gas valve controls and adjust
connections. Then check
connections again. NEVER TEST FOR
GAS LEAKS WITH A FLAME. Close the
access panels.
All connections must be wrench-
tightened.
8
00
0
8
00
14 w
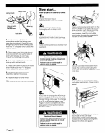
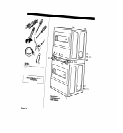
Plug power supply cords into
grounded outlets. Turn on electrical
power supply.
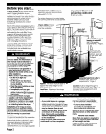
Floor Damage
Slide dryers onto cardboard or
hardboard before moving across
floor.
Failure to do so may result in
damage to floor covering.
Move unit to its permanent
location.
15.
Turn one dryer on to remove air from
the gas supply line. Using a full heat
cycle (not the air cycle), let the dryer
run for at least five minutes, If the
burner does not ignite and you can
feel no heat inside the dryer, shut off
the dryer for five minutes. Check that
all supply valve controls are in ‘ON”
position and that the power supply
cord is plugged in. Repeat the five-
minute test.
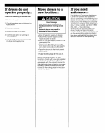
16.
Check levelness of dryers by placing
a carpenter’s level on top of the
dryers or collar, first side to side, then
front to back. If dryer is not level,
adjust the front legs up or down.
Make the final check with the level.
17
n
TO exhaust the dryers, see
“Exhaust requirements” and “Exhaust
duct connection,” pages 5 and 6.
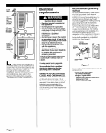
Personal Injury Hazard
To prevent tipping, tether bracket
must be secured to wall studs or
concrete wall.
Failure to do so could result in
personal injury.
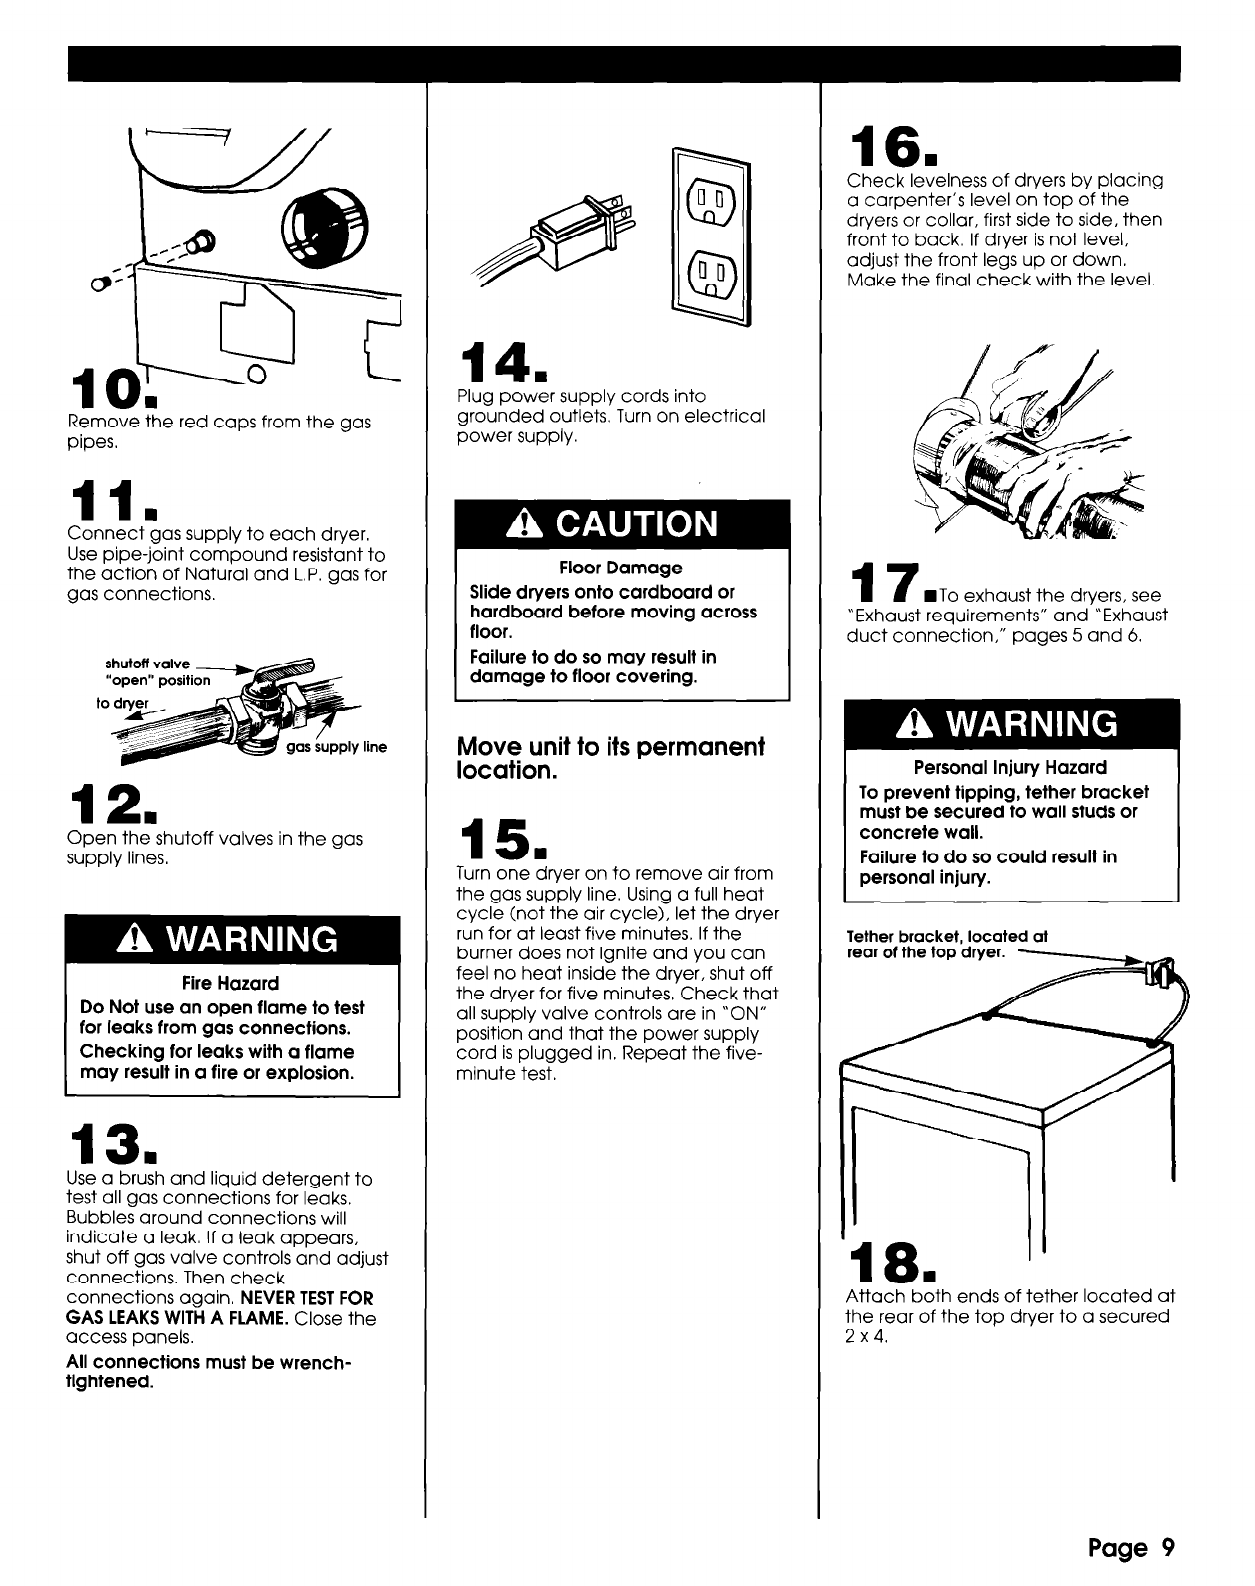
Tether bracket, located at
rear of the top dryer.
w
Attach both ends of tether located at
the rear of the top dryer to a secured
2x4.
Page 9