Note
• When you specify a PIN code for a registered folder, a screen asking you to enter a PIN code is
displayed. Entering the PIN code allows you to assign the shared folder as the destination.
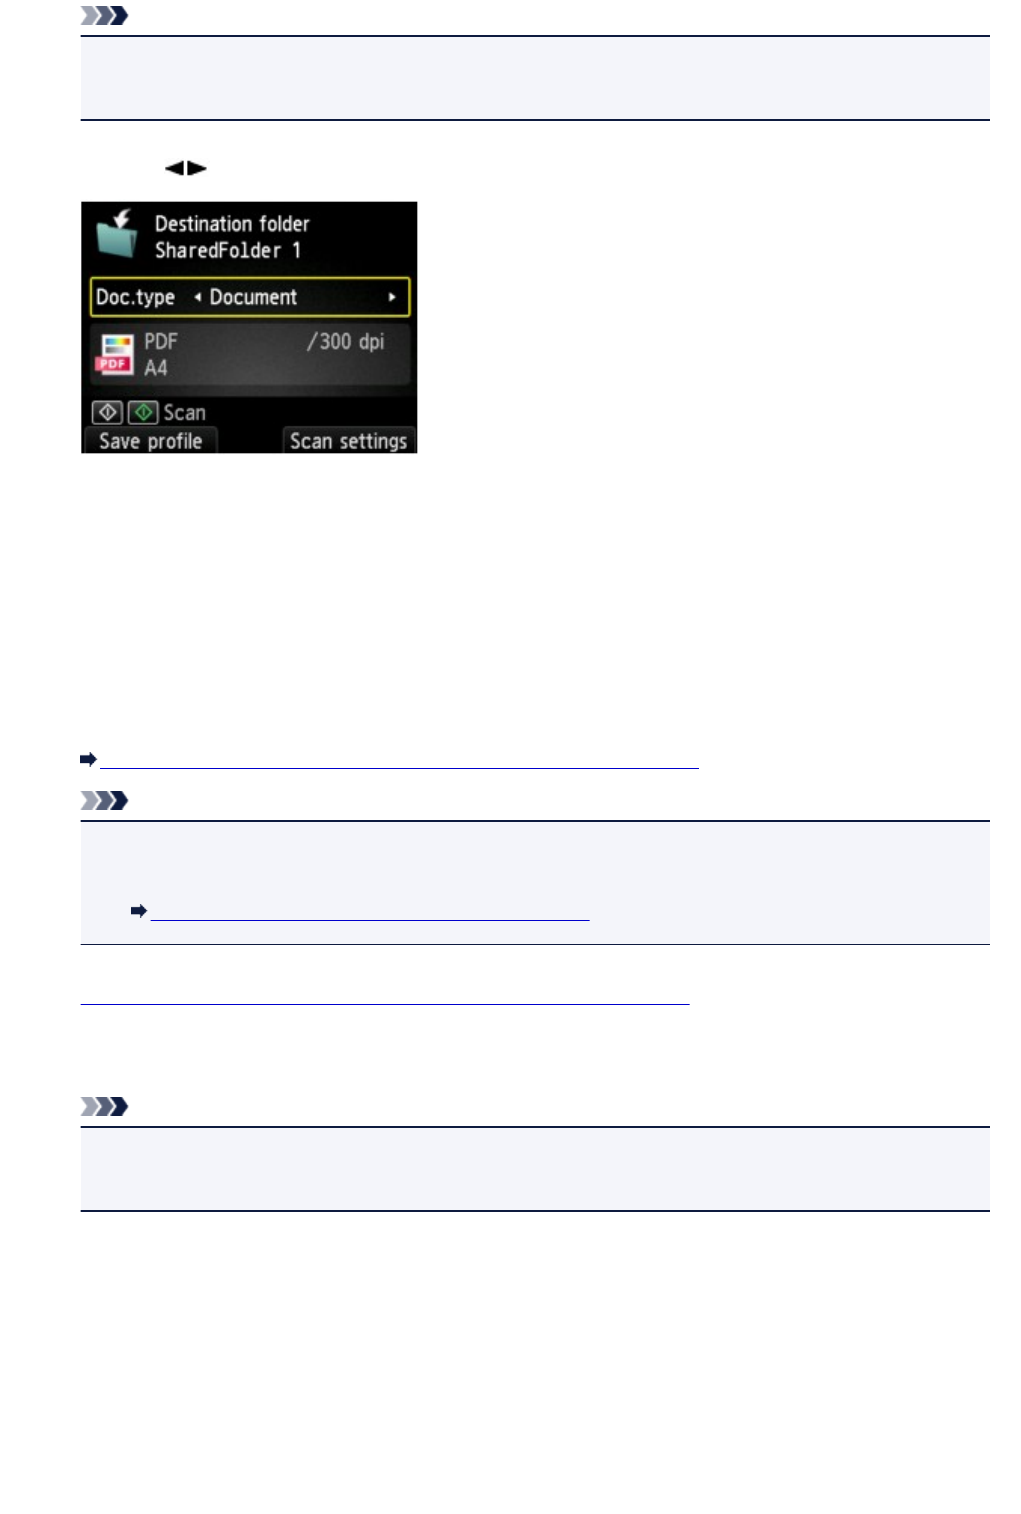
5. Use the button to select the document type.
Document
Scans the original on the platen glass or in the ADF as a document data applying the settings
specified in Scan settings.
Photo
Scans the original on the platen glass as a photo data applying the settings specified in Scan
settings.
6.
Press the right Function button to specify the settings as necessary.
Setting Items for Scanning Using the Operation Panel of the Machine
Note
• Pressing the left Function button on the Scan standby screen allows you to register the current
scan settings as a custom setting.
Registering the Favorite Settings (Custom profiles)
7.
Load the original document on the platen glass or in the ADF.
8. Press the Color button for color scanning, or the Black button for black & white scanning.
Note
•
If the original is not loaded properly, a message is displayed on the LCD. Load the original on the
platen glass or in the ADF according to the scan settings.
If ON is selected for Preview on the scan settings screen, the preview screen is displayed on the LCD
after scanning. To rescan the original, press the left Function button. If you select PDF or Compact
PDF for Format on the scan setting screen, you can rotate the scanning image on the preview screen by
pressing the right Function button. To start saving, press the OK button.
•
If you select JPEG for Format on the scan setting screen:
The machine starts scanning and scanned data is forwarded to the shared folder on the computer.
•
If you select PDF or Compact PDF for Format on the scan setting screen:
556


