


—
19
—
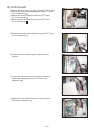
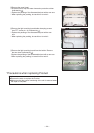
(8) Light receiving board
1Perform the same work as in steps 1 through B of (7) above.
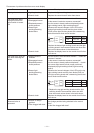
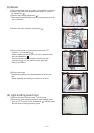
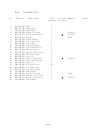
2Reverse the main body, remove the clamping screws (twelve
special black screws 4 x 16, indicated by ●) from the rear surface,
and then reverse the main body back to the original position again.
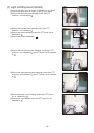
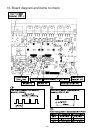
ARemove the board fixing plate clamping screws (two PTT
screws 4 x 16, indicated by ●).
BRemove the light emitting board (bottom) from the board
fixing plate, and disconnect the lead wires.
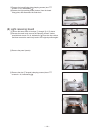
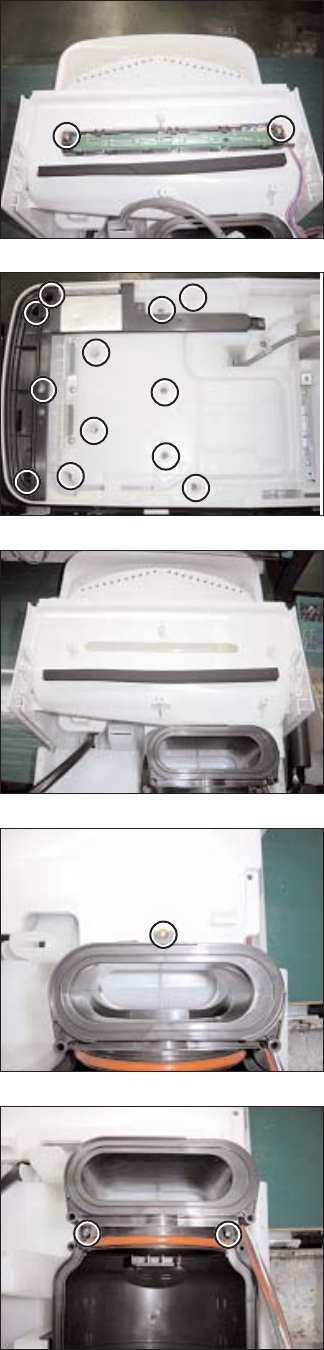
3Remove the panel (center).
4Remove the duct (T-shaped) clamping screws (three PTT
screws 4 x 16, indicated by ●).