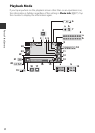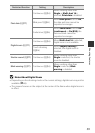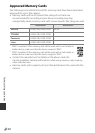
18
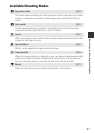
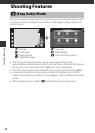
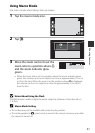
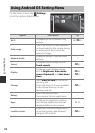
Basic Steps for Shooting and Playback
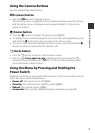
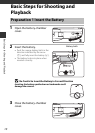
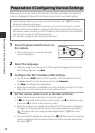
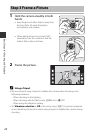
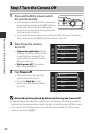
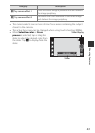
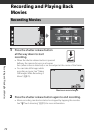
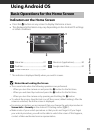
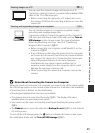
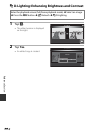
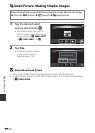
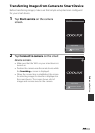
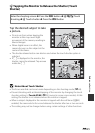
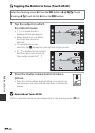
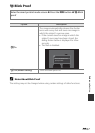
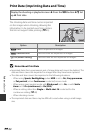
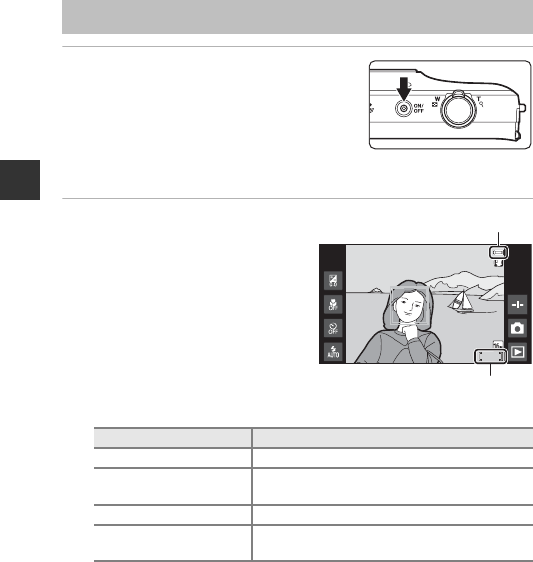
1 Press the power switch.
• The monitor turns on and the shooting
screen is displayed. You can start taking
images immediately (A19).
• Before proceeding to step 2, wait until the
playback mode icon is displayed (A19).
• For more information about turning the
camera off, see “Step 7 Turn the Camera Off” (A30).
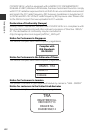
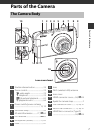
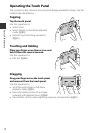
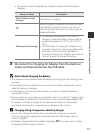
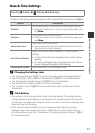
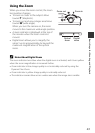
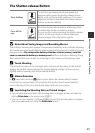
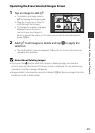
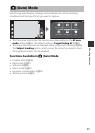
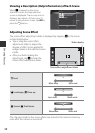
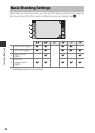
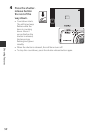
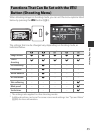
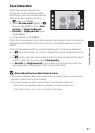
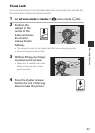
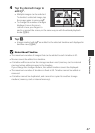
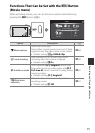
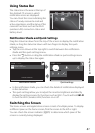
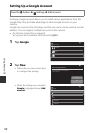
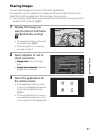
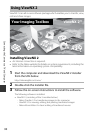
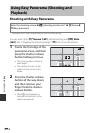
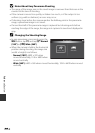
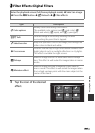
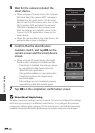
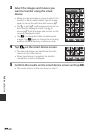
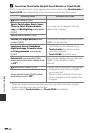
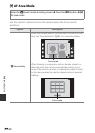
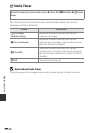
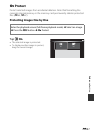
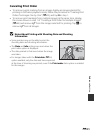
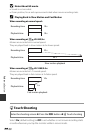
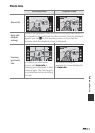
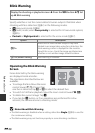
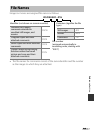
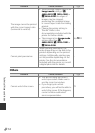
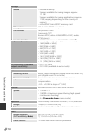
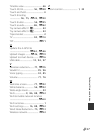
2 Check the battery level
indicator and the numb er
of exposures remaining.
Battery Level Indicator
Number of Exposures Remaining
The number of images that can be taken is displayed.
• If a memory card is not inserted, IN is displayed to indicate that images are
saved in the internal memory.
Step 1 Turn the Camera On
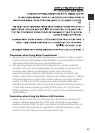
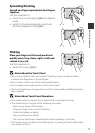
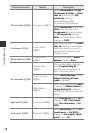
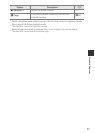
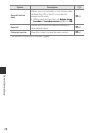
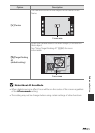
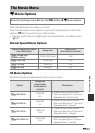
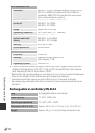
Indicator Description
D The battery level is high.
B
The battery level is low. The indicator shows the
remaining battery level in six steps.
C The battery is charging.
P
Battery exhaust ed.
The camera cannot capture images. Recharge
the battery.
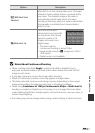
1910
1910
Battery level indicator
Number of exposures remaining