


16
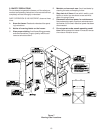
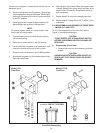
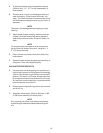
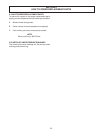
Figure 13. Auger with Rubber Rear Seal
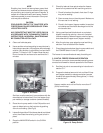
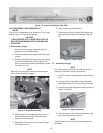
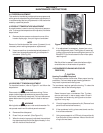
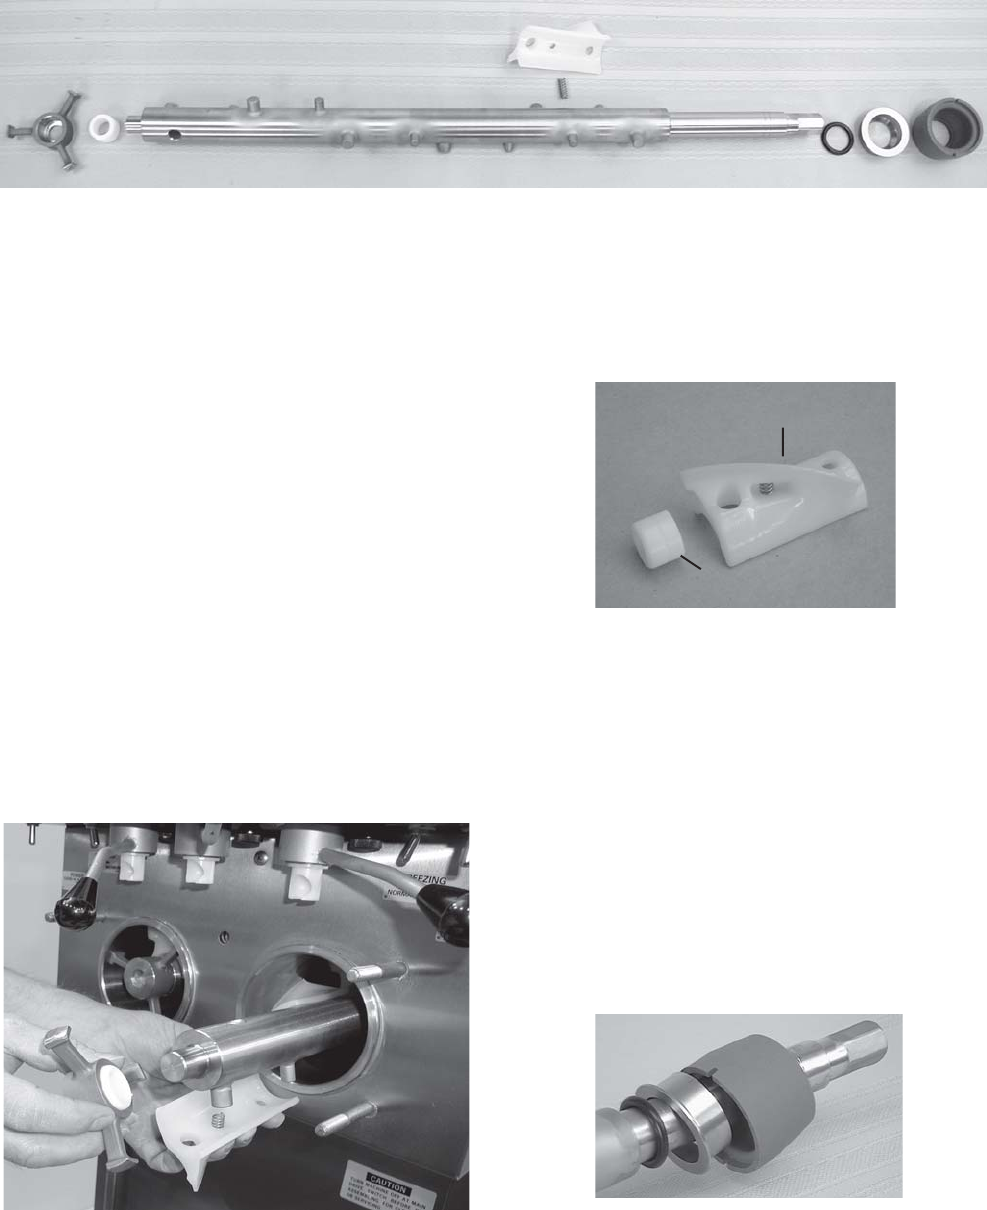
Figure 14. Auger Disassembly
4. Keep the rear of the auger tipped up once it is
clear of the freezer barrel. This prevents the
auger seal from falling off.
5. Wipe spline lubricant off hex end rear of auger
with a paper towel.
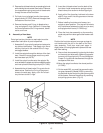
3.16 DISASSEMBLY AND ASSEMBLY OF
AUGER
To aid in the disassembly and assembly of the auger,
refer to Figure 13 in the following steps:
CAUTION
TURN FREEZER OFF AT MAIN DRIVE SWITCH
BEFORE DISASSEMBLING FOR CLEANING AND
SERVICING.
A. Diassembly of auger
1. Remove the front auger support by pulling it
straight out of the freezer barrel.
2. Remove the plastic bearing from the front auger
support.
3. Remove the auger by pulling slowly and rotating
out of the freezer barrel. As the auger is with
drawn, remove each plastic flight and spring from
the auger. (Fig.14)
NOTE
Be careful not to scratch inside of the freezer barrel
when removing flights or augers.
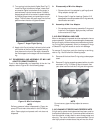
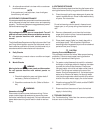
6. Remove the rear seal assembly.
7. After proper cleaning, inspect plastic parts and
rear seal parts for wear and damage. (See Fig.
15)
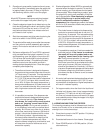
Auger Flight
Front Auger Bearing
Figure 15. Plastic Parts
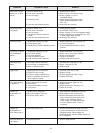
B. Assembly of Auger
NOTE
Petro-Gel sanitary lubricant or equivalent must be
used when lubrication of parts is specified.
1. Install O-ring onto auger shaft dry (without lubrica
tion).
2. Lubricate the O-ring and the inside of the rear
seal adapter with a thin film of sanitary lubricant.
3. Install the rear seal adapter and seal in order as
shown in Figure 16.
Figure 16. Auger Assembly
4. Lubricate the hex drive end of auger with a small
amount of white spline lubricant.
NOTE
A small container of socket lubricant is shipped with
the freezer.