


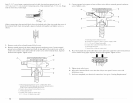


4. Using pliers, tighten the couplings with an additional two-thirds turn. 10. Using pliers, tighten the coupling with an additional two-thirds turn.
NOTE: I)o not overtighten. Damage to the coupling can result.
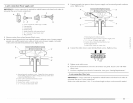
5. Attach "Y" connector to brass male end of small hose. Screw on coupling by hand until it
is seated on connector.
6. Attach straight end of long hose to "Y" connector.
7. Attach washer cold inlet hose to other end of "Y" connector. Screw on coupling by hand
until it is seated on connector.
8. Using pliers, tighten the couplings with an additional two-thirds turn.
A
NOTE: I)o not overtighten. Damage to the coupling can result.
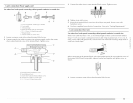
11. Check that the water faucets are on.
12. Check for leaks around "Y" connector, faucet and hoses.
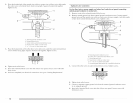
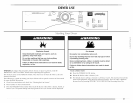
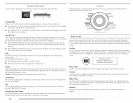
Check the levelness of the dryer. Check levelness first side to side, then front to back.
21!:
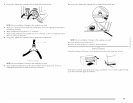
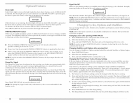
9.
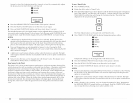
A. Inlet to cold water
NOTE; Do not overtighten. Damage to the coupling can result.
Attach angled end of long hose to fill valve at bottom of dryer back panel. Screw on
coupling by hand until it is seated on fill valve connector.
If the dryer is not level, prop up the dryer using a wood block. Use a wrench to adjust the legs
up or clown and check again for levelness.