


– 27 –
Blower Motor
The blower motor is a DC, variable speed motor
capable of operating at different speeds in
response to changing air temperature and venting
impedances. Below 1000 rpm, the dryer control
turns the heater off.
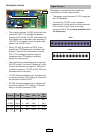
Resistance of the motor windings can be
measured at the 10-pin connector on the inverter
board or at the motor. (See
Inverter and Main
Board Pin Connectors
).
The blower motor has an approximate resistance
value of 14 Ω between the following wires:
• Yellow to Yellow
• Red to Red
• Blue to Blue
The remaining wires are a ground and feedback
through the control for determining motor speed.
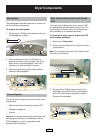
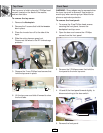
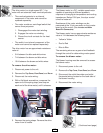
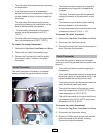
To remove the blower motor:
The blower housing must be removed to access
the blower motor.
1. Disconnect power to the unit.
2. Remove the
Top Cover, Front Panel, and Drum.
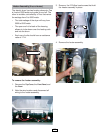
3. Disconnect the outlet thermistor and outlet
thermostat wiring located on the back side of
the blower housing.
4. Disconnect the motor wiring.
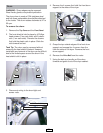
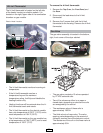
5. Remove the spring straps. Remove the drive
motor from its cradle.
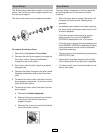
Drive Motor
The drive-motor is a single-speed AC,
1
/3-hp
motor with an automatic reset overload protector.
• The overload protector is an internal
component of the motor and cannot be
replaced separately.
• The motor contains a centrifugal switch that
serves three purposes:
1. Disengages the motor start winding.
2. Engages the motor run winding.
3. Closes the circuit contacts for the heat
source.
• The switch is an internal component of the
motor and cannot be replaced separately.
The drive motor has an approximate resistance
value of:
•3 Ω between the blue and white wires
•7 Ω between the brown and blue wires.
• 10 Ω between the brown and white wires.
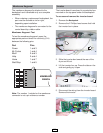
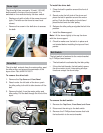
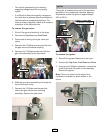
To remove the drive motor:
1. Disconnect power to the unit.
2. Remove the
Top Cover, Front Panel, and Drum.
3. Disconnect the motor wiring.
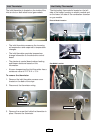
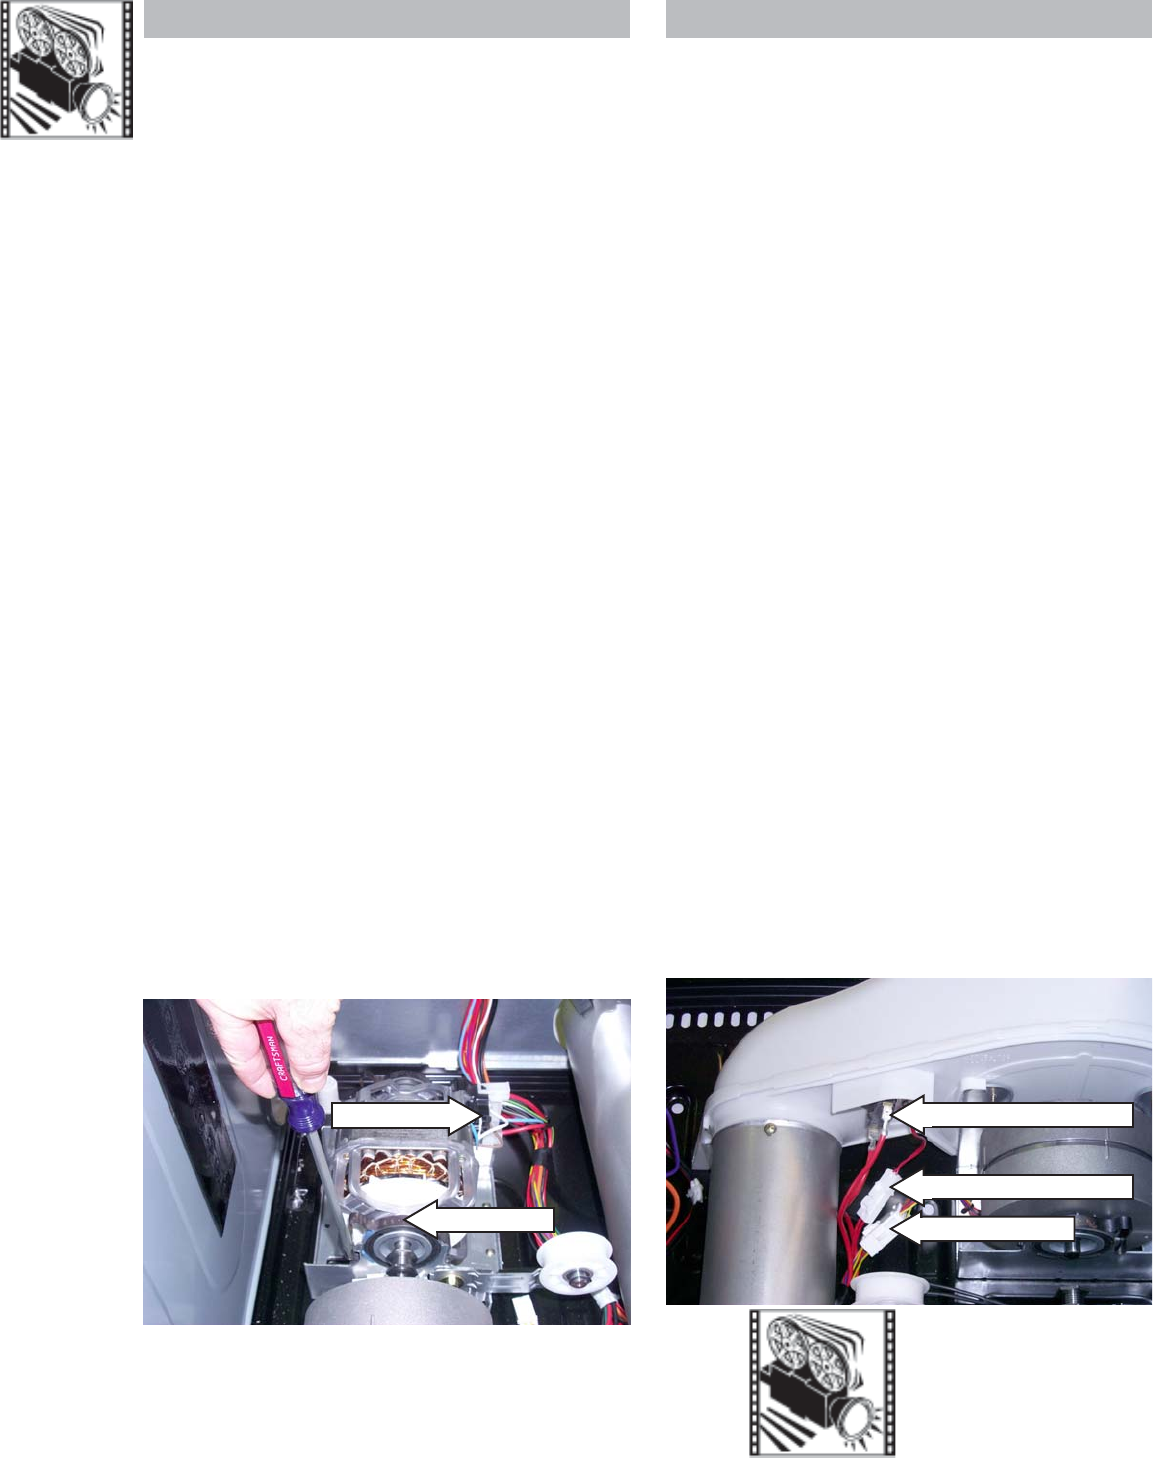
4. With a flat blade screwdriver, compress the
open end of the spring strap (one strap on
each end of the drive motor) until it releases.
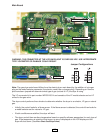
Motor Wiring
Outlet Thermostat Wiring
Outlet Thermistor Wiring
(Continued next page)
Disconnect
Spring Strap