


9
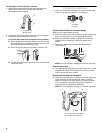
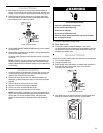
7. Attach the hose with the blue coupling to the COLD water
(left) inlet valve. Screw on coupling by hand until it is seated
on the washer. Using pliers, tighten the couplings with an
additional two-thirds turn.
NOTE: Do not overtighten. Damage to the valves can result.
Check for leaks
8. Turn on the water faucets and check for leaks. A small
amount of water might enter the washer. You will drain this
later.
NOTE: Replace inlet hoses after 5 years of use to reduce the
risk of hose failure. Record hose installation or replacement
dates for future reference.
■ If you connect only one water hose, you must cap off the
remaining water inlet port.
■ Periodically inspect and replace hoses if bulges, kinks,
cuts, wear, or leaks are found.
Secure Drain Hose
1. Drape the power cord over the console.
2. Move the washer to its final location and remove any
cardboard used to move washer.
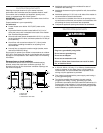
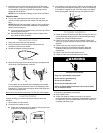
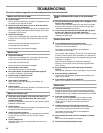
3. Locate the beaded tie strap (supplied).
Beaded Tie Strap
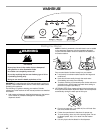
4. Wrap the drain hose to the laundry tub leg or standpipe with
the tie strap. (See illustrations A and B.)
If the washer faucets and the drain standpipe are recessed,
put the hooked end of the drain hose in the standpipe. (See
illustration C.) Tightly wrap the tie strap around the water inlet
hoses and the drain hose.
Do not force excess drain hose back into the rear of the washer.
Level the Washer
Properly leveling your washer prevents excessive noise and
vibration.
1. Move washer to final location.
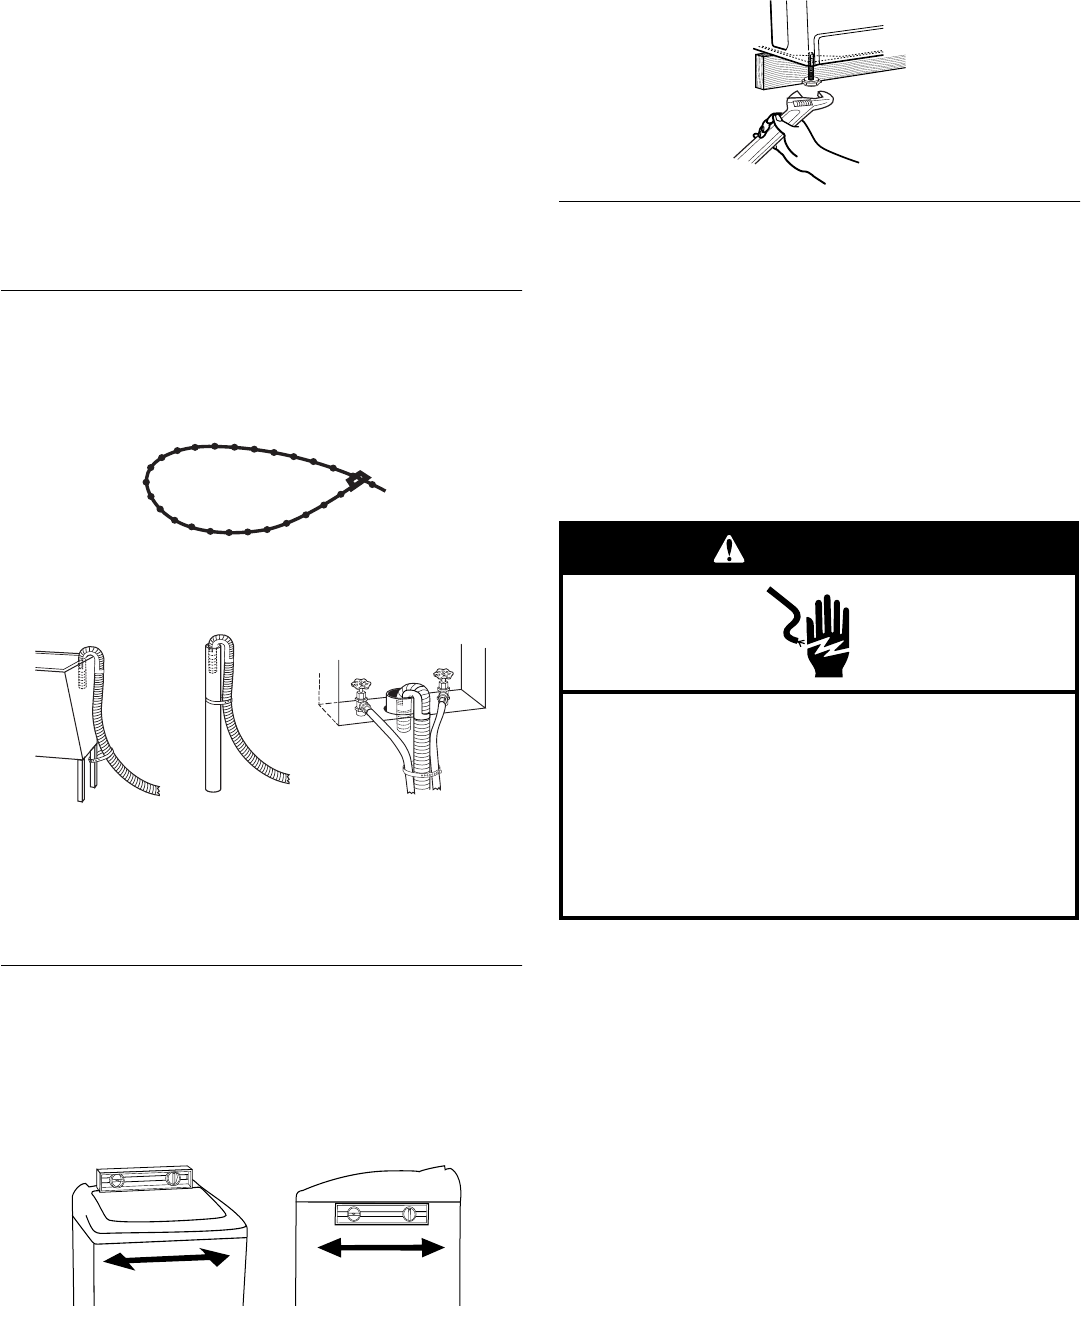
2. Check that the washer is level.
■ Check side to side and front to back by lining up the level
as shown in the following illustration.
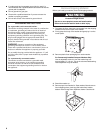
3. If the washer is not level, prop up the front of the washer with
the wood block and adjust the feet up or down as necessary.
If the washer is against a wall, move the washer out slightly
before tipping back. Repeat this step until washer is level.
Complete Installation
1. Check the electrical requirements. Be sure that you have the
correct electrical supply and the recommended grounding
method. See “Electrical Requirements.”
2. Check to be sure all parts are now installed. If there is an
extra part, go back through the steps to see which step was
skipped.
3. Check to be sure you have all of your tools.
4. Dispose of/recycle all packaging materials. Keep the
expanded foam plug for use if the washer should be
transported.
5. Check to be sure the water faucets are on.
6. Check for leaks around faucets and inlet hoses.
7. Plug into a grounded 3 prong outlet.
8. Read “Washer Use.”
9. To test your washer, measure and add ¹⁄₂ the normal
recommended amount of detergent to the washer. Close the
lid. Select any cycle, and then press START/OFF. Allow it to
complete one whole cycle.
BC
A
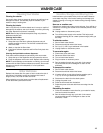
Electrical Shock Hazard
Plug into a grounded 3 prong outlet.
Do not remove ground prong.
Do not use an adapter.
Do not use an extension cord.
Failure to follow these instructions can result in death,
fire, or electrical shock.
WARNING