11
Connect Washer
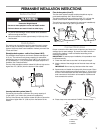
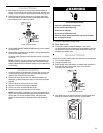
1. Roll washer to sink area. It rolls forward and backward on
wheels. The wheels do not roll from side to side. Be sure your
washer is on a level floor to help avoid movement during spin.
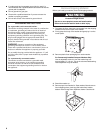
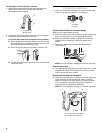
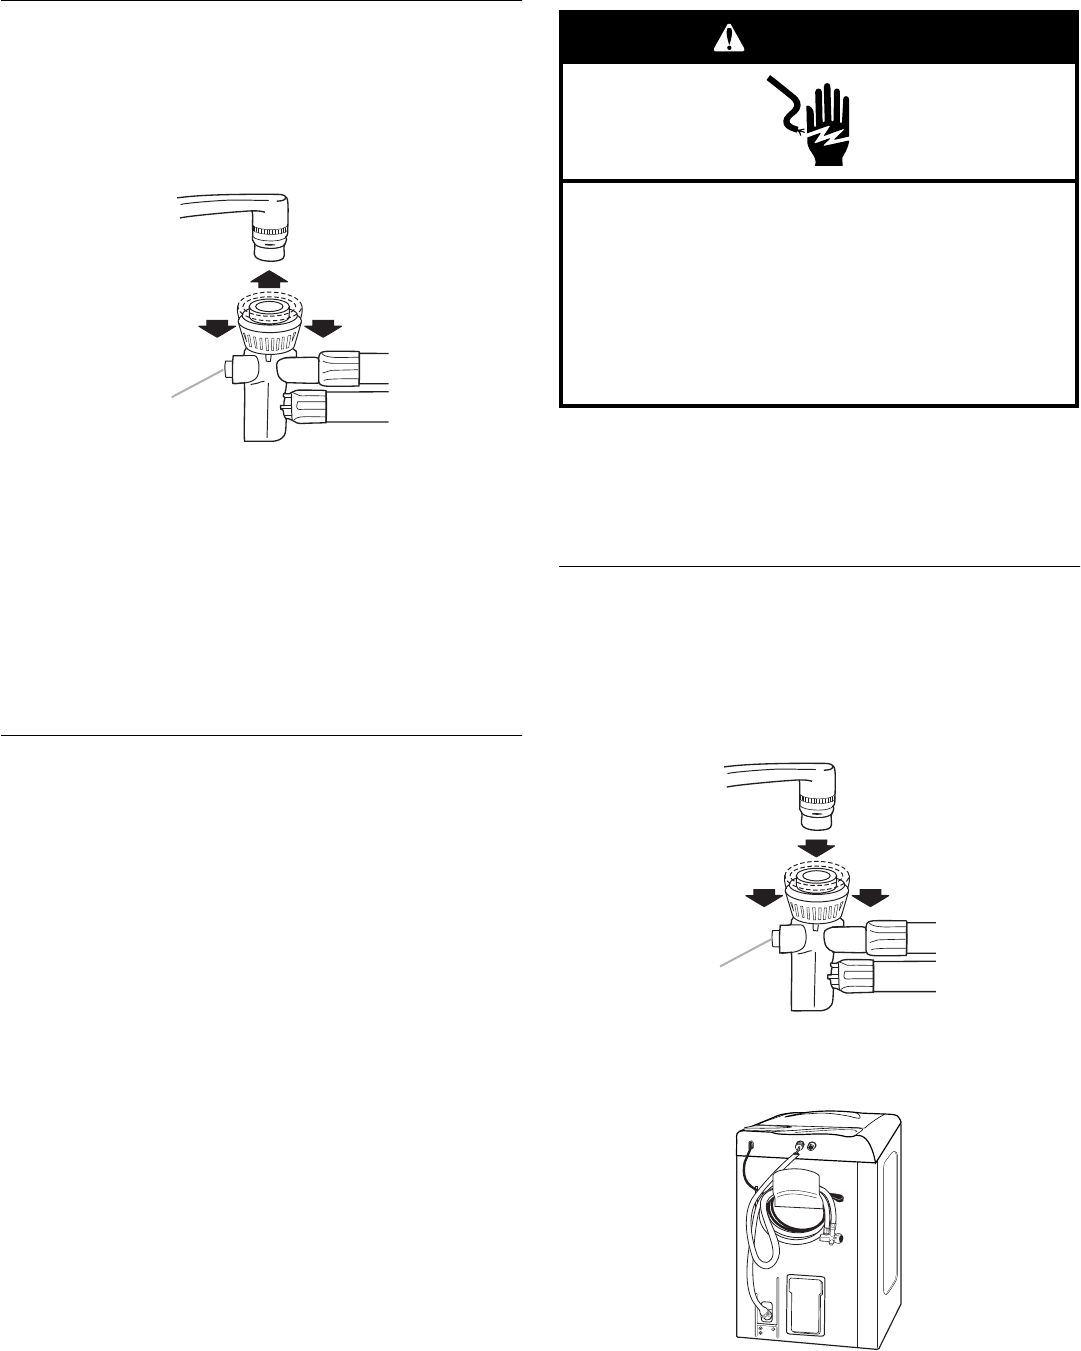
2. Attach fill-and-drain hose connector to a single-spout hot/
cold water faucet. Move the locking collar down while lifting
the connector until it snaps into place.
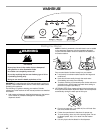
3. Set the WASH/RINSE TEMPERATURE setting on your washer
to COLD/COLD.
4. Set the water temperature for the wash cycle by adjusting the
Hot and Cold water faucets.
To test the water, press the red water-flow button on the hose
connector.
NOTE: If desired, you can change the water temperature for
the rinse cycle by adjusting the Hot and Cold water faucets.
Keep the Wash/Rinse Temperature setting on your washer set
at Cold/Cold.
Complete Installation
1. Check the electrical requirements. Be sure that you have the
correct electrical supply and the recommended grounding
method. See “Electrical Requirements.”
2. Check to be sure all parts are now installed. If there is an
extra part, go back through the steps to see which step was
skipped.
3. Check to be sure you have all of your tools.
4. Dispose of/recycle all packaging materials.
5. Check to be sure the water faucets are on.
6. Check for leaks around faucets and inlet hoses.
NOTE: If the washer is attached to a faucet equipped with a
spray hose, the constant water pressure may cause the spray
hose to leak. To prevent possible failure, the spray hose
should be disconnected or replaced with a high-pressure
hose.
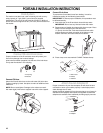
7. Plug into a grounded 3 prong outlet.
8. Read “Washer Use.”
9. To test your washer, measure and add ¹⁄₂ the normal
recommended amount of detergent to the washer. Close the
lid. Select any cycle, and then press START/OFF. Allow it to
complete one whole cycle.
Disconnect Washer
Disconnect portable washer after use and return to storage area.
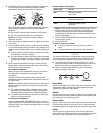
1. Turn off water faucets.
2. Unplug the power cord.
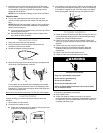
3. Press the red water-flow button to release water pressure in
the hose. Pull the locking collar down to remove the
connector from the faucet.
4. Pour water out of the faucet connector. Place fill-and-drain
hose on the plastic holder in the back of the washer.
A. Red water-flow button
A
A. Red water-flow button
Electrical Shock Hazard
Plug into a grounded 3 prong outlet.
Do not remove ground prong.
Do not use an adapter.
Do not use an extension cord.
Failure to follow these instructions can result in death,
fire, or electrical shock.
WARNING
A


