


3
I N S TA L L AT I O N I N S T R U C T I O N S
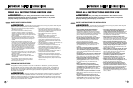
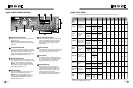
SORTING WASH LOADS
H OW TO USE
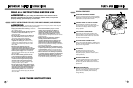
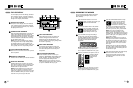
LEVELING THE WASHER
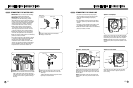
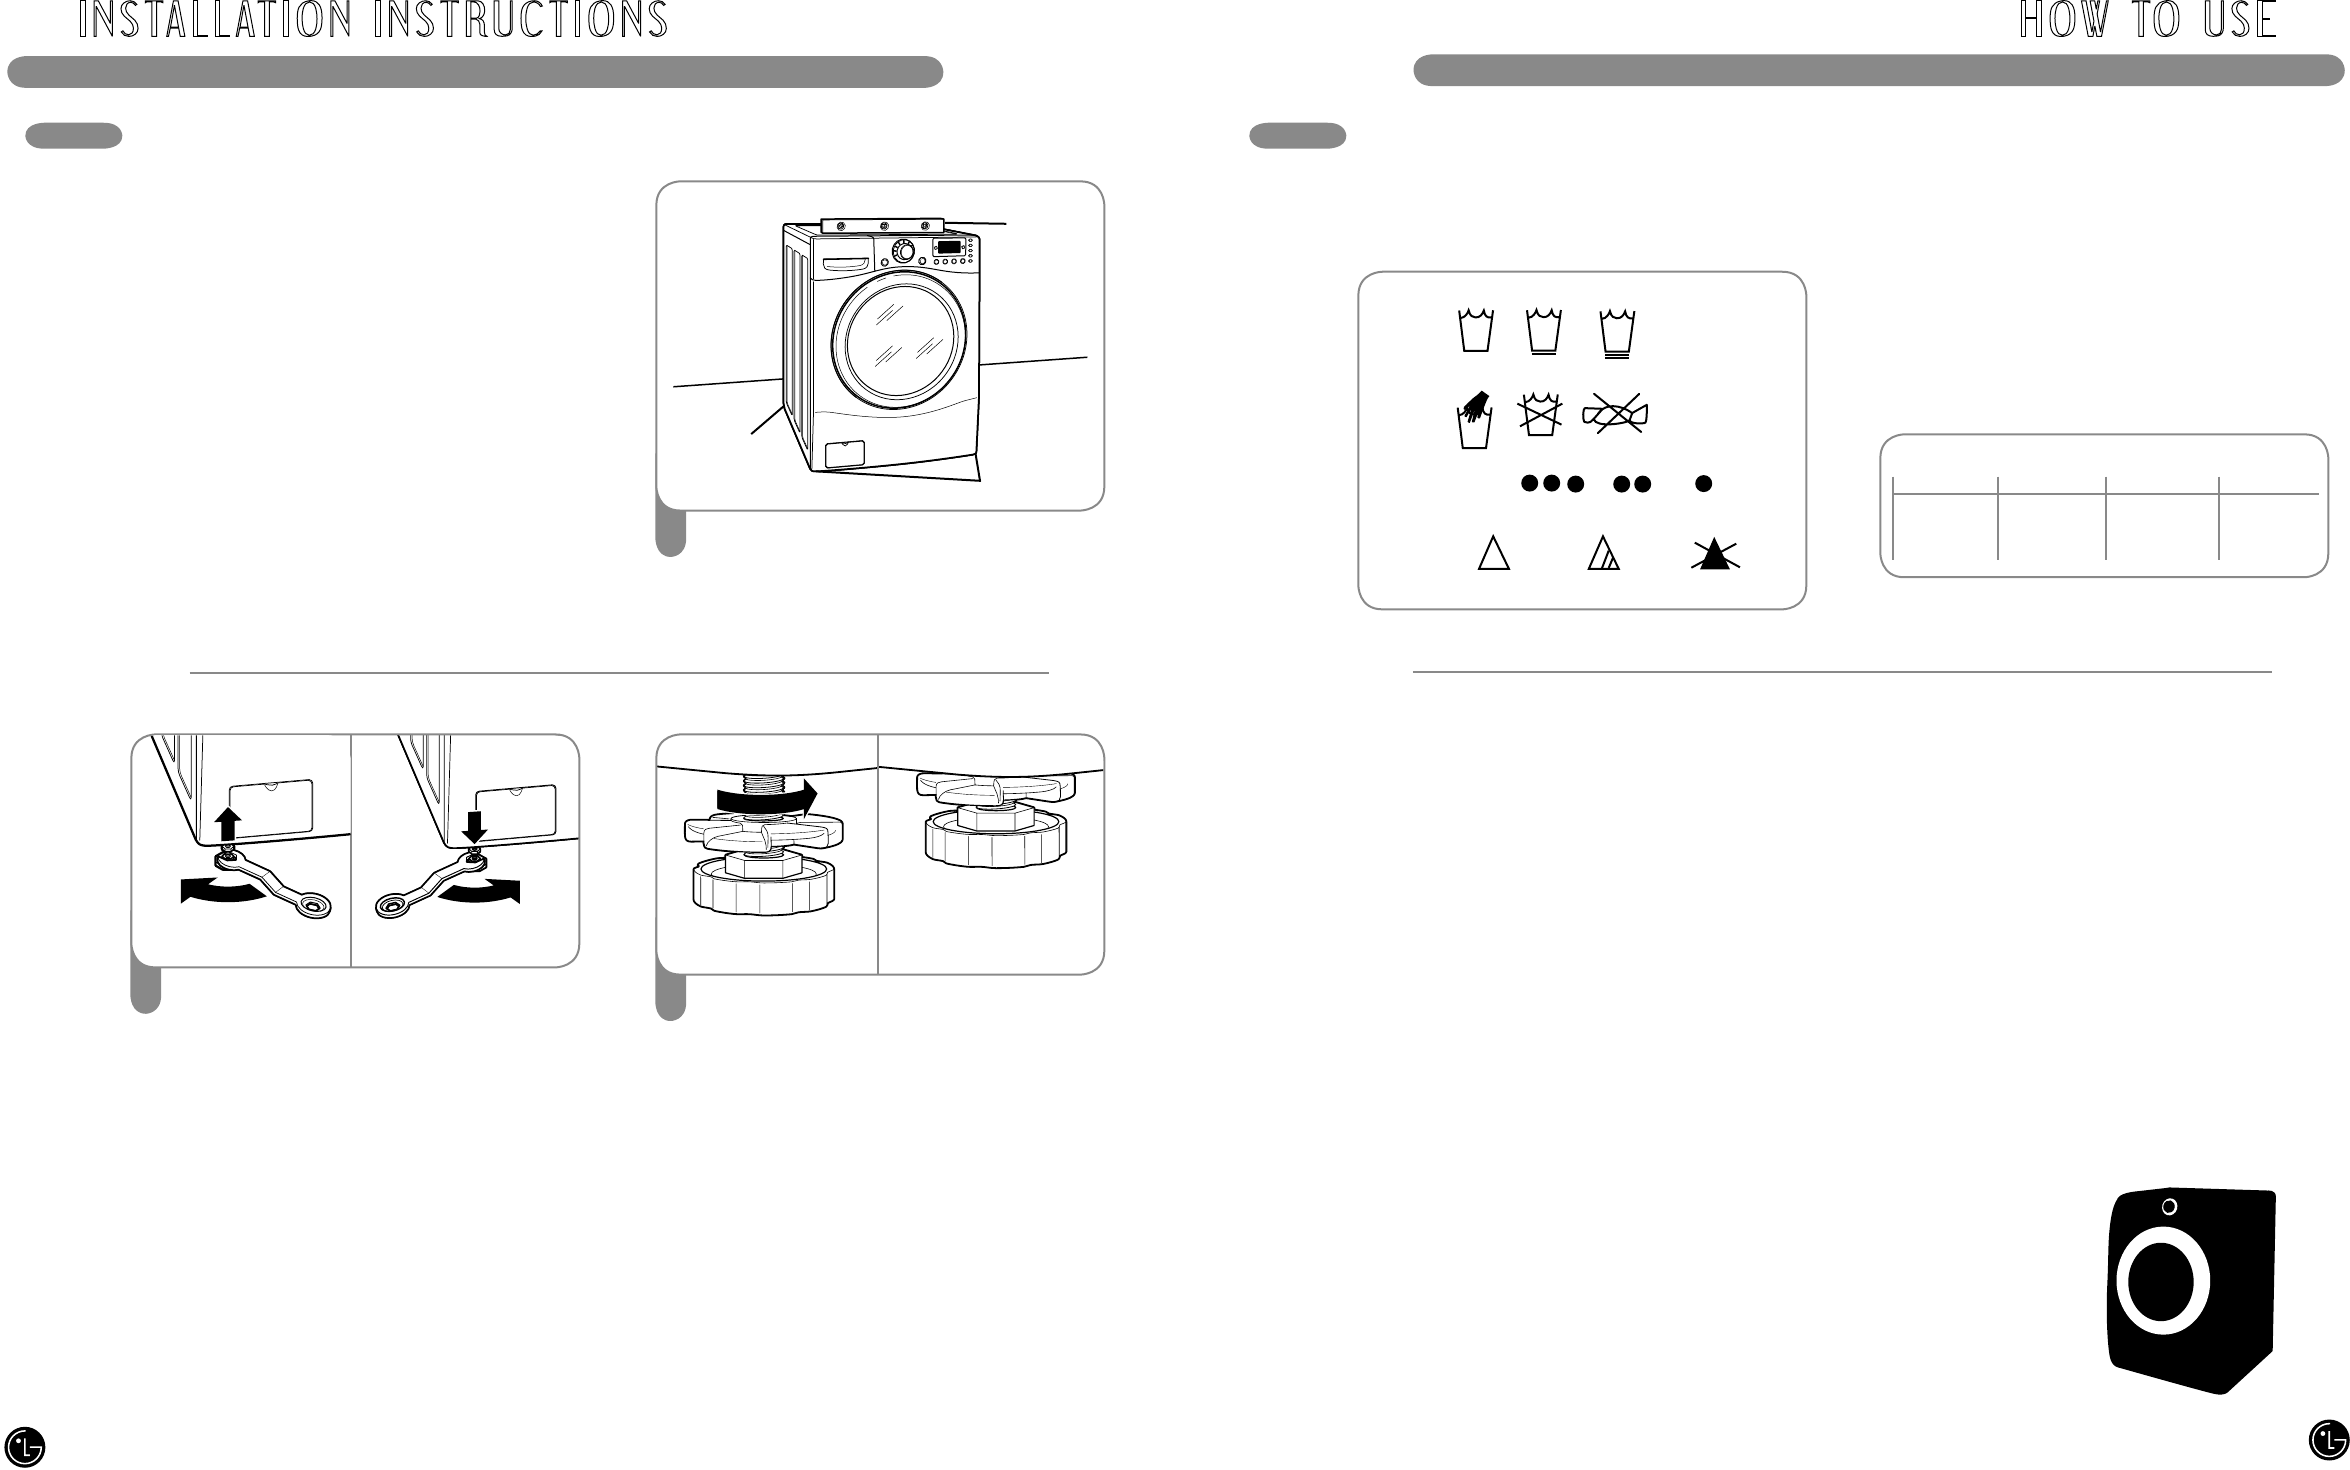
Loosen the locknuts on all 4 leveling feet
until you can turn the feet with the included
wrench. Turn clockwise to raise the washer
or counterclockwise to lower it.
2
Once the washer is level from side to side
and front to back, tighten all locknuts
securely.
Make sure that all 4 leveling feet are in firm
contact with the floor.
NOTE: To make sure that the washer is
properly level, run the washer with a test
load: place approximately 6 pounds of
laundry in the machine. Then press POWER,
press RINSE+SPIN, and then press the
START/PAUSE button. See the following
sections for additional information on cycle
selection and operation.
Verify that the washer does not rock or
vibrate excessively during the spin cycle.
If the washer vibrates or shakes, adjust
the leveling feet until the washer is stable
and retest.
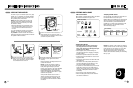
Fabric Care Labels
Most articles of clothing feature fabric care labels
that include instructions for proper care.
Grouping Similar Items
For best results, sort clothes into loads that can
be washed with the same wash cycle.
Different fabrics have different care requirements.
Always wash dark colors separately from light
colors and whites to prevent discoloration. If
possible, do not wash heavily soiled items with
lightly soiled ones. The chart below shows
recommended groupings.
Bleach
symbols
Any bleach
(when needed)
Only non-chlorine bleach
(when needed)
Do not bleach
Machine
wash
cycle
Normal
Permanent press/
wrinkle resistant
Gentle/
delicate
Hand wash
Do not wash Do not wring
Water
temperature
Hot
(50°C/120°F)
Warm
(40°C/105°F)
Cold/cool
(30°C/85°F)
Fabric Care Labels
Sort Laundry...
by Colors by Soil by Fabric by Lint
Whites Heavy Delicates Lint Producer
Lights Normal Easy Care Lint Collector
Darks Light Sturdy
Loading the Washer
• Check all pockets to make sure that they
are empty. Items such as clips, matches,
pens, coins, and keys can damage both your
washer and your clothes.
• Close zippers, hooks, and drawstrings to
prevent these items from snagging or tangling
on other clothes.
• Pretreat heavily stained areas for best results.
• Combine large and small items in a load. Load
large items first.
• Large items should not be more than half of the
total washload.
• The washer can be fully loaded, but the drum
should not be tightly packed with items. The
door of the washer should close easily.
• To prevent an out-of-balance load, do not wash
single items. Add one or two similar items to
the load. Large, bulky items, such as a blanket,
comforter, or bedspread should be washed
individually.
• Do not wash or spin waterproof clothes.
• When unloading the washer, check under the
door seal for small items.
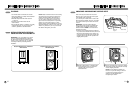
Position the washer in the final location,
taking special care to not pinch, strain, or
crush the water and drain lines. Place a level
across the top of the washer.
1
Level
Leveling
Feet
Leveling
Feet
The drum of your new washer spins at very high
speeds, up to 1,320 RPM. To minimize vibration,
noise, and unwanted movement, the floor must
be a perfectly level, solid surface.
NOTE: Adjust the leveling feet only as far as
necessary to level the washer. Extending the
leveling feet more than necessary can cause
the washer to vibrate.
• All four leveling feet must rest solidly on the
floor. Rock the washer gently from corner to
corner to make sure that the washer does
not rock.
If you are installing the washer on the optional
pedestal, you must use the leveling feet on
the pedestal to level the washer. The washer’s
leveling feet should be fully retracted and locked
into position with the locknuts.
Raise
Lower
Tighten all 4
locknuts securely
NOTE: The capacity of the machine for washing
clothes is twice as much as when drying clothes.
If the machine is to be used to dry a load, then
the wash load must be reduced by half for
effective drying performance. If a full load is
washed, remove half the clothes prior to starting
the dry cycle.
14
15