


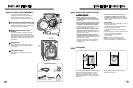
CYCLE SETTING BUTTONS (cont.)
NOTES:
• The capacity of the machine for washing
clothes is twice as much as when drying
clothes. If the machine is to be used to dry a
load, then the wash load must be reduced by
half for effective drying performance. If a full
load is washed, remove half the clothes prior
to starting the dry cycle.
• The Wrinkle Care feature is set automatically
when drying cycle is complete and cannot be
disabled.
• This feature will help prevent wrinkling of the
clothes if they are not removed promptly when
the dry cycle ends. The clothes will be tumbled,
rearranged, and fluffed periodically for up to 4
hours to help prevent wrinkling. The displayed
message on the LCD after the completion of
Dry cycle will be “Press any button to unload
the items” and “End Of Cycle” both blinking
alternately. This cycle (Cool Down) will continue
either until the customer presses any of the
buttons to take out the clothes or until 4 hours
have passed.
Drying Guide–Timed Dry
• Press the Dry button repeatedly to select the
drying time in 30 minute increments:
30–60–90–120 minutes.
• Timed dry can last up to 120 min. When
selecting Dry only, drying will start after the
final Spin cycle.
• Drying times can vary greatly depending on
dampness, room temperature, and type of
fabric. You may need to add additional time.
Your own experience will be your best guide.
Drying Guide–Automatic Dry
Electronic sensors measure the temperature of
the exhaust to increase or decrease the drying
temperature for faster reaction time and tighter
temperature control.
Recommended DRY settings by fabric type:
a) Perm Press – LOW TEMP
b) If clothes are to be ironed – LESS
c) Cotton/Towels – NORMAL
d) Diapers – MORE
NOTE: On Automatic Dry settings, the estimated
drying time may vary from the actual drying
time. The type of fabric, size of the load, and the
selected dryness level affect drying time.
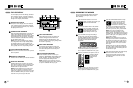
Dry
Drying options are easily selected
with the DRY button. For most even
drying, make sure all articles in the
clothes load are similar in material and
thickness. Do not overload the washer by placing
too many articles into the drum. Items must
be able to tumble freely. If you open door and
remove load before washer has finished the
DRY cycle, remember to press the START/
PAUSE button.
By pressing the DRY button, you can select:
LOW TEMP - For delicate fabrics
LESS - For damp drying fabrics
NORMAL - For general drying
MORE - For heavier fabrics
30/60/90/120 - For timed drying
1
2
3
4
5
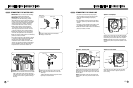
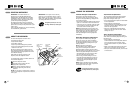
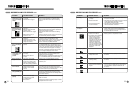
CYCLE OPTION BUTTONS
Your Steam Washer™ features several additional
cycle options to customize cycles to meet your
individual needs. Certain option buttons also
feature a special function (see the following page
for details) that can be activated by pressing and
holding that option button for 3 seconds.
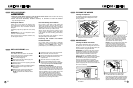
To Add Cycle Options to a Cycle:
Turn on the washer and turn the cycle
selector knob to select the desired cycle.
Use the cycle setting buttons to adjust the
settings for that cycle.
Press the cycle option button(s) for the
option you would like to add. The cycle
option buttons, except STEAM and DELAY,
will light when selected.
Press the START/PAUSE button to start the
cycle. The washer will start automatically.
NOTE: To protect your garments, not every wash/
rinse temperature, spin speed, soil level, or option
is available with every cycle. See the Cycle Guide
for details.
1
2
3
4
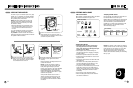
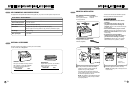
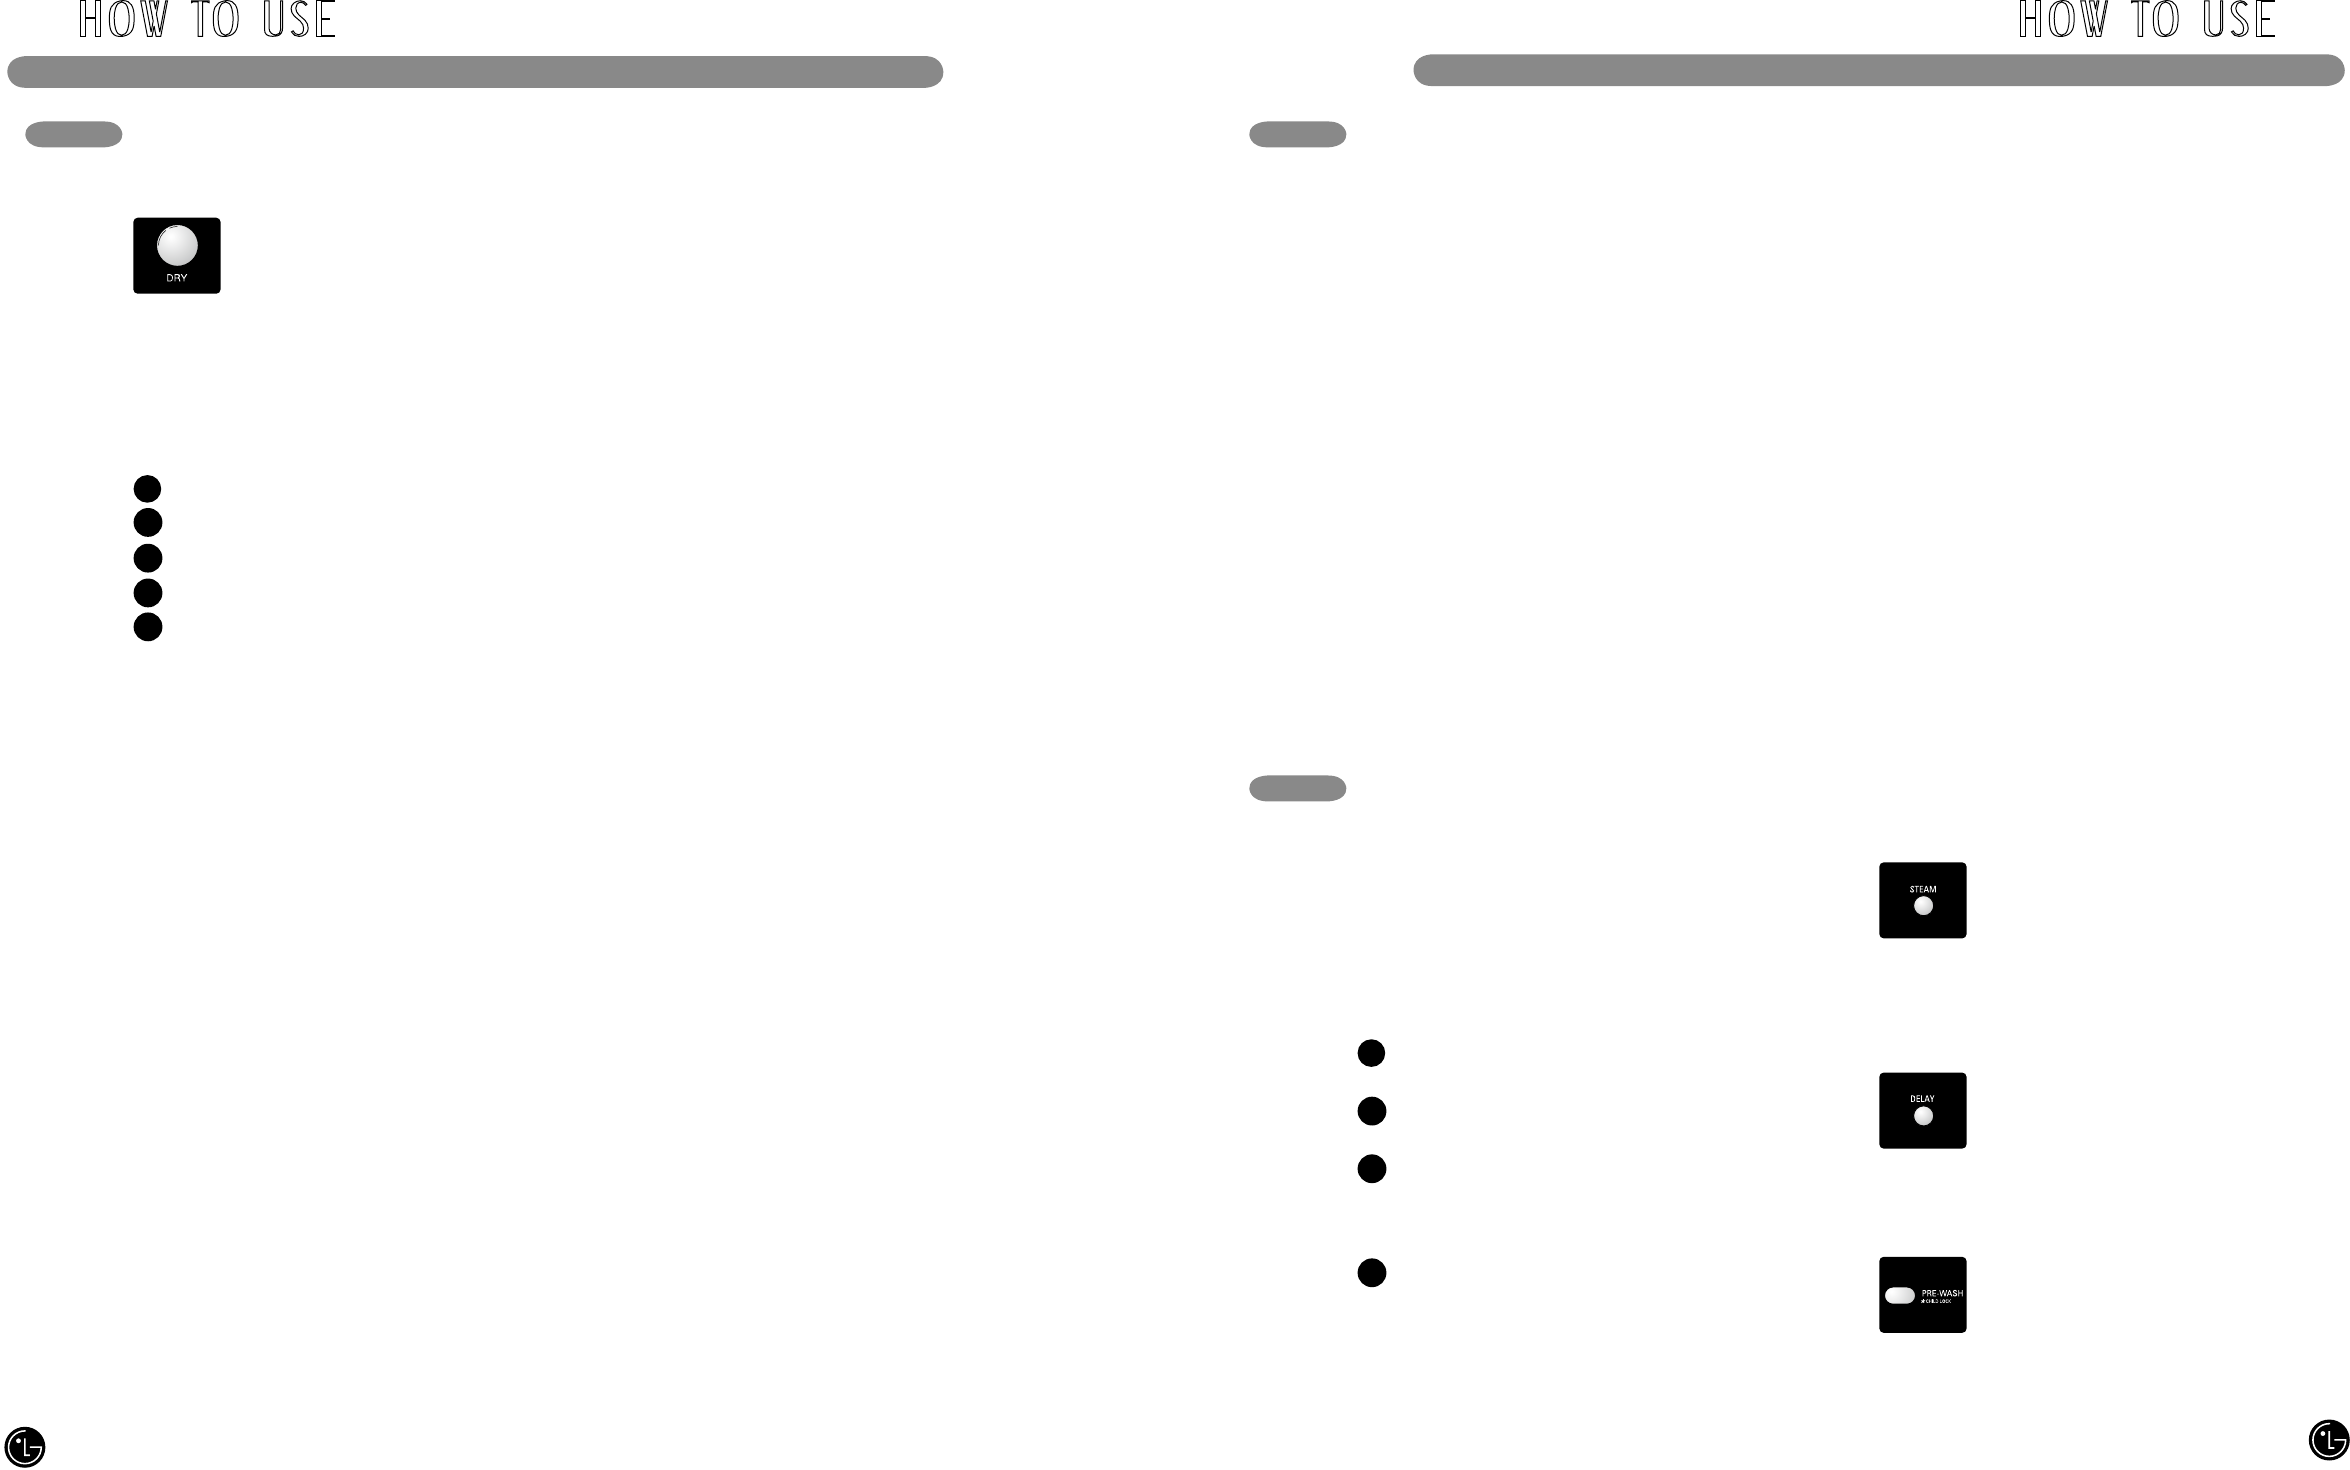
STEAM
Use the STEAM button to add steam
to the cycle for extra cleaning power
and improved efficiency. See Steam
Cycles section for additional details.
NOTE: Not all cycles can be used with
the STEAM option.
DELAY
Once you have selected the cycle and
other settings, press this button to
delay the start of the wash cycle. Each
press of the button increases the delay
time by one hour, up to 19 hours.
PREWASH
Select this option to add a 16-minute
prewash and spin cycle to the chosen
cycle. This is especially useful for
heavily soiled items.
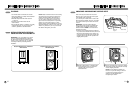
H OW TO USE H OW TO USE
CYCLE SETTING BUTTONS (cont.)
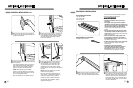
Drying Tips
Woolen Articles
Do not tumble dry woolen articles. Pull them to
their original shape and dry them flat.
Woven and Loopknit Materials
• Some woven and loopknit materials may shrink
when dried.
• Always stretch them out immediately after
drying.
Permanent Press and Synthetics
• Do not overload your dryer.
• Take out permanent press articles as soon as
the dryer stops to reduce wrinkles.
Fiber or Leather Materials
Always check the manufacturer’s instructions.
Baby Clothes and Night Gowns
Always check the manufacturer’s instructions.
Rubber and Plastics
Do not dry any items made from or containing
rubber or plastics, such as:
a) Aprons, bibs, chair covers
b) Curtains and table cloths
c) Bathmats
Fiberglass
Do not dry fiberglass articles in your dryer. Glass
particles left in the washer could be picked up
by your clothes the next time you use the washer
and irritate your skin.
24
25