


39
Lervia KH 2203
38
Lervia KH 2203
IRONING TIPS
Sort the articles to be ironed according to the fabric. Ironing
instructions are usually stitched onto an inside seam of a garment and
these should be followed at all times. Start your ironing with the
fabrics requiring the lowest heat setting. If you are unsure of the fibre
content of a garment, test a small area (a seam or inside hem) before
ironing. When in doubt, start with low heat. If wrinkles remain,
gradually increase the heat to find the best setting for good results
without damaging the fabric.
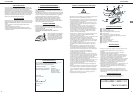
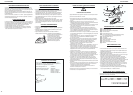
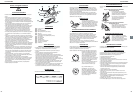
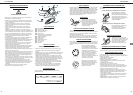
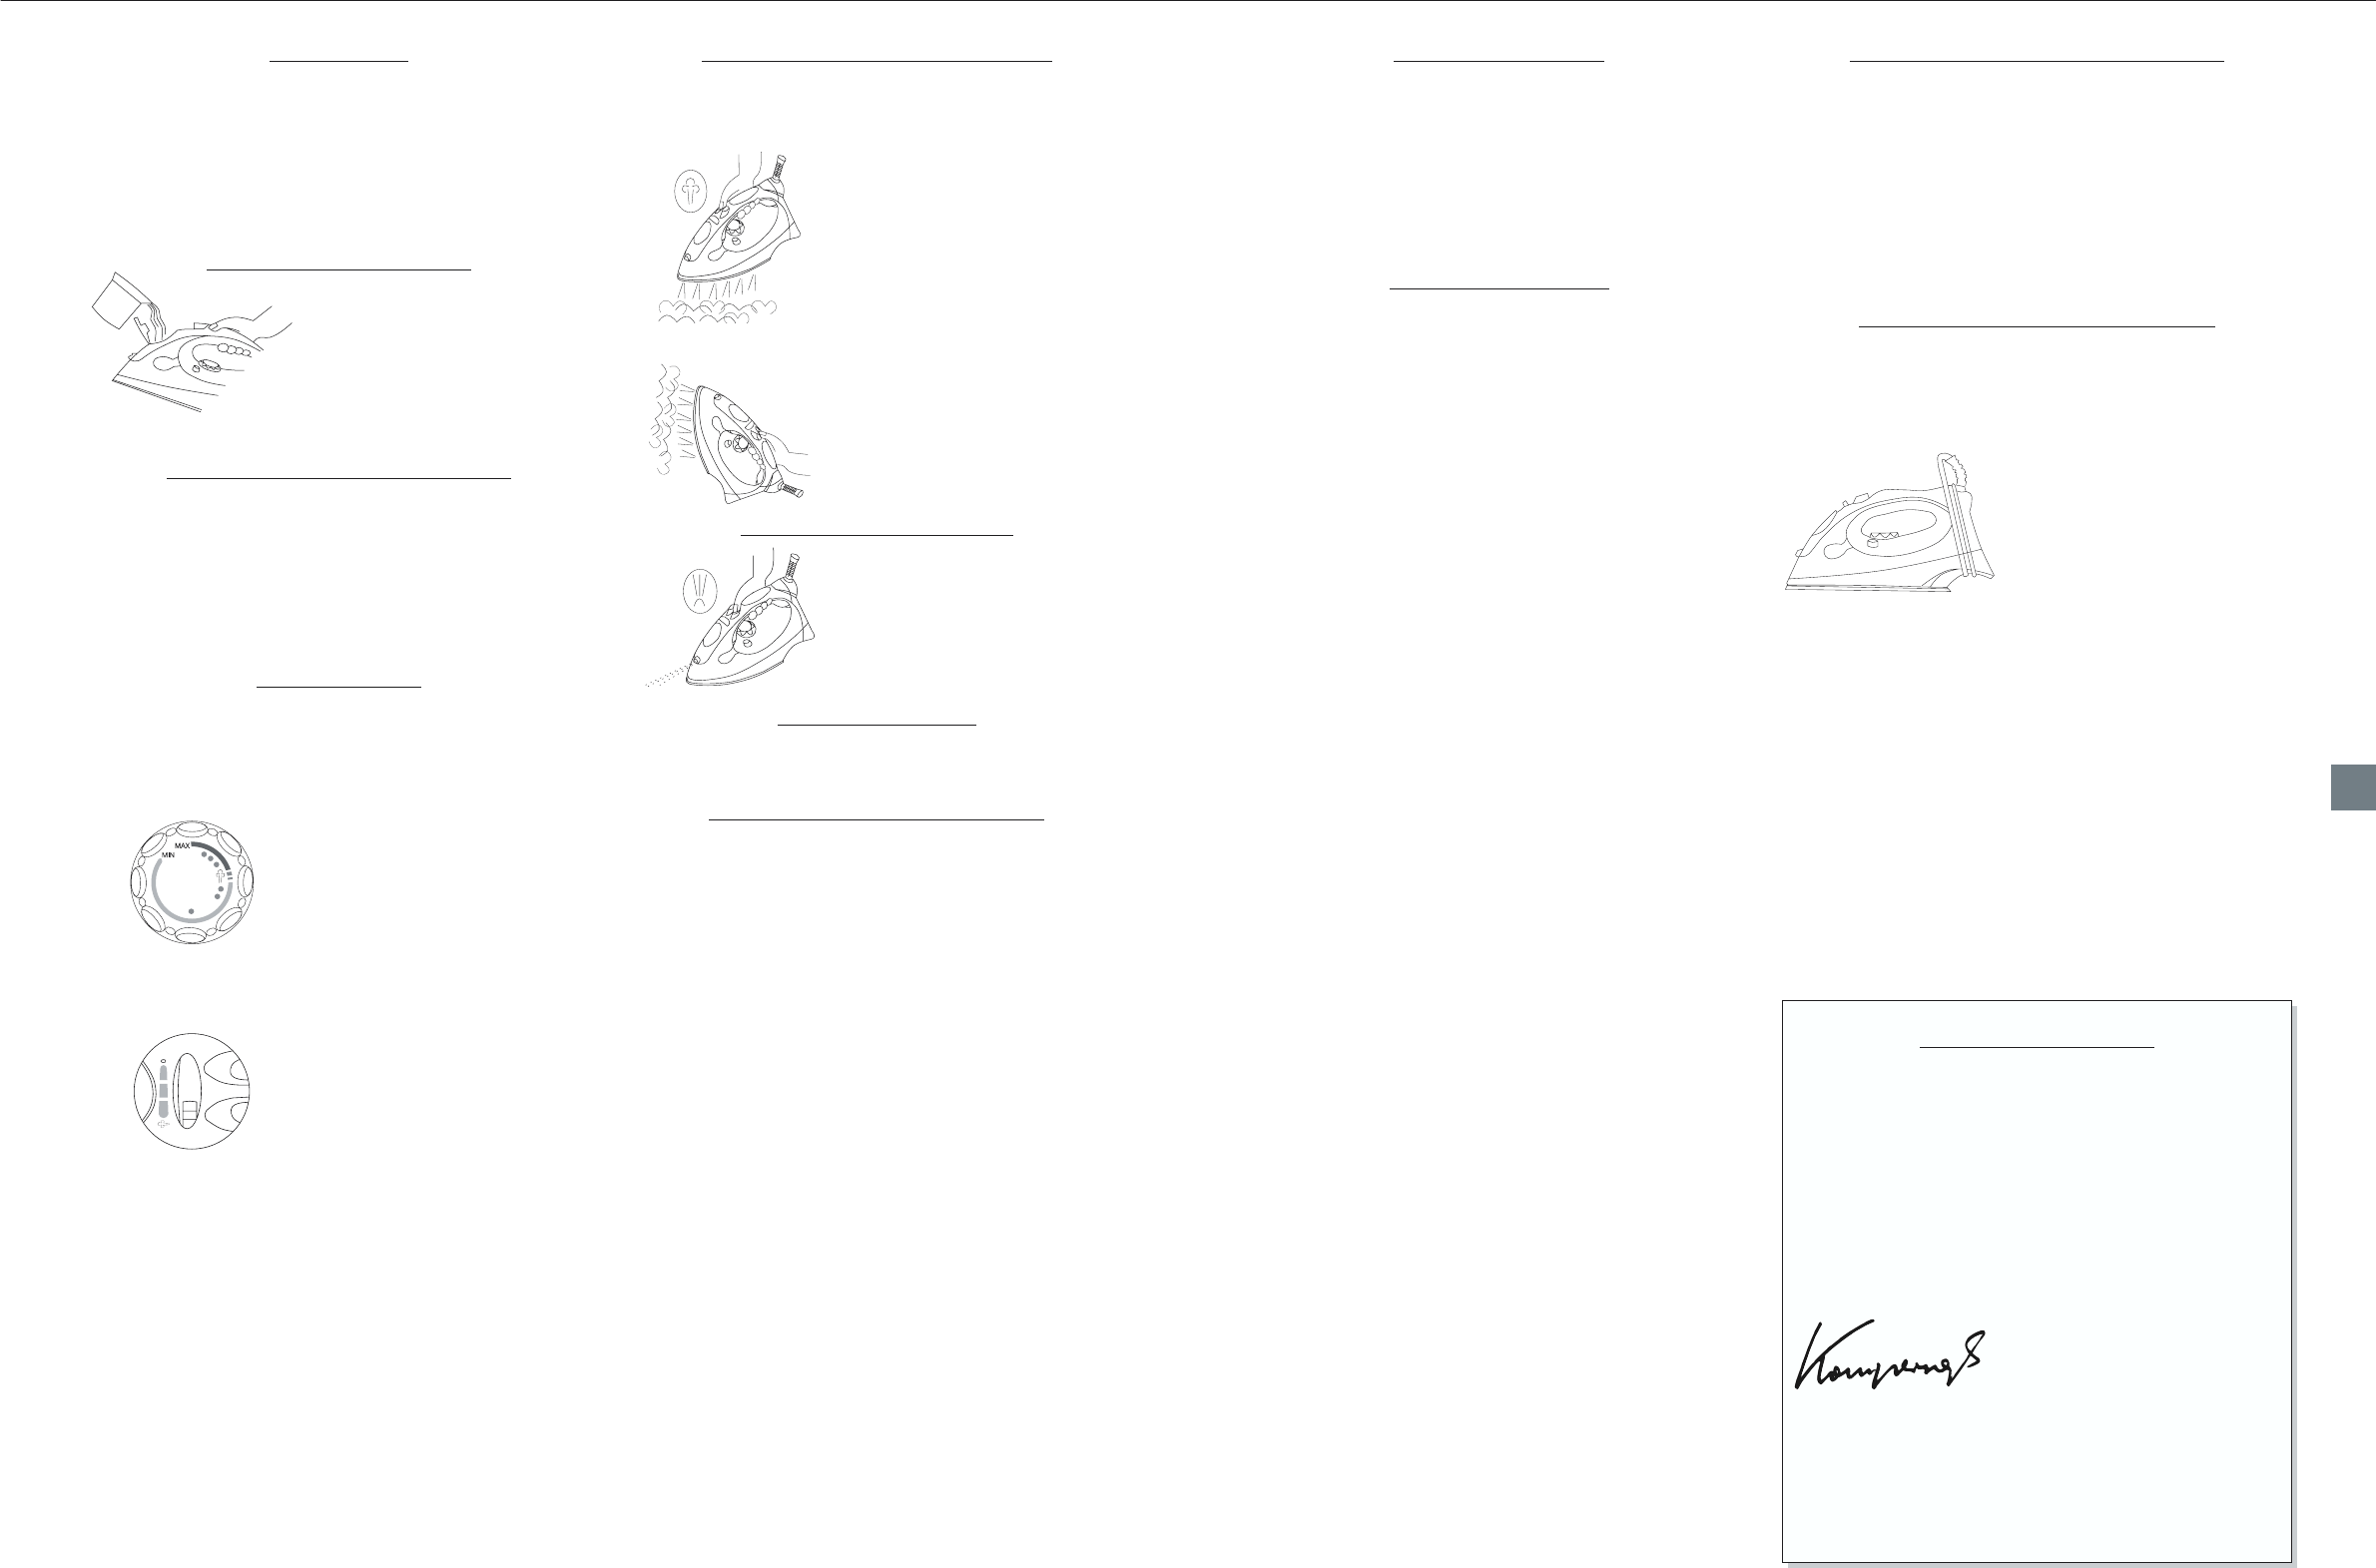
HOW TO FILL WITH WATER
Check that the steam control gear is in
the dry position (position 0) when filling
the water tank.
Pull back the water tank lid and fill the
tank to the “MAX” line. Do not overfill.
Check the water level in the tank in the
position shown.
AUTO SHUT-OFF SAFETY FEATURE
The auto shut off feature automatically turns off power to the iron if it
is left unmoved in a horizontal position for 30 seconds or in a vertical
position for 8 minutes. When the iron enters ASO mode the auto shut
off light blinks. The iron can be turned on again simply by gently
shaking it. The green heating light will only light up if the temperature
of the sole plate has fallen below the set temperature. If the green
light does not light up, the sole plate temperature has not fallen below
the set temperature and the iron can now be used.
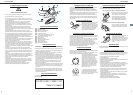
STEAM IRONING
Unwrap the cord. Be sure the iron is unplugged from the outlet before
pouring in water.
Turn the steam control gear to the dry position.(position 0).
Fill the iron with water. Be careful to never fill over the “MAX” line on
the water tank.
Plug the iron in.
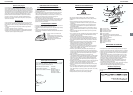
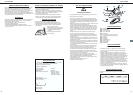
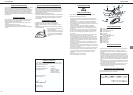
Set the temperature control knob to the
steam position and the heating light will
illuminate. In this setting, the iron can
be used as a steam iron once the
heating light goes out. The light will
illuminate and go out regularly during
ironing as an indication that the
temperature control is working properly.
Turn the steam control gear to the
steam position and the iron will create
steam. Turn the steam control gear to
the position 0, and the steam will cease.
You can adjust the steam easily with the
7 positions of the steam control gear.
Put the iron on the heel rest when
rearranging clothing or while not in use.
Steaming stops when the iron is placed
on the heel rest.
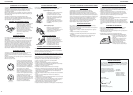
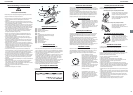
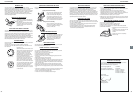
USING THE STEAM BURST BUTTON
Be sure there is water in the tank and the temperature control knob is
on steam.
Using the iron horizontally
Lift the iron and press the steam burst
button. You may need to press this
button a few times after filling the iron
with water to activate the pump. The
burst steam facility can be used only
when ironing at temperature of at least
150° C, this means form II to III/MAX.
Using the iron vertically
The burst function can be also used
when the iron is held in vertical position
to remove creases from hanging
clothes, curtains, etc.
USING THE SPRAY BUTTON
Provided there is sufficient water in the
tank, you can use the spray button at
any temperature setting and when
steam or dry ironing. While ironing,
press the button several times to
activate the pump.
ANTI-SCALE SYTEM
The integrated anti-scale system reduces the build up of lime scale
and increases the user life of your iron
USING THE CALC CLEAN BUTTON
It is important to use the calc clean button the first time you use the
iron and once a month from then on.
•Fill the water up to “MAX” line in water tank.
•Insert the plug into the wall socket.
• Set the temperature control to MAX.
•Allow the iron to heat up until the heating light goes out and then
lights again.
•Remove the plug from the wall socket.
•Hold the iron horizontally over the sink.
•Set the steam control gear to calc clean position (0) then press and
hold the calc clean button. The boiling water and steam will drain
from the vents in the soleplate. Impurities and scale will be drained
away with the water.
•Move the iron backwards and forwards while draining the water.
•Release the calc clean button once all water has been drained out.
•Place the iron in the upright position, plug it and then allow it to heat
up.
•Carefully dry soleplate by ironing over a towel or old cloth to ensure
there is no remainder of the water inside the steam chamber.
•Do not use chemically decalcified water.
• Let the iron cool down completely before storing it.
DRIP-STOP FEATURE
As indicated on the temperature control knob, steam ironing is only
possible at higher ironing temperatures. With conventional steam
irons, water may drip from the soleplate if an extremely low
temperature has been selected. However, a new feature has been
added to this iron – ‘DRIP STOP’ steam shut-off. This means that the
iron will automatically stop steaming at low temperatures. When this
happens, you will hear a “CLICK”. Then set the temperature control to
the required temperature. Steaming will recommence as soon as the
required temperature has been reached.
USING AS A DRY IRON
The iron can be used as a dry iron, even if there is water in the water
tank. Do not put water in the water tank when the iron is to be used as
a dry iron for MANY HOURS.
•Put the iron on the heel rest and then plug the iron into the mains.
•Turn the steam control gear to “O”.
• Set the temperature control knob to the required temperature.
•When the heating light goes out, it indicates that the iron has
reached the required temperature.
CEAR AND CLEANING INSTRUCTIONS
•Ensure that the soleplate remains smooth and unscratched by
ironing around on not over zippers, rivets or any other objects which
may scratch the soleplate.
• The mineral content of water varies according to different
geographical regions. If you live in a hard water area, to insure
optimum performance of your iron, we strongly recommend the use
of distilled water which is readily available in retail stores.
•Do not disassemble or repair your iron yourself.
•After each use, remove the plug and let the iron cool down. Wipe the
soleplate with a damp cloth and non-abrasive (liquid) cleaner. Clean
the iron body with a damp cloth.
EMPTYING AND STORING THE IRON
•Be sure the iron is unplugged first.
•Pour out any remaining water by shaking the iron.
•Make it a habit to empty the iron after each use.
•Put the iron on the storage cover. (DO NOT USE THE STORAGE
COVER WHILE IRONING.)
• Wind the power cord around the cord
winder.
• On a stable surface, store the iron with
storage cover in the horizontal
position.
• Let the iron cool down completely
before storing.
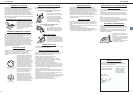
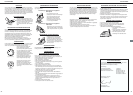
Statement of conformity
We, Kompernaß Handelsgesellschaft mbH, Burgstr. 21, D-44867
Bochum, Germany, hereby declare that this product
conforms with the following EC regulations:
EC low voltage regulations: 73/23/EEC
Electromagnetic compatibility: 89/336 EEC
Applicable harmonised standards: EN 55014-2:1997+A1
EN 55014-1:2000+A1
EN 61000-3-2:2000
EN 61000-3-3:1995+A1
Type: KH 2203
Bochum, 31.05.2002
Hans Kompernaß
- Managing Director -
Setting the knob
Steam adjustable