25
NOTE: Time change button is available only
with Manual Dry, Time Dry and Rack Dry
programs.
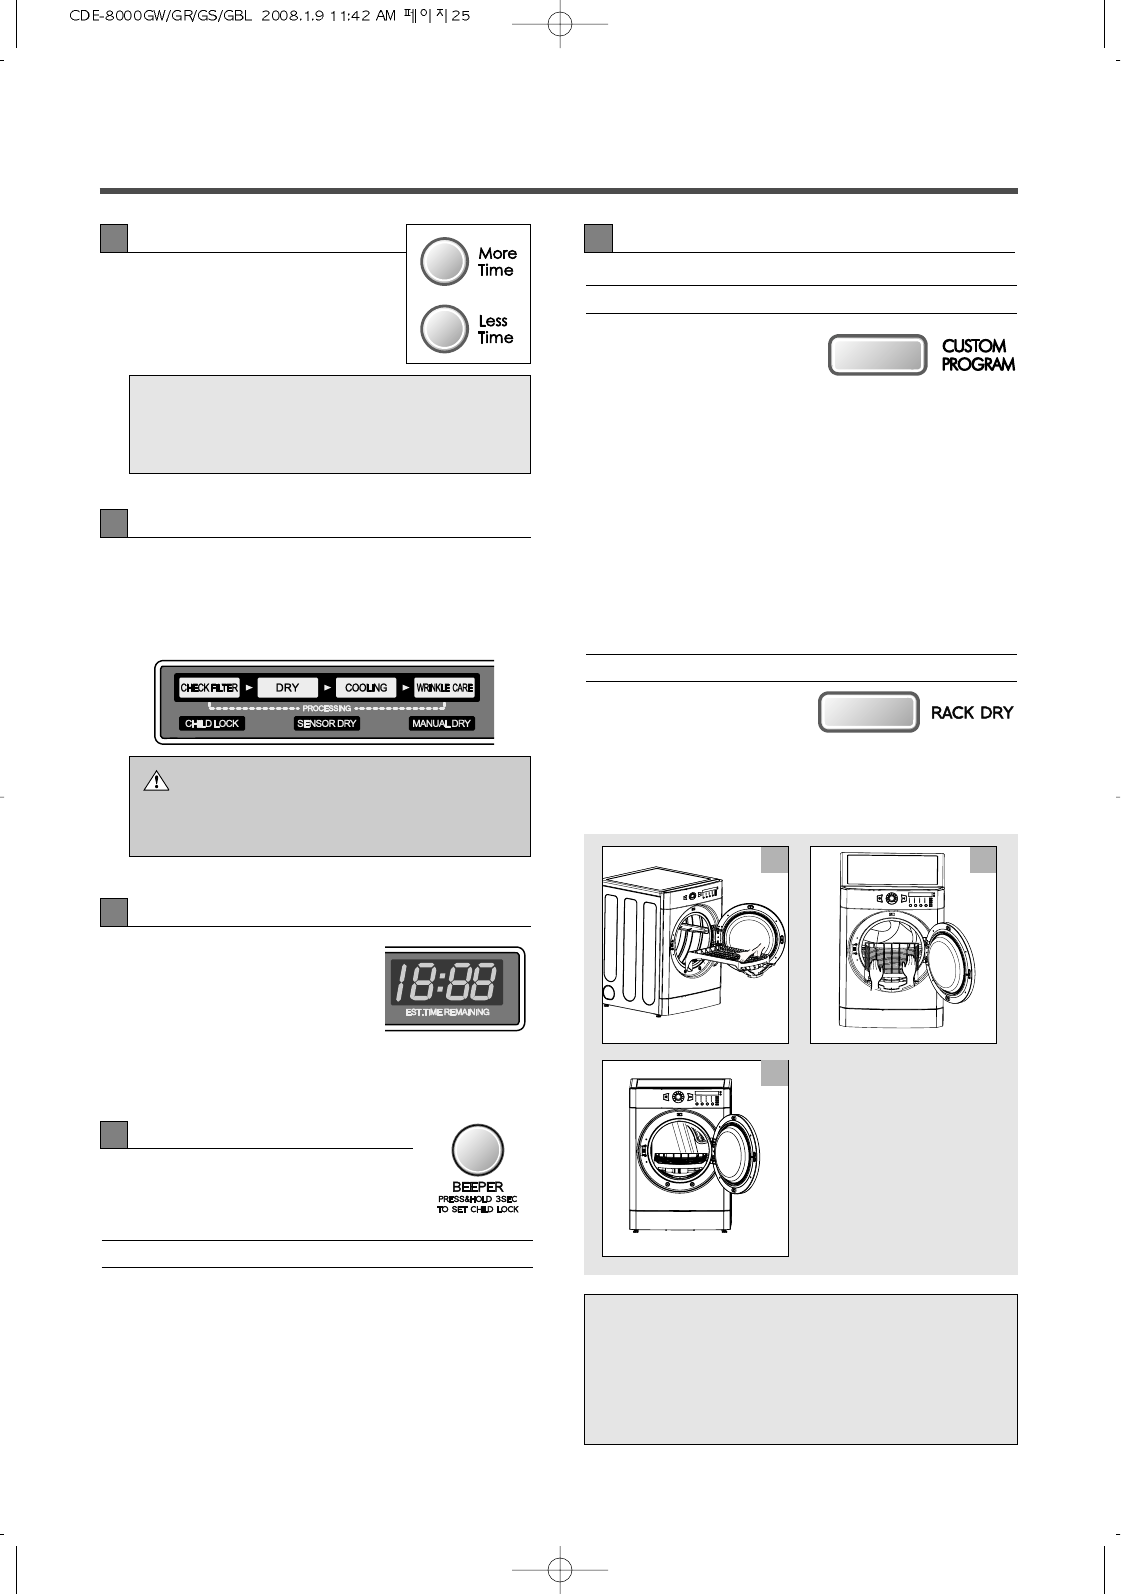
NOTE: Don’t use the rack for normal tumble
drying. The rack is shipped in place in your
dryer. Please remove the rack before
using this dryer for the first time.
WARNING!
For better drying performance and safety, clean
lint filter every single use.
• Press MORE TIME or LESS
TIME until the desired drying
time is set.
3
Time Change Button
(1) Child Lock
Child Lock can be used to prevent children from
changing options on control panel while the dryer is
running. When Child Lock is enabled, all the buttons
will be locked and Child Lock will glow. To enable
Child Lock, Press and hold Beeper Dry for 3 seconds,
until there is a single beep tone and Child Lock is
displayed on the status window. To disable Child
Lock, press and hold Beeper Dry for 3 seconds again.
6
Child Lock
• When Wrinkle Care is selected, the light for
"Wrinkle Care" will glow in the display.
When power is on, CHECK FILTER is displayed
until start/pause is selected.
4
Status/Clean Filter/Wrinkle Care Indicator
• The display shows the
estimated time remaining. In
addition to this, if the dryer
has some problem, it displays
error messages. Refer to
troubleshooting guide
5
Estimated Time Remaining
(1) CUSTOM PROGRAM
Set up your favorite
combination of settings and
save them here for one touch
recall.
1. Select a cycle.
2. Change DRY LEVEL and TEMP. CONTROL.
3. Select OPTIONS you want.
4. Press and hold the CUSTOM PROGRAM.
To recall your stored CUSTOM PROGRAM Press
CUSTOM PROGRAM button, then press
START/PAUSE.
(2) Rack Dry
Rack Dry is designed to
use for items which are not
suitable for tumble drying
such as sweaters, silk or lingerie.
This option may be used for drying Sneakers.
7
Option Buttons
1
3
2
1. Open the door.
Hold the dryer rack with
both hands.
2. Put the dryer rack into the
drum.
3. Make sure Dryer RACK is
evenly spaced right onto
the drum inside.


