Page 17
OPTIONS (On/Off)
Temp
(1) (2)
Spin
(3)
Wash Setting Speed Delayed Pre- E2:Eco Super Anti- High
Programs (° F) (rpm) Start (hrs) Soak Efficiency Rinse Crease Water
Heavy Cold, 85°–205° 400-1600 1–24 yes yes yes yes yes
Normal Cold, 85°–205° 400-1600 1–24 yes yes yes yes yes
Light Cold, 85°–205° 400-1600 1–24 yes yes yes yes yes
Synthetic Cold, 85°–205° 400-800 1–24 yes no yes yes yes
Quick Cold, 85°–205° 400-1600 1–24 yes no yes yes yes
Super quick Cold, 85°–205° 400-1600 1–24 yes no yes yes yes
Wool Cold, 85°–105° 400-800 1–24 yes no yes yes no
Hand wash Cold, 85°–105° 400-800 1–24 yes no yes yes no
OPTIONS AVAILABLE WITH EACH WASH PROGRAM
The table below lists the options available with each wash program. These options can be temporary or permanent,
depending on your preference. Refer to the “Programming Instructions” section below for detailed instructions on how
to navigate the program menu and make temporary and permanent changes to the programs.
NOTES: (1) Program times will increase when you select higher wash temperatures.
(2) Some fabrics may not be able to withstand extremely hot temperatures. Always refer to
the garment care label for recommended wash temperatures.
(3) You can also select a No Spin or No Spin/No Drain option. (See “Spin Speed” on page 18.)
PROGRAMMING INSTRUCTIONS
Below are the basic instructions for changing a preset wash program. The following sections explain the menus and
how to navigate them. You can make temporary (one-time) program changes, or you can make permanent program
changes.
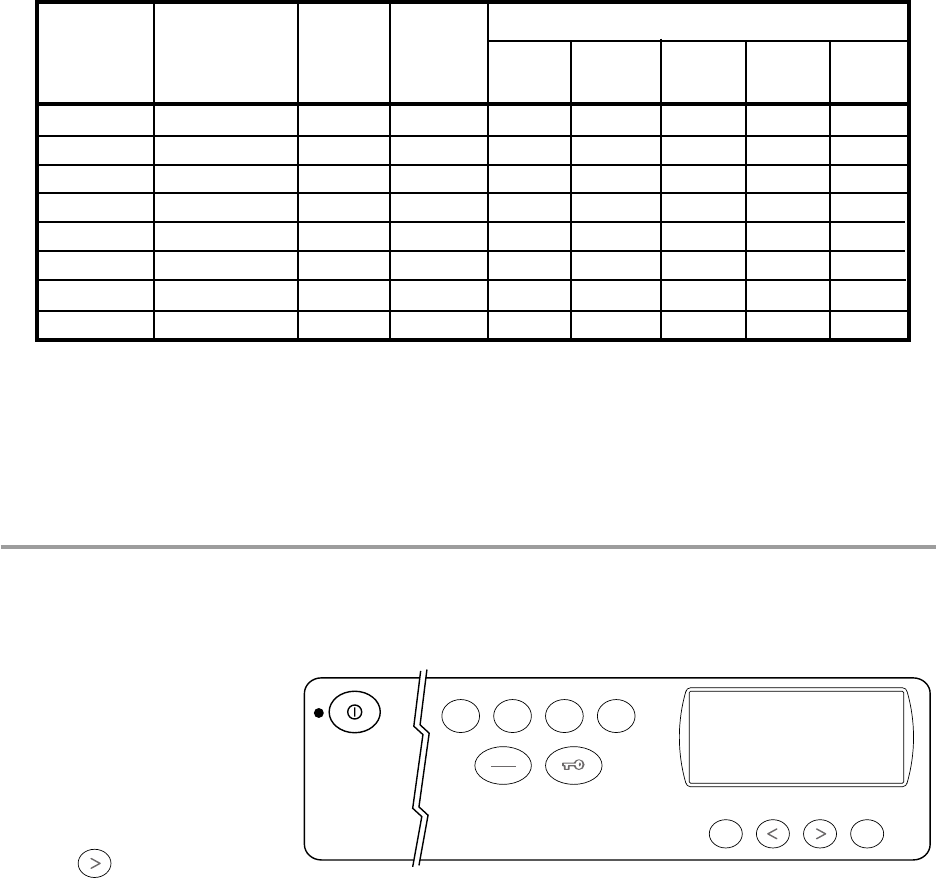
1. Press the button for the preset
program you want to change
(P1P4). The program you
select will display in the lower left
corner of the LCD window.
2. Press MENU until the menu you
want to change displays (e.g.,
programs, temperature, etc.).
3. Press
to scroll through the
available options or to toggle
between off and on.
4. Press ENTER to save your setting and return to the Main Program screen. The LCD will display the new setting.
5. If you only want to use this setting temporarily (for this one load), press START. When the program ends it will
revert back to the previous setting.
6. If you want to save this setting permanently, press ENTER again then press START. The program will retain the
change.
See “Navigating the Menus” on pages 18 and 19 for detailed instructions on creating customized programs.
P1 P2 P3 P4
Menu Enter
Start
Stop


