


47
Installation
Positioning
Install the machine on a flat hard floor.
Make sure that air circulation around the machine is not impeded by
carpets, rugs etc.
• Before placing it on small tiles, apply a rubber coating.
• Never try to correct any unevenness in the floor by putting pieces of
wood, cardboard or similar materials under the machine.
• If it is impossible to avoid positioning the machine next to a gas
cooker or coal-burning stove, an insulating panel (85x57 cm) covered
with aluminium foil on the side facing the cooker or stove, must be
inserted between the two appliances;
• The machine must not be installed in rooms where the temperature
can drop below 0.
• The water inlet hose and the drain hose must not be kinked.
• Please ensure that when the appliance is installed, it is easily accessi-
ble for the engineer in the event of a breakdown.
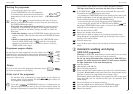
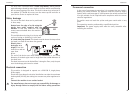
Levelling
Carefully level by screwing the adjustable
feet in or out. Never place cardboard, wood
or similar materials under the machine to
compensate for any unevenness in the floor.
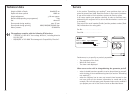
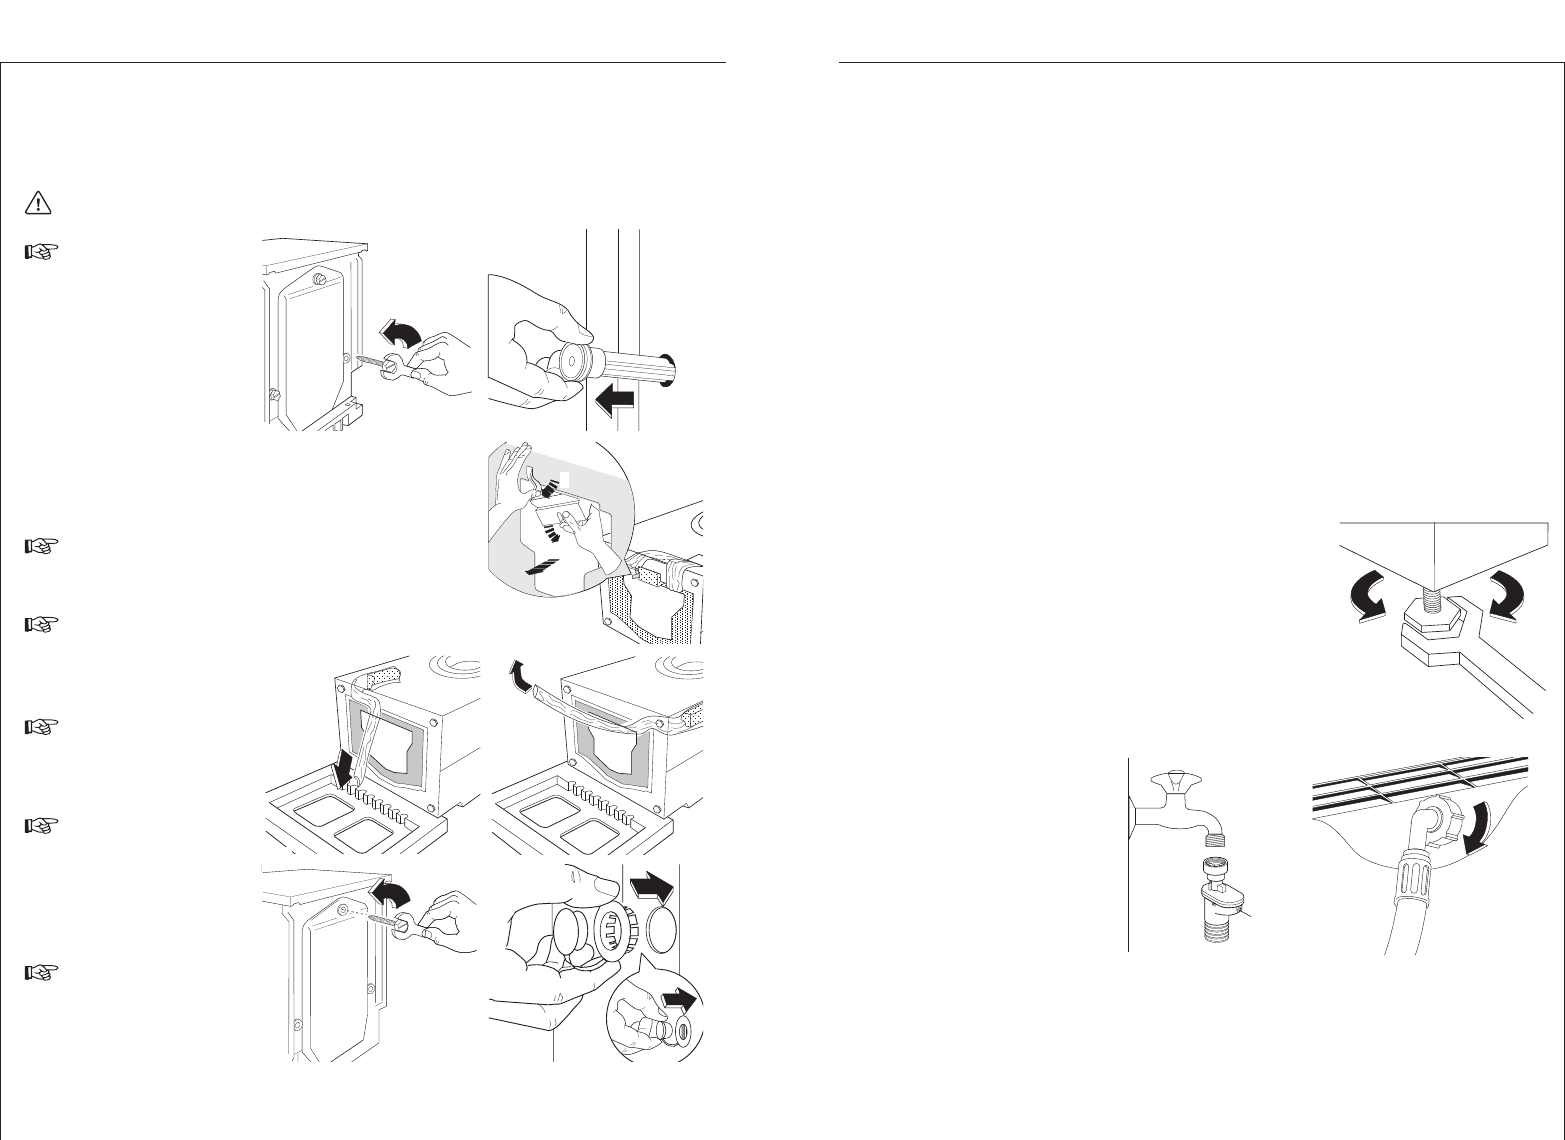
Water inlet
Connect the water inlet hose to a separate
tap with a 3/4"
thread. Do not use
already employed
hoses for water
connecting.
The other end of
the inlet hose
which connects to
the machine can
be turned in any
direction. Simply loosen the fitting, rotate the hose and retighten the
fitting, making sure there are no water leaks.
The inlet hose must not be lengthened. If it is too short and you do not
wish to move the tap, you will have to purchase a new, longer hose spe-
cially designed for this type of use.
46
A
Installation
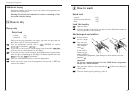
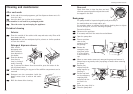
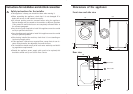
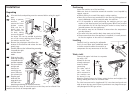
Unpacking
All transit bolts and packing must be removed before using the appli-
ance.
Using a spanner,
unscrew and
remove the 2 rear
bottom screws.
Slide out the 2
plastic pins. Lay
the machine on
its back, taking
care not to squash
the hoses. This can be avoided by placing
one of the corner packing pieces between
the machine and the floor.
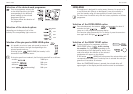
Remove the polystyrene block from the
bottom of the machine and release the two
plastic bags.
Carefully slide out the left-hand bag removing
it towards the right
and then down-
wards.
Slide out the right-
hand bag removing
it towards the left
and then upwards.
Set the machine
upright and
remove the
remaining rear
screw. Slide out
the relevant pin.
Plug the open
holes with the
plugs which you
will find in the
plastic bag containing the instruction booklet.
You are advised to keep all transit devices so that they can be refitted if the
machine ever has to be transported again.
025
P0001
P1124
2
3
1
P1126
P1127
P1128
P0002