47
Getting Started
2
Attaching a Lens
Attach a proper lens to the camera body.
When you use one of the following lenses with this camera, all the
camera’s capture modes are available.
(a) DA, DA L, D FA, FA J lenses
(b) Lenses with an s (Auto) position; when used in the s position
The steps are described here using a DA 40mm F2.8 XS lens.
1
Make sure that the camera is turned off.
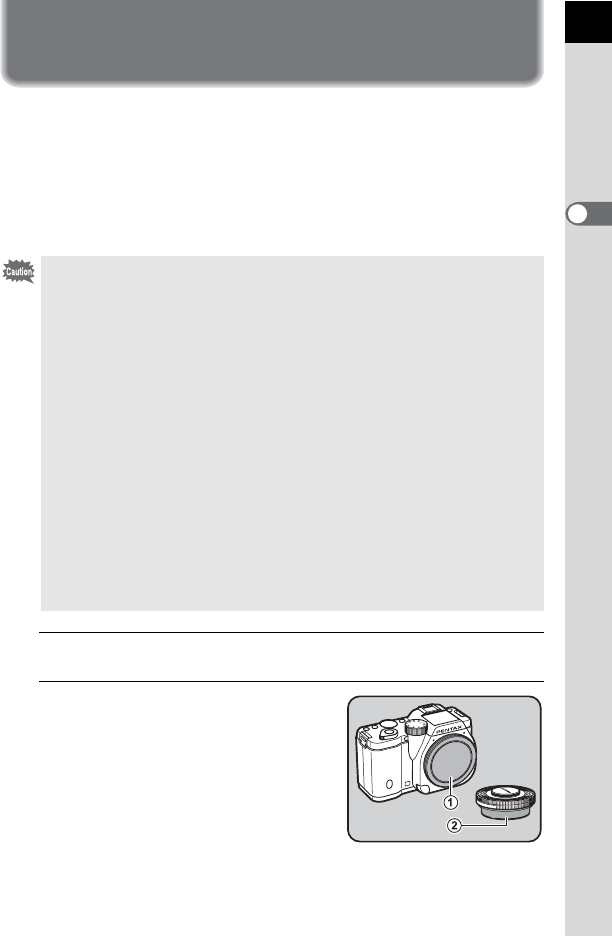
2
Remove the body mount cover
(
1
) and lens mount cover (
2
).
Be sure to put the lens down with the lens
mount side facing upward to protect the
lens mount from damage when there is
no lens mount cover on the lens.
• When attaching/removing a lens, choose an environment that is relatively
free of dirt and dust.
• Keep the body mount cover on the camera when a lens is not attached.
• Be sure to attach the lens mount cover and lens cap to the lens after
removing the lens from the camera.
• Do not insert any fingers into the camera mount or touch the shutter or CMOS
sensor.
• The camera body and lens mount incorporate lens information contacts. Dirt,
dust, or corrosion on the contacts may damage the electrical system. Please
contact a PENTAX Service Center for professional cleaning.
• Some functions will be restricted when lenses described in (b) are used in a
position other than s, or when lenses other than those listed above and/or
other accessories are used. Refer to “Functions Available with Various Lens
Combinations” (p.232) for details.
• If a lens for which the focal length information cannot be automatically
obtained is used, the Input Focal Length setting screen appears when the
camera is turned on. Refer to “Setting the Focal Length” (p.234) for details.
• We assume no responsibility nor liability for accidents, damages and
malfunctions resulting from the use of lenses made by other manufacturers.
