62
206-4257
(Continued from previous page)
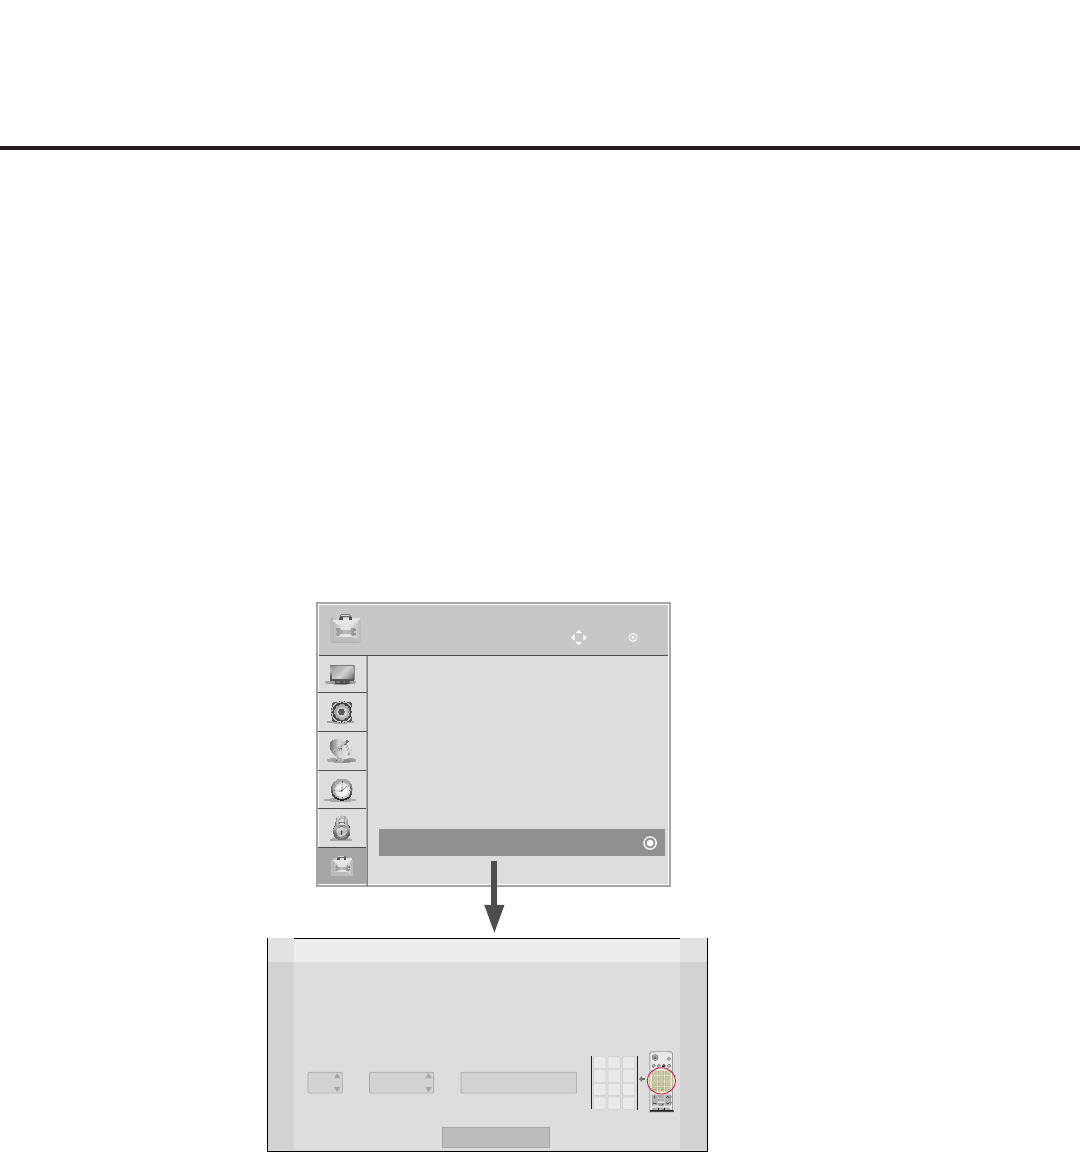
To change the TV Zone, navigate to the Zone eld, and use the Up/Down arrow keys to specify the
desired TV Zone # (0–8).
• Label: Allows you to select a North, South, East, or West text label for this TV. Use the Up/Down
arrow keys to select the applicable label.
• Room Number: Allows you to specify the number of the room in which the TV is located. You can use
the number keys on the Installer Remote to direct enter a room number. Use the Dash key on the
Installer Remote as necessary to toggle between number and letter characters in the Room Number
eld. Also, you can use the Flashback key on the Installer Remote to delete characters in this eld.
5. When you have completed the elds as necessary, select OK, and then press OK on the Installer
Remote to close the window and return to the Option Menu.
6. Press MENU SETTINGS to return to TV viewing.
OPTION
OK
Move
• Language
• Caption : Off
• Standby Light : Off
• DivX(R) VOD
• Set ID : 1
• Demo Mode : Off
• Zone & Room Number
• Eject
Z
Change a room number
OK
Room Number
Label
Zone, Label, and Room Number
CHVOL
1 2 3
4 5 6
7 8
0
9
P
A
G
E
Q.MENU
CHAR/NUM
FLASHBK
GUIDE
PORTAL
TV
DVD
INPUT
MARK
CC
TIMER
MUTE
INFO
PIP PIPCH+PIPCH
-
SWAP
PIP
INPUT
SAP
MENU
SETTINGS
abc def
ghi jkl mno
pqrs tuv wxyz
.,;
@
DELETE
1
2
3
4
5 6
7
8
0
9
DEL
CHAR/
NUM
Zone
0
-----
•
If creating Zones for Installer Menu settings and/or Channel Mapping, select the appropriate Zone # (0-8)
based on the Zone in which this TV is installed. (See Commercial Mode Setup Guide for more information.)
• Select a Label and/or use the alphanumeric keypad on the remote to input the Room Number.
Reference: Using the TV Zoning Feature (Cont.)
