


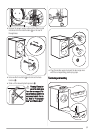
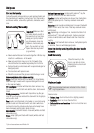
Level the appliance by raising or lowering the feet.
The appliance M
MUST
be level and stable on a flat hard
floor. If necessary, check the setting with a spirit level.
Any necessary adjustment can be made with a spanner.
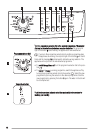
Accurate levelling prevents vibration, noise and dis-
placement of the appliance during operation.
Repeat the levelling action, if the appliance is not level
and stable.
W
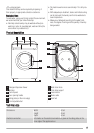
Water inlet
Caution!
This appliance must be connected to a
cold water supply
Before connecting up the appliance to new pipework or to
pipework that has not been used for some time, run off a
reasonable amount of water to flush out any debris that
may have collected
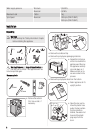
The inlet hose is supplied and can been found inside the
machine drum.
Do not use the hose from your previous appliance to con-
nect to water supply.
1.
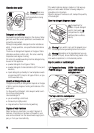
Open the porthole and extract the inlet hose.
2.
Connect the hose with
the angled connection to
the machine. Do not place
the inlet hose downwards.
Angle the hose to the left
or right depending on the
position of your water tap.
45°
35°
3
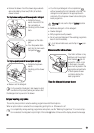
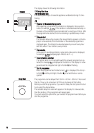
3.
Set the hose correctly by loosening the ring nut. After
positioning the inlet hose be sure to tighten the ring nut
again to prevent leaks.
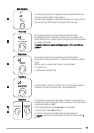
4.
Connect the hose to a
tap with a 3/4” thread.
The inlet hose must not be lengthened. If it is too short
and you do not wish to move the tap, you will have to pur-
chase a new, longer hose specially designed for this type
of use.
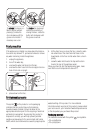
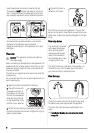
W
Water-stop device
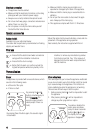
The inlet hose is provided
with a water stop device,
which protects against
damage caused by water
leaks in the hose which
could develop due to natu-
ral ageing of the hose.
A
This fault is shown by a red sector in the window «A».
Should this occur, turn the water tap off and refer to
your Service Centre to replace the hose.
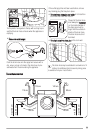
W
Water drainage
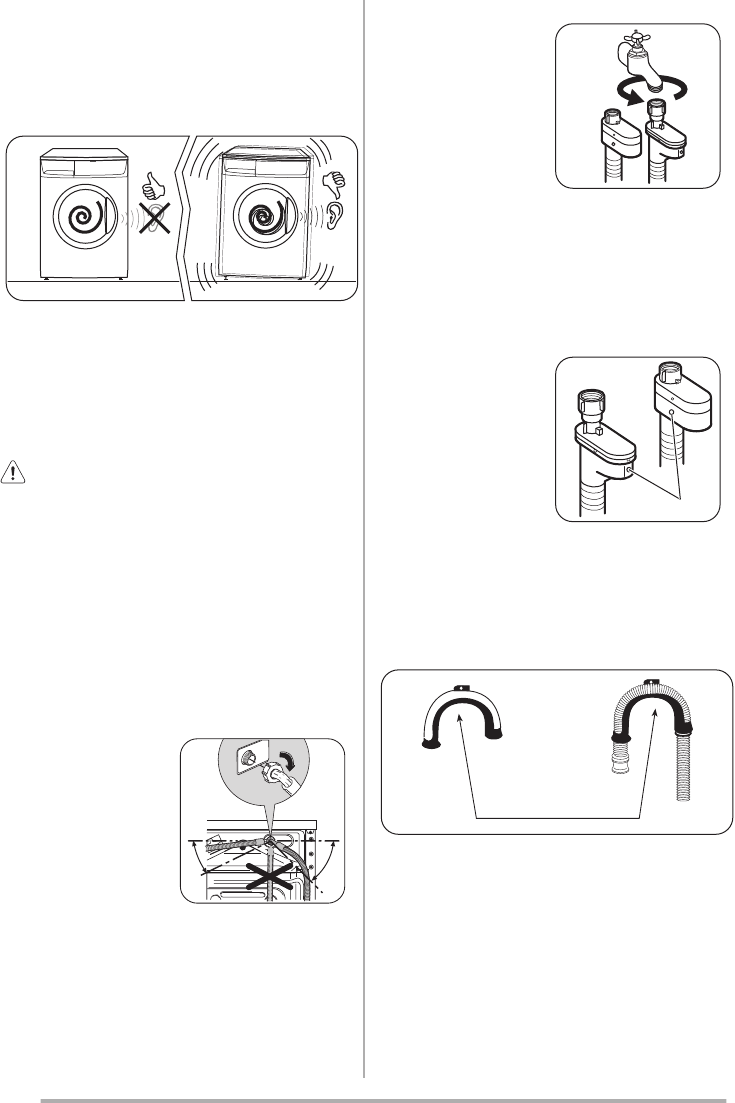
Firstly form a hook in the end of the drain hose using
the plastic hose guide supplied with the appliance .
The end of the drain hose can be positioned in four
ways:
•H
Hooked over the edge of a sink using the plastic
hose guide.
8