


Frost precautions
If the machine is installed in a place where the tempera-
ture could drop below 0°C, remove the remaining water
from the inlet hose and the drain pump.
1. disconnect the mains plug from the mains socket.
2. close the water tap
3. unscrew the water inlet hose from the tap;
4. put the two ends of the inlet hose in a container and
let the water flow out of the hose.
5. empty the drain pump as described in the ‘Emergen-
cy emptying out’ section.
6. when the drain pump is empty, install the water inlet
hose again.
Warning!
Make sure that the temperature is more than 0 °C before
you use the appliance again.
The manufacturer is not responsible for damages caused
by low temperatures.
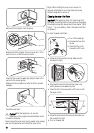
Emergency emptying out
If the appliance cannot drain the water, proceed as follows
to empty out the machine:
1. pull out the plug from the power socket;
2. close the water tap;
3. if necessary, wait until the water has cooled down;
4. open the pump door;
5. place a container on the floor below the recess of the
drain pump;
6. press the two levers and pull forward the drainage
duct to let the water flow out;
7. when the container is full of water, put the drainage
duct back again and empty the container;
repeat this operation until water stops flowing out;
8. if necessary clean the pump (refer to the section
‘Cleaning the pump’ );
9. close the drain pump door.
When you drain the water with the emergency drain proce-
dure, you must activate again the drain system:
1. Put 2 litres of water in the main wash compartment
of the detergent dispenser.
2. Start the programme to drain the water.
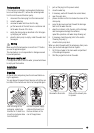
Installation
Unpacking
All transit bolts and packing must be removed before us-
ing the appliance.
You are advised to keep all transit devices so that they can
be refitted if the machine ever has to be transported again.
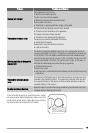
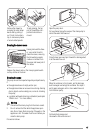
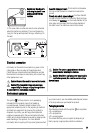
After removing all the
packaging, carefully lay
machine on it's back to re-
move the polystyrene base
from the bottom.
Remove the power supply
cable and the hoses from
the hose holders on the
rear of the appliance.
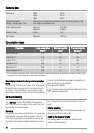
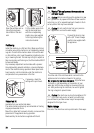
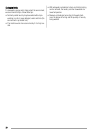
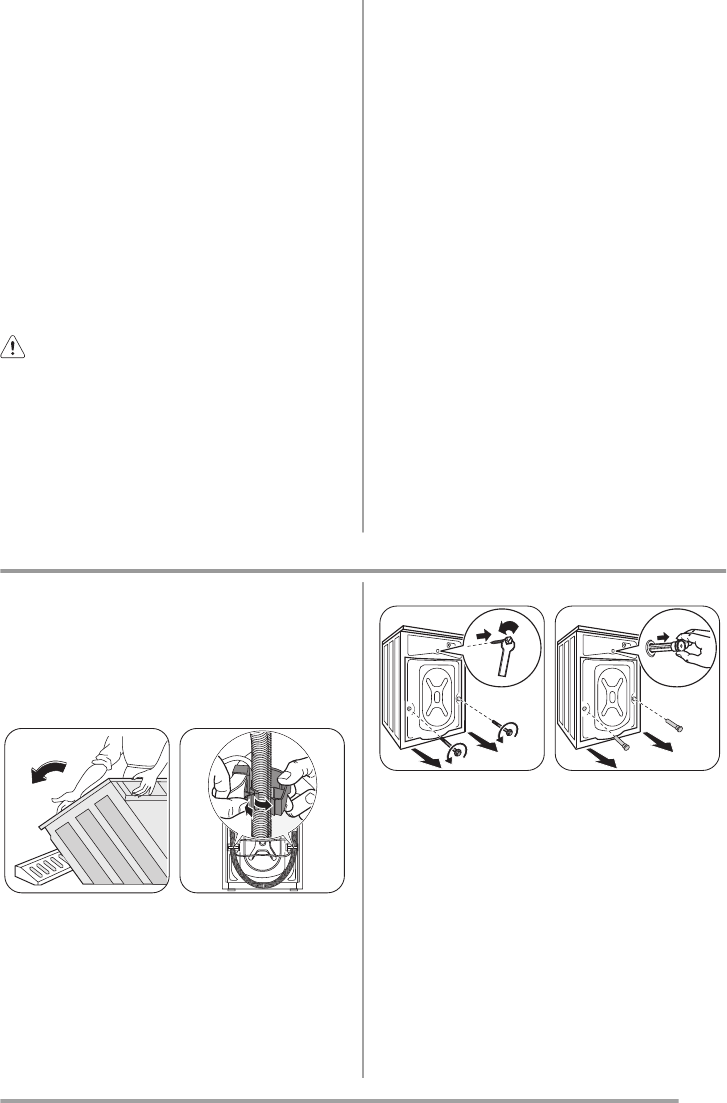
Unscrew the three bolts. Slide out the relevant plas-
tic spacers.
19