


26
Installation instruction
Unpacking
All transit bolts and packing must be removed
before using the appliance.
You are advised to keep all transit devices so
that they can be refitted if the machine ever
has to be transported again.
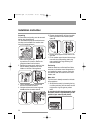
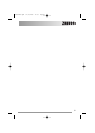
1. After removing all the packaging, carefully
lay machine on it’s back to remove the
polystyrene base from the bottom.
2. Remove the power supply cable, the inlet
and the draining hoses from the hose
holders on the rear of the appliance.
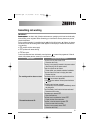
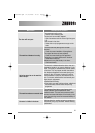
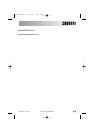
3. With a suitable spanner unscrew and
remove the central rear bolt A.
4. Unscrew and remove the two large rear
bolts B and the six smaller bolts C.
C
C
E
D
C
C
B
B
A
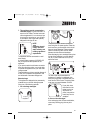
5. Remove the bracket D, refit the six smaller
bolts C and slide out the relevant plastic
spacer E.
6. Remove the polystyrene block fitted on the
door seal.
7. Fill the smaller upper hole and the two large
ones with the corresponding plastic plug
caps supplied in the bag containing the
instruction booklet.
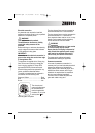
Positioning
Install the machine on a flat hard floor. Make
sure that air circulation around the machine is
not impeded by carpets, rugs etc. Check that
the machine does not touch the wall or other
kitchen units.
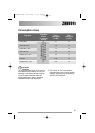
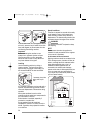
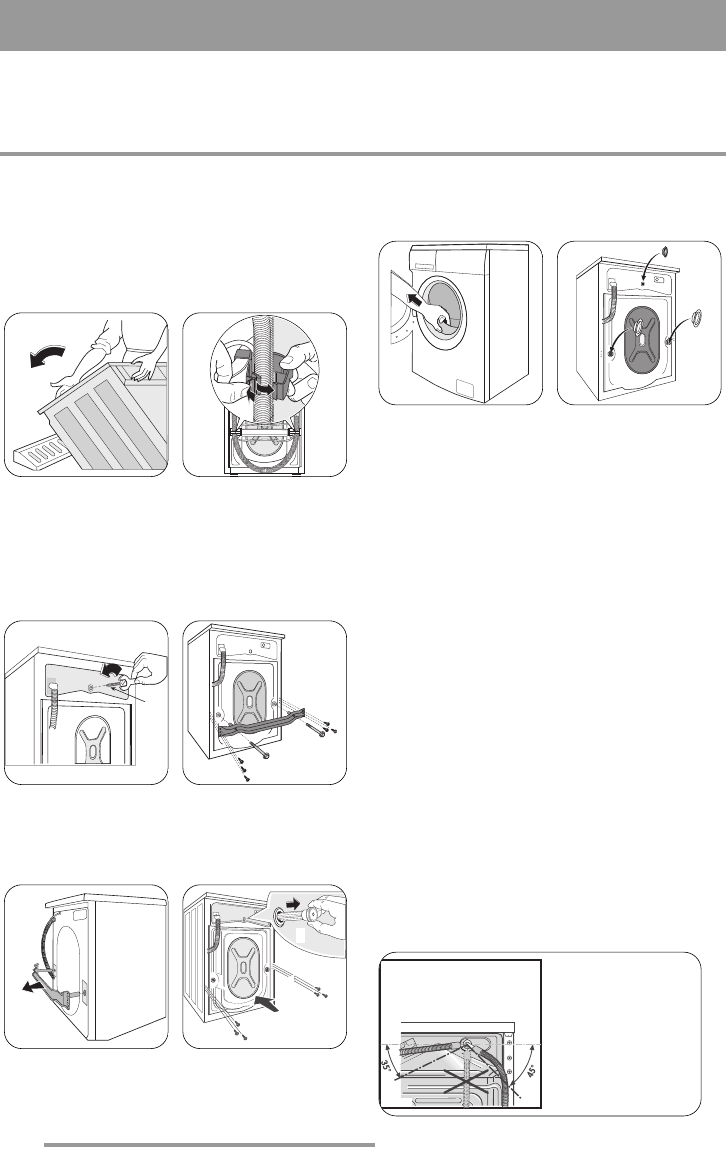
Water inlet
The inlet hose is already screwed on the back
of the appliance.
1. Set the hose correctly by loosening the ring
nut. After positioning the inlet hose, be sure
to tighten the ring nut again to prevent
leaks.
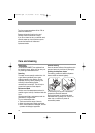
Do not place the inlet hose downwards. Angle
the hose to the left or right depending on the
position of your water tap (see picture).
HEC0006
132962460.qxd 01/07/2008 10.35 Pagina 26