Unplug the washer and turn off the water faucets when
not using it, when cleaning it and during maintenance
activities.
Turn off the water faucets to relieve pressure on
the inlet hoses.
Wipe the inside of washer door with a soft cloth.
As needed, clean the exterior with a rag dipped in luke-
warm water and soap. Never use polish of any kind.
In hard water areas or where heavily soiled items are
frequently washed, you may periodically need to
remove body oils or detergent that has accumulated
in the drum. To remove this build-up, run the washer
through a complete cycle using HOT water and 2 cups
of a non-precipitating water softener.
Periodically, apply a thin coat of paste wax to the inner
door (especially the area that is immediately next to the
door window) to protect it from laundry aid spills and
discoloration.
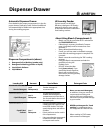
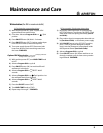
As needed, rinse
buildup of detergent
or other laundry aids
from the dispenser
drawer. To remove the
dispenser drawer, pull
it outwards, as indicat-
ed in the picture. Then
leave it under warm
running water for a
few minutes.
•
•
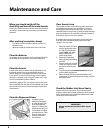
This washer contains a self-cleaning pump that does
not require any cleaning or maintenance. However,
small objects (like coins, hair clips, keys, etc.) may ac-
cidentally fall into the pump. To avoid possible damage,
they are withheld in an accessible coin trap, located at
the bottom, right corner of the washer.
If needed, follow these instructions to remove items
that may have accidentally been washed and got
caught in the coin trap:
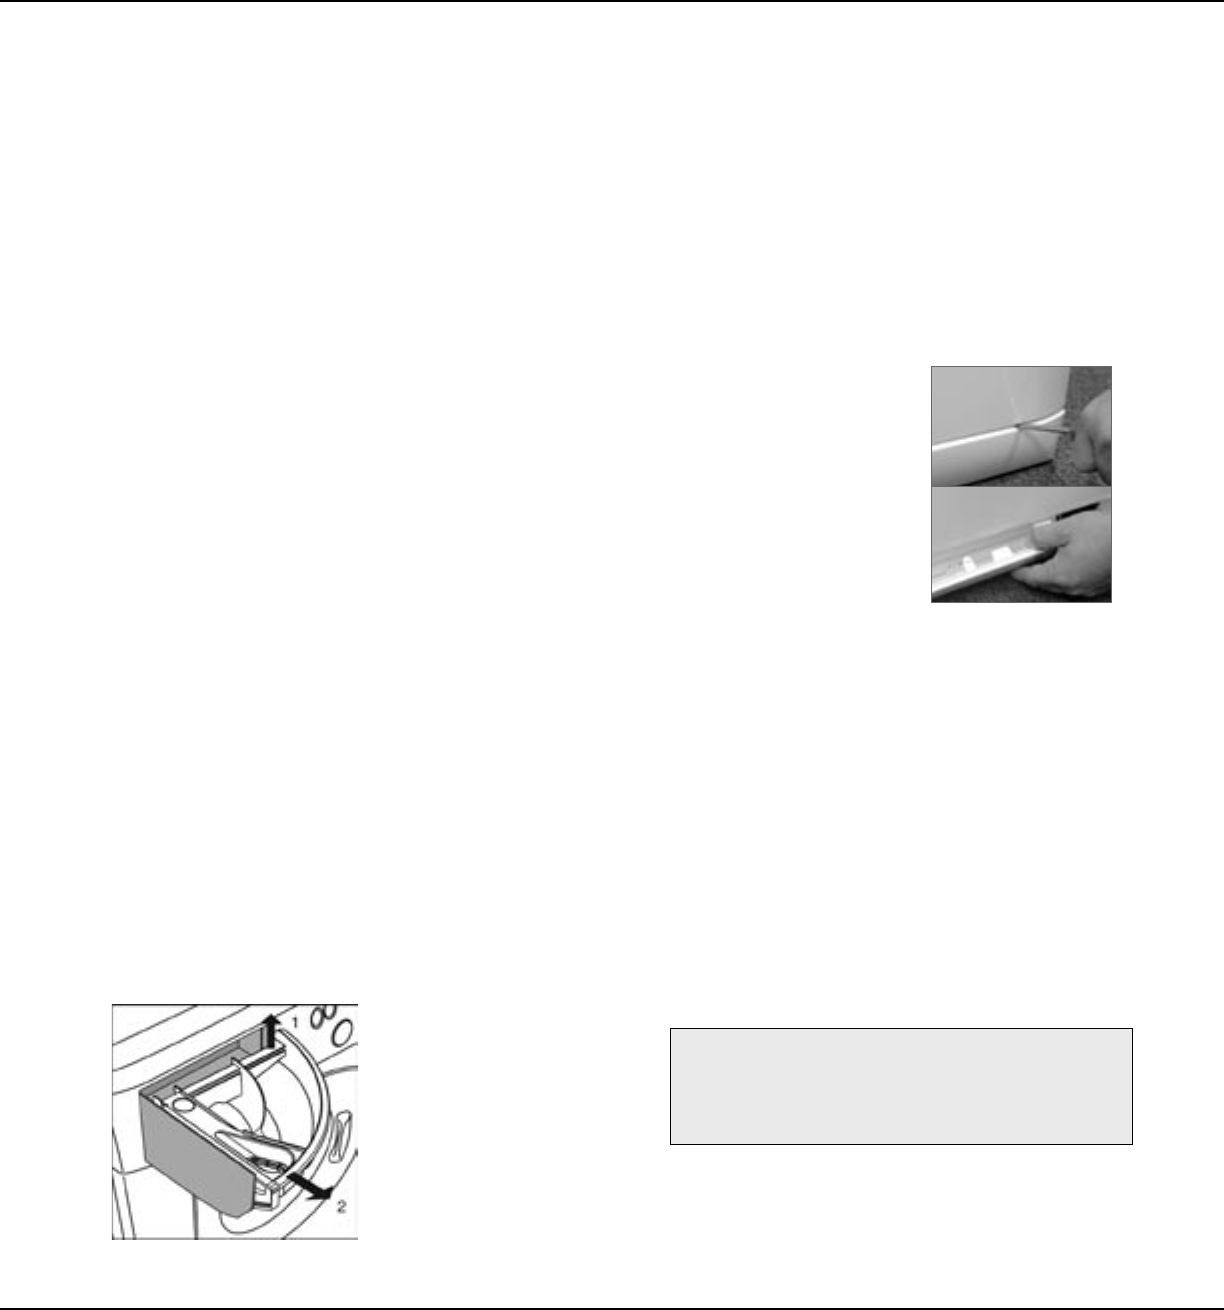
With the washer OFF and
empty, gently ease down
the top of the kick-plate
panel with a flat
blade screwdriver or
plastic putty knife.
Remove the panel by
lifting slightly and pulling
forward.
Place a small pan or towel
under the pump to catch
any water still left in the
pump.
Turn the large knob and then
pull the filter straight out.
When finished cleaning, reinstall the filter and
ensure that it’s securely tightened. Finally, re-fit the
kick-plate panel.
Inspect the inlet hoses yearly. If you see any cracks,
bulges or other signs of wear replace the hose immedi-
ately. Record the hose installation/replacement dates
on hoses for future reference.
1.
2.
3.
4.
5.


